在Python中使用 pyscreenshot 截屏
Python提供了多个库来简化我们的工作。在这里,我们将学习如何使用Python截取屏幕截图。 Python为此任务提供了一个名为pyscreenshot的模块。它只是一个纯Python包装器,是现有后端的薄层。性能和交互性对于这个库并不重要。
安装
在命令提示符下使用以下命令安装包 pyscreenshot。
pip install pyscreenshot捕获全屏
在这里,我们将学习使用 pyscreenshot 模块截取屏幕截图的最简单方法。在这里,我们将使用函数show()来查看屏幕截图。
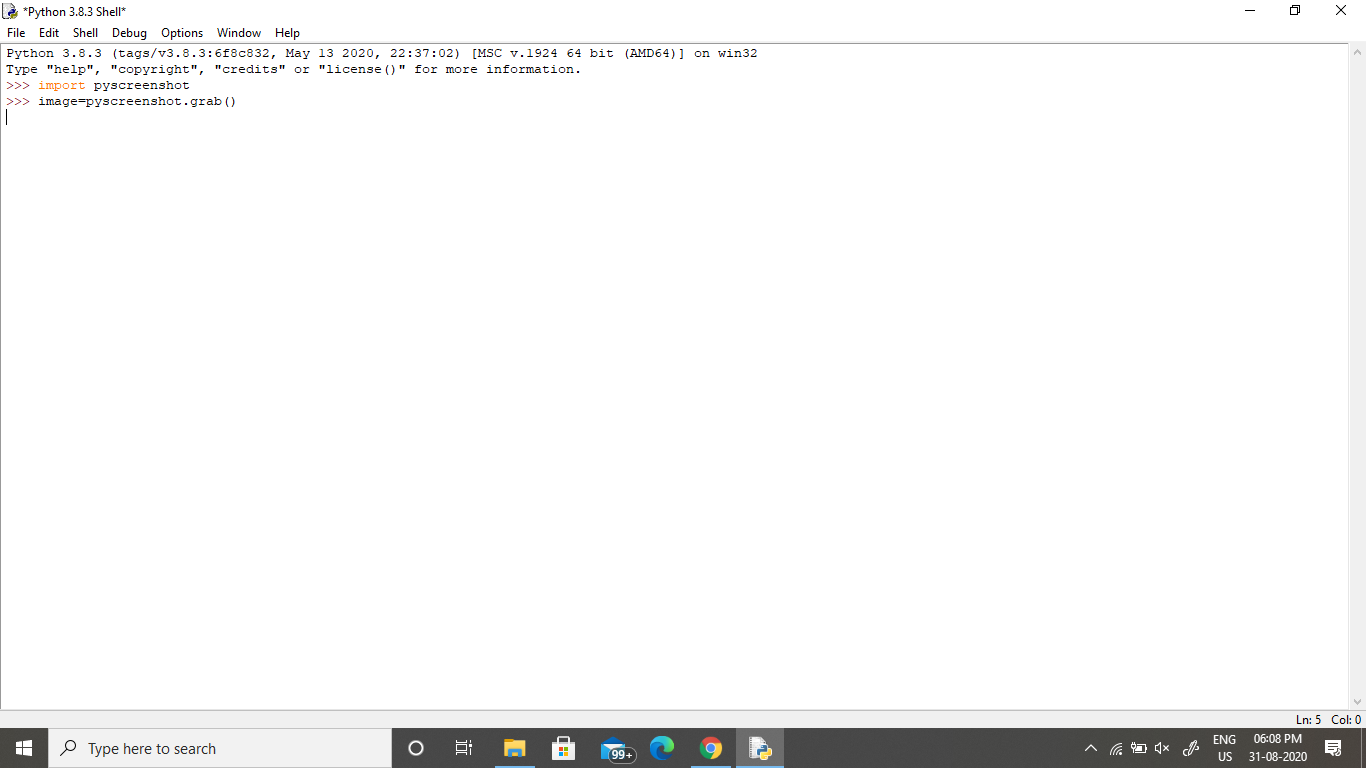
Python3
# Program to take screenshot

import pyscreenshot

# To capture the screen
image = pyscreenshot.grab()

# To display the captured screenshot
image.show()

# To save the screenshot
image.save("GeeksforGeeks.png")
Python3
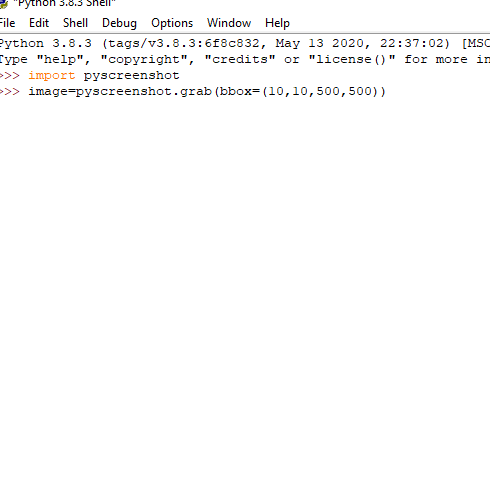
# Program for partial screenshot

import pyscreenshot

# im=pyscreenshot.grab(bbox=(x1,x2,y1,y2))
image = pyscreenshot.grab(bbox=(10, 10, 500, 500))

# To view the screenshot
image.show()

# To save the screenshot
image.save("GeeksforGeeks.png")
输出:
全屏截图
截取部分画面
这是捕获屏幕部分的简单Python程序。这里我们需要在grab()函数中提供像素位置。我们需要以元组的形式传递坐标。
Python3
# Program for partial screenshot

import pyscreenshot

# im=pyscreenshot.grab(bbox=(x1,x2,y1,y2))
image = pyscreenshot.grab(bbox=(10, 10, 500, 500))

# To view the screenshot
image.show()

# To save the screenshot
image.save("GeeksforGeeks.png")
输出:
部分截图
要点:
- 在安装 pyscreenshot 包之前,我们需要安装枕头(PIL)包。
- 这里 show()函数用作打印,即它显示捕获的屏幕截图。
- 我们需要在元组中传递坐标。
- 我们可以将屏幕截图保存到文件或 PIL 图像内存中。