Android 中的 ImageView 示例
ImageView类用于在 android 应用程序中显示任何类型的图像资源,它可以是 android.graphics.Bitmap 或 android.graphics.drawable.Drawable(它是可以在 Android 中绘制的任何东西的一般抽象)。 ImageView 类或 android.widget.ImageView 继承了 android.view.View 类,它是 Kotlin.Any 类的子类。 ImageView 的应用还在于将色调应用于图像,以便重用可绘制资源并在背景图像上创建叠加层。此外,ImageView 还用于控制图像的大小和移动。
将 ImageView 添加到活动
每当将 ImageView 添加到 Activity 时,就意味着需要图像资源。因此,向该 ImageView 类提供 Image 文件是不经意的。这可以通过添加一个存在于 Android Studio 本身中的图像文件来完成,或者我们可以添加我们自己的图像文件。 Android Studio 拥有广泛的可绘制资源,这些资源在 android 应用程序布局中非常常见。以下是将可绘制资源添加到 ImageView 类的步骤。
Note: The steps are performed on Android Studio version 4.0
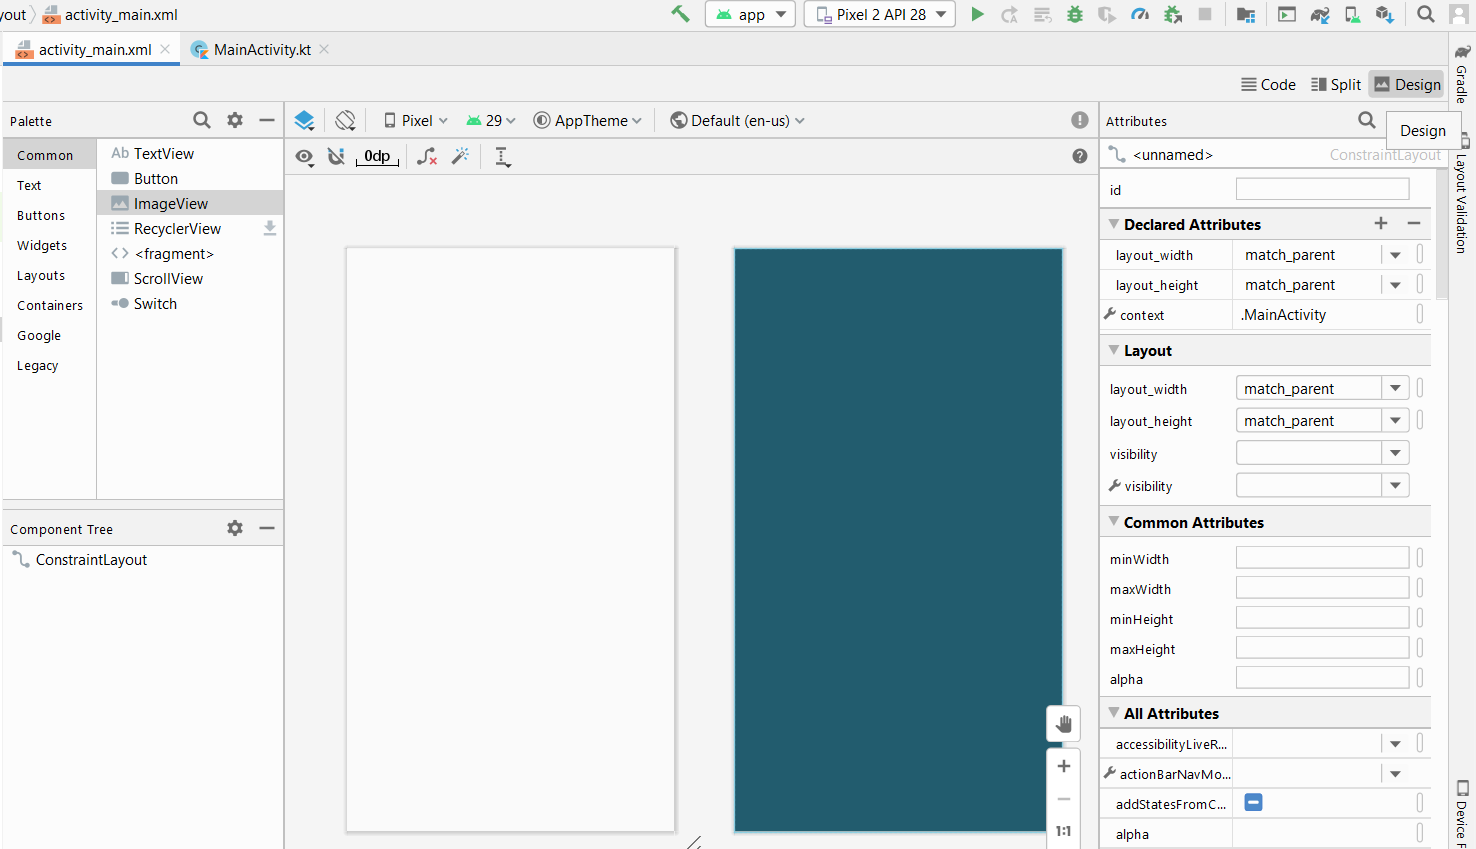
打开要在其中添加图像的activity_main.xml文件


从代码视图切换到 activity_main.xml 文件的设计视图。


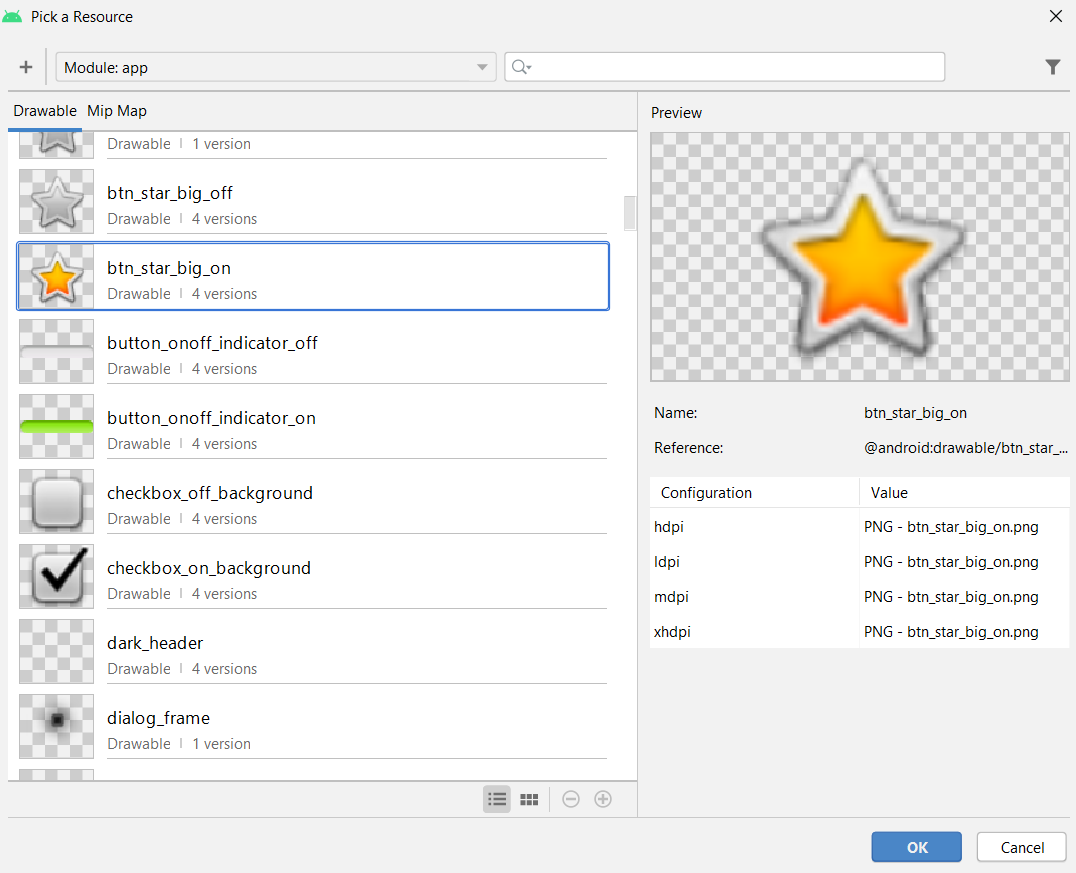
从 Android Studio 添加图像将 ImageView 小部件拖动到应用程序的活动区域,将打开一个弹出对话框,从广泛的可绘制资源中进行选择,然后单击“确定”。


要添加 Android Studio 可绘制资源以外的图像文件:
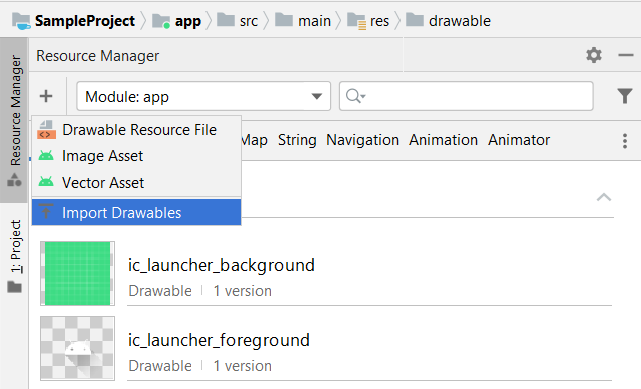
单击最左侧面板上的“资源管理器”选项卡,然后选择“导入绘图”选项。


选择计算机上图像文件的路径,然后单击“确定”。设置好后,根据您的需要,图像文件的“限定符类型”和“值”,然后单击“下一步”,然后单击“导入”。


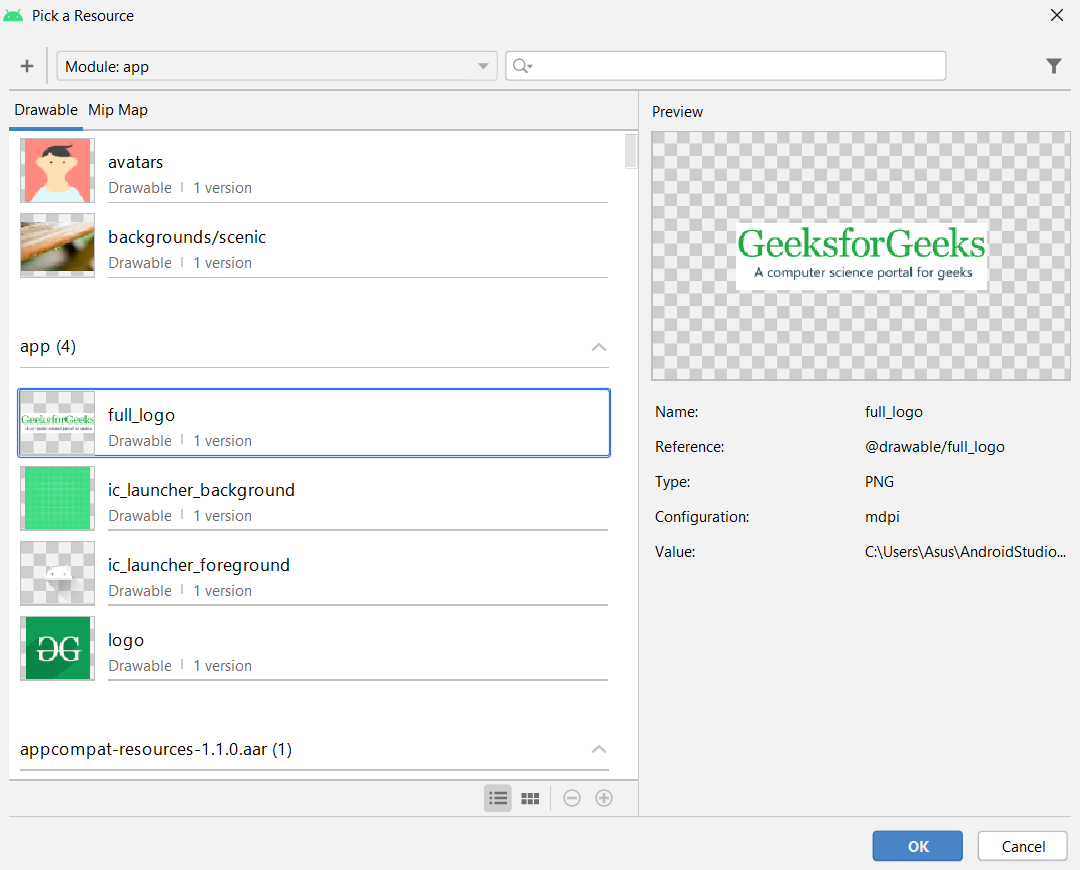
将 ImageView 类拖到活动区域,会弹出一个对话框,其中包含您导入的图像文件。选择您的图像文件并单击“确定”,您的图像将被添加到活动中。


Note: After adding an image set its constraints layout both vertically and horizontally otherwise it will show an error.
ImageView 的 XML 属性
XML Attribute | Description |
|---|---|
| android:id | To uniquely identify an image view |
| android:src/app:srcCompat | To add the file path of the inserted image |
| android:background | To provide a background color to the inserted image |
| android:layout_width | To set the width of the image |
| android:layout_height | To set the height of the image |
| android:padding | To add padding to the image from left, right, top, or bottom of the view |
| android:scaleType | To re-size the image or to move it in order to fix its size |
例子
分步实施
第 1 步:创建一个新项目
要在 Android Studio 中创建新项目,请参阅如何在 Android Studio 中创建/启动新项目。
第 2 步:使用 activity_main.xml 文件
导航到app > res > layout > activity_main.xml并将以下代码添加到该文件。下面是activity_main.xml文件的代码。
XML
Java
import androidx.appcompat.app.AppCompatActivity;
import android.os.Bundle;

public class MainActivity extends AppCompatActivity {
    @Override
    protected void onCreate(Bundle savedInstanceState) {
        super.onCreate(savedInstanceState);
        setContentView(R.layout.activity_main);
    }
}
Kotlin
import androidx.appcompat.app.AppCompatActivity
import android.os.Bundle

class MainActivity : AppCompatActivity() {
    override fun onCreate(savedInstanceState: Bundle?)
    {
        super.onCreate(savedInstanceState)
            setContentView(R.layout.activity_main)
    }
}Note: All the attributes of the ImageView which are starting with app:layout_constraint are the vertical and horizontal constraints to fix the image position in the activity. This is very necessary to add the constraint to the ImageView otherwise, all the images will take the position (0, 0) of the activity layout.
第 4 步:使用MainActivity 文件
转到MainActivity文件并参考以下代码。下面是MainActivity文件的代码。代码中添加了注释以更详细地理解代码。由于在活动中,只添加了 2 张图像,没有其他操作,例如触摸按钮等。因此, MainActivity文件看起来就像下面的代码。
Java
import androidx.appcompat.app.AppCompatActivity;
import android.os.Bundle;

public class MainActivity extends AppCompatActivity {
    @Override
    protected void onCreate(Bundle savedInstanceState) {
        super.onCreate(savedInstanceState);
        setContentView(R.layout.activity_main);
    }
}
科特林
import androidx.appcompat.app.AppCompatActivity
import android.os.Bundle

class MainActivity : AppCompatActivity() {
    override fun onCreate(savedInstanceState: Bundle?)
    {
        super.onCreate(savedInstanceState)
            setContentView(R.layout.activity_main)
    }
}
输出:
