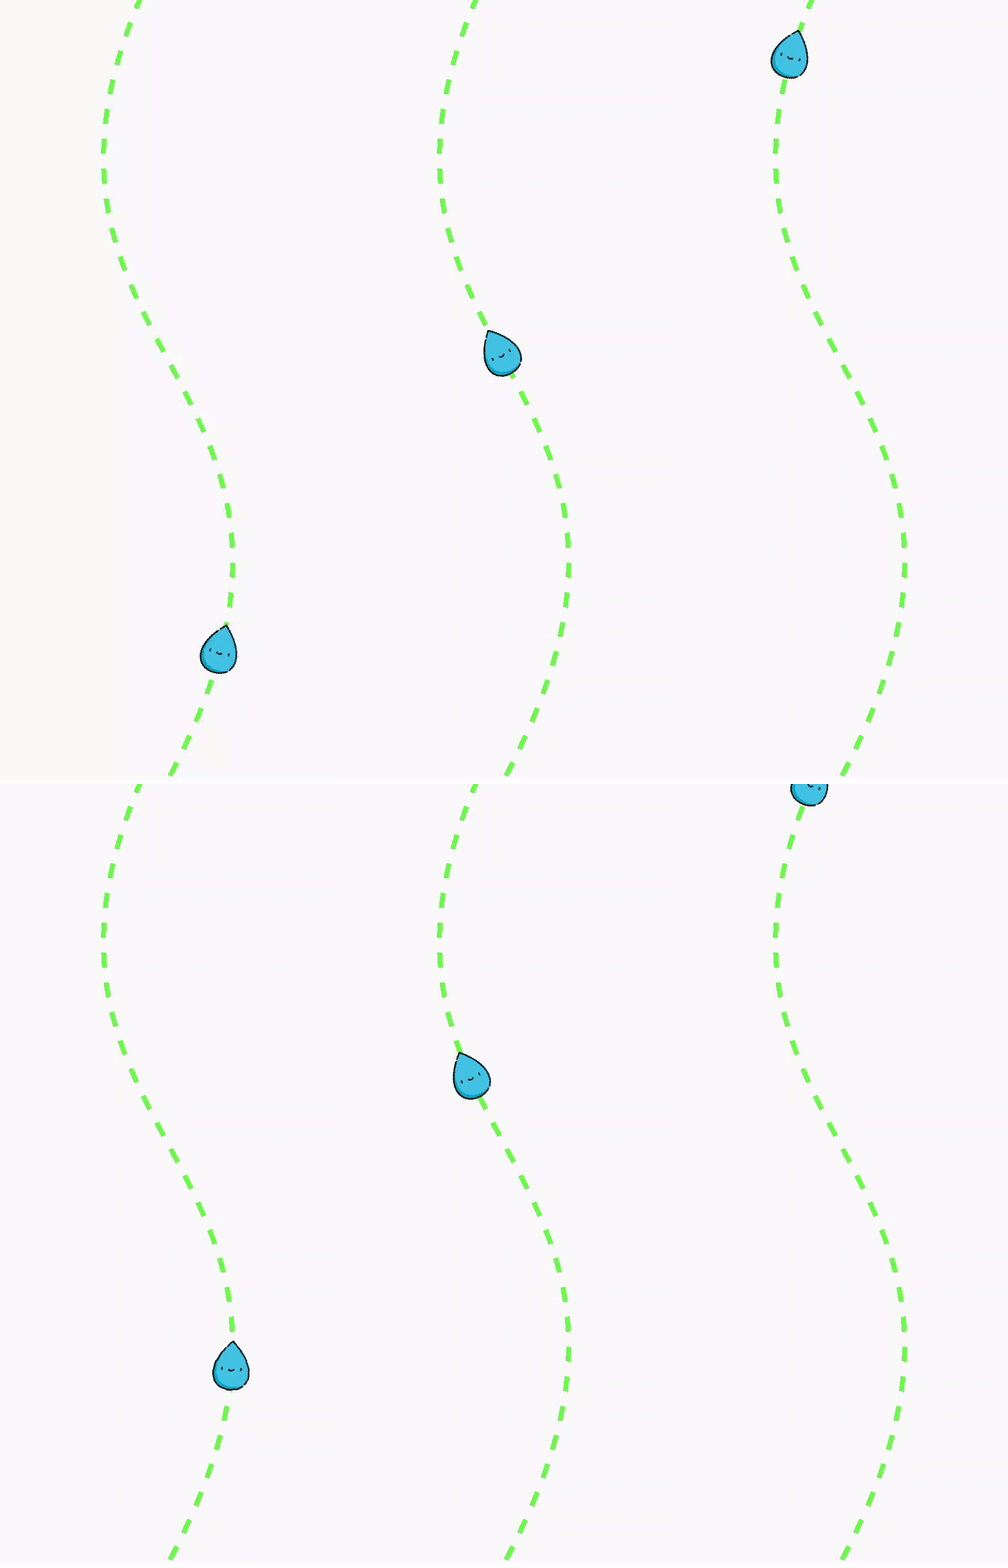
LineAnimationView是一个动画库,可帮助吸引用户的注意力。这对于创建非常漂亮的动画很有用。在此动画中,一个对象从底部出现并转到顶部。 LineAnimationView的一些有用的功能和应用程序是:
- 如果您希望用户等待一段时间,请使用此视图。
- 可以使用ProgressBar代替它,但是由于其独特的UI,它将吸引用户,因此用户等待足够的时间。
- 它还向开发人员提供完全控制。
- 可以根据要求将可绘制对象添加到LineAnimation视图中。

方法
- 步骤1:在根build.gradle文件中添加支持库(不在模块build.gradle文件中)。这个库jitpack是一个新颖的软件包存储库。它是为JVM设计的,因此github和bigbucket中存在的任何库都可以直接在应用程序中使用。
allprojects { repositories { maven { url 'https://jitpack.io' } } }- 步骤2:将支持库添加到build.gradle文件中,并在“依赖项”部分中添加依赖项。
implementation 'com.github.tushar09:LineAnimation:1.1.9'- 步骤3:将png文件粘贴到drawable文件夹中,然后将其添加到activity_main.xml文件的LineAnimaionView中。从此链接下载png文件。
- 步骤4:在activity_main.xml文件中添加以下代码。在此文件中,将LineAnimation视图添加到布局中。
activity_main.xml
MainActivity.java
package org.geeksforgeeks.lineanimation;

import androidx.appcompat.app.AppCompatActivity;
import android.graphics.Path;
import android.os.Bundle;
import com.captaindroid.lineanimation.Animator;
import com.captaindroid.lineanimation.utils.OnPathListener;

public class MainActivity extends AppCompatActivity
                     implements OnPathListener {
    private Animator animator;
    @Override
    protected void onCreate(Bundle savedInstanceState) {
        super.onCreate(savedInstanceState);
        setContentView(R.layout.activity_main);
        animator = findViewById(R.id.lineAnimatorView);
        animator.startAnimateArrow();
    }

    @Override
    public Path setOnPathUpdateListener(int bitmapPositionX,
                                        int bitmapPositionY) {
        // create a new Path object
        Path p = new Path();

        // moveTo(float x, float y) takes two parameter
        // The x and y are the start of a new contour
        // moveTo set the beginning of the next
        // contour to the point (x,y)
        p.moveTo(animator.getWidth() / 2, 0);

        // cubicTo(float x1, float y1, float x2, float y2,
        // float x3, float y3) takes six parameter
        // The x1 and y1 are the 1st control
        // point on a cubic curve
        // The x2 and y2 are the 2nd control
        // point on a cubic curve
        // The x3 and y3 are the end point
        // on a cubic curve
        // Add a cubic bezier from the last point,
        // approaching control points
        // (x1,y1) and (x2,y2), and ending at (x3,y3).
        // If no moveTo() call has been
        // made for this contour, the first point is
        // automatically set to (0,0).
        p.cubicTo(0, animator.getHeight() / 2, animator.getWidth(),
          animator.getHeight() / 2,
          animator.getWidth() / 2, animator.getHeight());

        return p;
    }

    @Override
    public void setOnAnimationCompleteListener() {

    }
}
- 步骤5:在MainActivity中添加以下代码。 Java文件。在此文件中,将PathListner添加到LineAnimation View中。
主要活动。Java
package org.geeksforgeeks.lineanimation;

import androidx.appcompat.app.AppCompatActivity;
import android.graphics.Path;
import android.os.Bundle;
import com.captaindroid.lineanimation.Animator;
import com.captaindroid.lineanimation.utils.OnPathListener;

public class MainActivity extends AppCompatActivity
                     implements OnPathListener {
    private Animator animator;
    @Override
    protected void onCreate(Bundle savedInstanceState) {
        super.onCreate(savedInstanceState);
        setContentView(R.layout.activity_main);
        animator = findViewById(R.id.lineAnimatorView);
        animator.startAnimateArrow();
    }

    @Override
    public Path setOnPathUpdateListener(int bitmapPositionX,
                                        int bitmapPositionY) {
        // create a new Path object
        Path p = new Path();

        // moveTo(float x, float y) takes two parameter
        // The x and y are the start of a new contour
        // moveTo set the beginning of the next
        // contour to the point (x,y)
        p.moveTo(animator.getWidth() / 2, 0);

        // cubicTo(float x1, float y1, float x2, float y2,
        // float x3, float y3) takes six parameter
        // The x1 and y1 are the 1st control
        // point on a cubic curve
        // The x2 and y2 are the 2nd control
        // point on a cubic curve
        // The x3 and y3 are the end point
        // on a cubic curve
        // Add a cubic bezier from the last point,
        // approaching control points
        // (x1,y1) and (x2,y2), and ending at (x3,y3).
        // If no moveTo() call has been
        // made for this contour, the first point is
        // automatically set to (0,0).
        p.cubicTo(0, animator.getHeight() / 2, animator.getWidth(),
          animator.getHeight() / 2,
          animator.getWidth() / 2, animator.getHeight());

        return p;
    }

    @Override
    public void setOnAnimationCompleteListener() {

    }
}
输出:在模拟器上运行
- 步骤2:将支持库添加到build.gradle文件中,并在“依赖项”部分中添加依赖项。