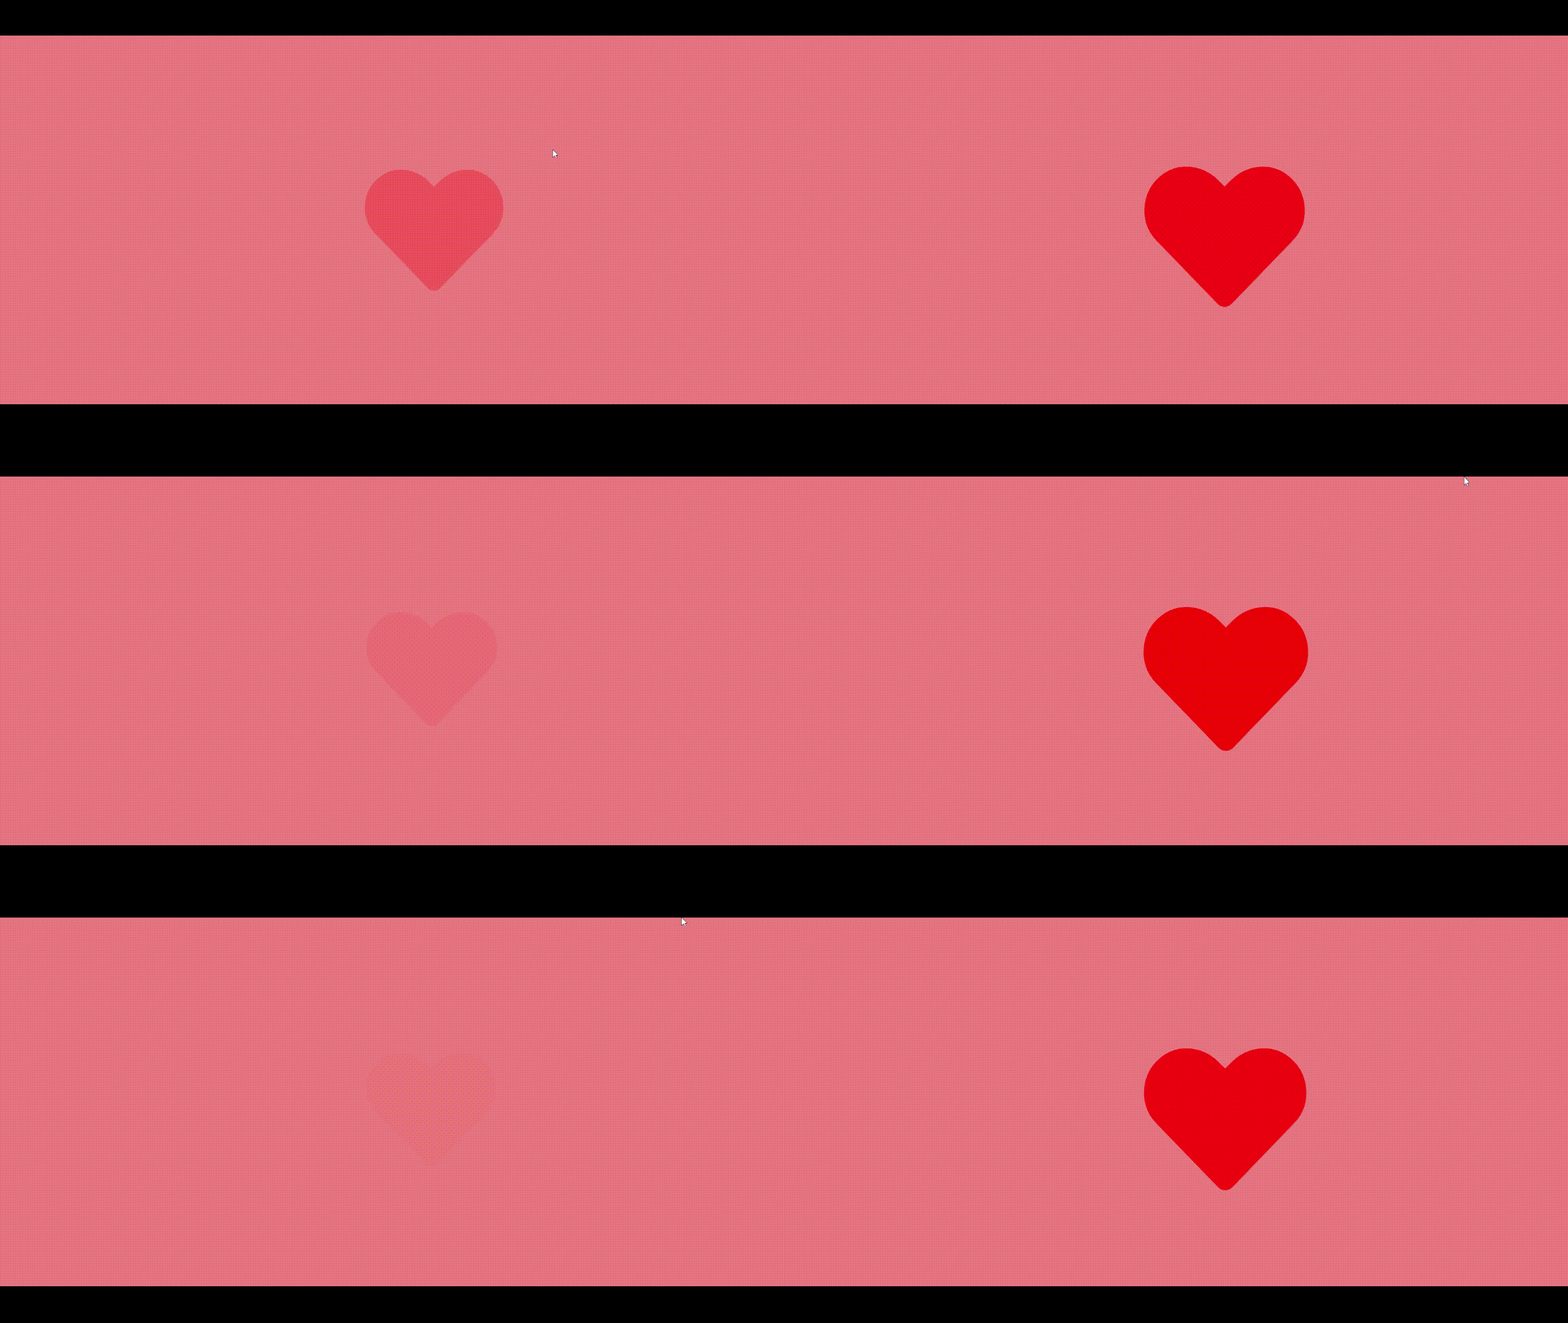
这篇文章将教你关于广泛着迷和使用的 HTML 和 CSS 动画,即脉动心脏动画。在本文中,基本上我们将学习两种实现动画的方法。这个动画在制作大多数网站的页脚时是有益的,其中包含一些常见的文本,例如Made with Love 。那么,让我们先来看看动画:

心跳动画
方法一(从头开始):在这个方法中,我们将分两步完成这个动画:
- 筑心
- 动画心脏脉搏
1.构建心脏:下面给出的是基本的结构化HTML文件。
HTML
style.css
body {
    display:flex;
    align-items: center;
    justify-content: center;
    min-height:100vh;
    margin: 0;
    background-color: lightcoral;
}

.heart {
    background: red;
    position: relative;
    height: 100px;
    width:100px;
    /* Animation */
    transform: rotate(-45deg) scale(1);
    animation: pulse 2s linear infinite;
}


.heart::after {
    /* background:blue; */
    background:inherit;
    border-radius: 50%; /* To make circle */
    content:'';
    position:absolute;
    /* top: -100px;*/
    top: -50%; /* Inherit properties of parent */
    /* left: -100px; */
    left:0;
    height: 100px;
    width:100px;
}
.heart::before {
  /*  background:green; */
    background:inherit;
    border-radius: 50%; /* To make circle */
    content:'';
    position:absolute;
    top:0;
    right:-50%; /* Inherit properties of parent */
    height: 100px;
    width:100px;
}

@keyframes pulse{
    0% {
        transform: rotate(-45deg) scale(1);
        opacity: 0;
    }/*
    10% {
        transform: rotate(-45deg) scale(1.3);
    }
    20% {
        transform: rotate(-45deg) scale(0.9);
    }
    30% {
        transform: rotate(-45deg) scale(1.2);
    }
    40% {
        transform: rotate(-45deg) scale(0.9);
    }*/
    50% {
        transform: rotate(-45deg) scale(1.3);
        opacity: 1;
    }/*
    60% {
        transform: rotate(-45deg) scale(0.95);
    }
    70% {
        transform: rotate(-45deg) scale(1);
    } */
    100% {
        transform: rotate(-45deg) scale(1);
        opacity: 1;
    }
}
HTML
style.css
/* General Styling */
body {
    display:flex;
    align-items: center;
    justify-content: center;
    min-height:100vh;
    margin: 0;
    background: lightcoral;
}

/* Styling Heart */
.fa-heart {
    color: red;
    font-size: 250px;
    height: 100px;
    width:100px;
    /* Animating heart */
    animation: pulse 1s linear infinite;
}

@keyframes pulse {
    0%{
      transform: scale(1);
      opacity: 0;
    }
    50%{
      transform: scale(1.3);
      opacity:1;
    }
    100%{
      transform: scale(1);
      opacity:0;
    }
}下面给出了名为style.css的 CSS 文件,用于样式和动画。
样式文件
body {
    display:flex;
    align-items: center;
    justify-content: center;
    min-height:100vh;
    margin: 0;
    background-color: lightcoral;
}

.heart {
    background: red;
    position: relative;
    height: 100px;
    width:100px;
    /* Animation */
    transform: rotate(-45deg) scale(1);
    animation: pulse 2s linear infinite;
}


.heart::after {
    /* background:blue; */
    background:inherit;
    border-radius: 50%; /* To make circle */
    content:'';
    position:absolute;
    /* top: -100px;*/
    top: -50%; /* Inherit properties of parent */
    /* left: -100px; */
    left:0;
    height: 100px;
    width:100px;
}
.heart::before {
  /*  background:green; */
    background:inherit;
    border-radius: 50%; /* To make circle */
    content:'';
    position:absolute;
    top:0;
    right:-50%; /* Inherit properties of parent */
    height: 100px;
    width:100px;
}

@keyframes pulse{
    0% {
        transform: rotate(-45deg) scale(1);
        opacity: 0;
    }/*
    10% {
        transform: rotate(-45deg) scale(1.3);
    }
    20% {
        transform: rotate(-45deg) scale(0.9);
    }
    30% {
        transform: rotate(-45deg) scale(1.2);
    }
    40% {
        transform: rotate(-45deg) scale(0.9);
    }*/
    50% {
        transform: rotate(-45deg) scale(1.3);
        opacity: 1;
    }/*
    60% {
        transform: rotate(-45deg) scale(0.95);
    }
    70% {
        transform: rotate(-45deg) scale(1);
    } */
    100% {
        transform: rotate(-45deg) scale(1);
        opacity: 1;
    }
}
注意:结合并成功运行代码后,它将给出所需的结果。
说明:首先我们用类心在网页正文中创建了一个分区。然后在 style.css 文件中,我们做了一些通用的 body 和 class 样式,以将所有内容放在 body 的中心。现在基本上让我们了解我们将如何制作心脏。我们将借助我们通过基本样式创建的块来制作心脏,然后通过前后效果以及绝对和相对位置概念。我们将创建两个圆圈,为了更好地理解您可以在心脏类的效果前后分别将颜色更改为蓝色和绿色,而无需对其进行转换。它看起来像下图:

旋转前定位圆和块后

定位圆和块之前
因此,正如您在定位后所看到的,它看起来像是心脏,但只是倾斜的方式。请注意,保持块和两个圆圈的颜色相同以获得所需的效果。选择这些颜色只是为了更好地理解。现在再说一遍,如何处理倾斜的心脏,让我们通过在 -45 度顺时针方向变换和旋转它来使其变直。在那里你会得到一个带有粉红色背景的直红心。
2. 为心脏脉搏制作动画:现在让我们进入第二步。让我们在心脏类中引入一个持续时间约为 1-2 秒的脉冲动画,线性无限迭代。然后我们将应用某些关键帧来制作所需的动画脉动心脏,同时改变变换比例和不透明度。
使用的概念:
1. 与定位相关:
- 绝对:元素相对于最近定位的父元素定位。一种是使用定位属性top、 left、 bottom、 right来设置位置。
- 相对:元素相对于其正常位置进行定位。如果您设置位置:相对;一个元素但没有其他定位属性(顶部、左侧、底部或右侧),它根本不会影响它的定位。但是如果给它一些其他的定位属性,比如right: 20px;,它会将其位置从正常位置向左移动 20 个像素。
2. After 和 Before 效果:::before和::after是 CSS 中的伪元素,允许您将内容插入页面而不需要在HTML 中。
3. 关于动画和继承:
句法:
animation:
还有许多其他子属性,我们可以在其中使用动画效果。 CSS 中的 animation 属性可用于为许多其他 CSS 属性设置动画,例如边框、形状、背景颜色、高度或宽度。每个动画都需要使用@keyframes或机制来定义动画的工作方式以及要遵循的属性。
在我们的示例中,我们还在背景颜色中使用了继承属性,因为heart 类是父类,而heart::after 和 heart::before是继承了父类中使用的背景颜色的子类。
4. 关于关键帧:
句法:
@keyframes 每个@keyframes at-rule 定义了动画期间特定时刻应该发生的事情。例如,0% 是动画的开始,50% 是动画持续时间的中间,100% 是动画的结束。
5. 关于旋转、缩放和不透明度:
句法:
transform: rotate () scale() rotate()函数创建的旋转量由
scale()函数由一个或两个值指定,这些值表示要在每个方向上应用的缩放量。
句法:
scale(x, y). Default value is 1CSS 中的 opacity 属性指定元素的透明度。默认值为 1,这意味着该元素在该持续时间内是不透明的并且也是可见的。值范围从0 到 1,表示元素的不透明度。
方法 2:在此方法中,我们将遵循方法 1 中遵循的两个步骤,即构建心脏,然后用脉冲对其进行动画处理。
1.造心:我们不会从零开始造心。你只需要从不同的免费网站上获取图标的 HTML 和 CSS 代码。我们将推荐 Bootstrap Font Awesome 图标。然后你只需要在我们动画的 HTML 部分应用该代码,如下所示:
HTML
您可以通过以下方式应用 CSS,文件名为style.css:
样式文件
/* General Styling */
body {
    display:flex;
    align-items: center;
    justify-content: center;
    min-height:100vh;
    margin: 0;
    background: lightcoral;
}

/* Styling Heart */
.fa-heart {
    color: red;
    font-size: 250px;
    height: 100px;
    width:100px;
    /* Animating heart */
    animation: pulse 1s linear infinite;
}

@keyframes pulse {
    0%{
      transform: scale(1);
      opacity: 0;
    }
    50%{
      transform: scale(1.3);
      opacity:1;
    }
    100%{
      transform: scale(1);
      opacity:0;
    }
}
注意:结合并成功运行代码后,它将给出所需的结果。
在对 body 和 icon 的类进行一般样式后,您将在网页正文的中心得到一个心脏。
2.心脏动画:请注意,这里我们不需要伪 CSS 元素(之后和之前),因为我们在可用的免费图标和类的帮助下构建了心脏。现在让我们进入第二步,使用我们在方法 – 1 中所做的相同动画。您将获得所需的动画。通常,在构建大型网站时,方法 – 2 更受青睐,同样,创造力没有限制。您可以在任何需要的地方应用此动画,也可以通过从中获得灵感来构建自己的新动画。