- Spring MVC-简单的网址处理程序映射示例(1)
- Spring MVC-简单的网址处理程序映射示例
- Spring MVC-控制器类名称处理程序映射示例(1)
- Spring MVC-控制器类名称处理程序映射示例
- Spring MVC - 多解析器映射
- Spring MVC - 多解析器映射(1)
- Spring-Bean范围
- Spring-Bean范围(1)
- spring mvc (1)
- Spring-Bean定义(1)
- Spring-Bean定义
- Spring MVC-多个解析器映射示例
- Spring MVC-多个解析器映射示例(1)
- spring mvc - 任何代码示例
- spring mvc - Java 代码示例
- 在Spring中继承Bean
- Spring – 继承 Bean
- 在Spring中继承Bean(1)
- Spring – 继承 Bean(1)
- spring mvc - Java (1)
- Spring-Bean后处理器(1)
- Spring-Bean后处理器
- bean 名称 spring mvc 的 bindingresult 和普通目标对象都不是 - Java 代码示例
- Spring MVC-属性方法名称解析器示例(1)
- Spring MVC-属性方法名称解析器示例
- bean 名称 spring mvc 的 bindingresult 和普通目标对象都不是 - Java (1)
- Spring @Bean 注解与示例(1)
- Spring @Bean 注解与示例
- spring boot 获取 bean - Java 代码示例
📅 最后修改于: 2020-11-11 06:28:34 🧑 作者: Mango
以下示例显示了如何通过Spring Web MVC框架使用Bean名称URL处理程序映射。 BeanNameUrlHandlerMapping类是默认的处理程序映射类,它将URL请求映射到配置中提到的bean的名称。
例如,使用上面的配置,如果是URI
-
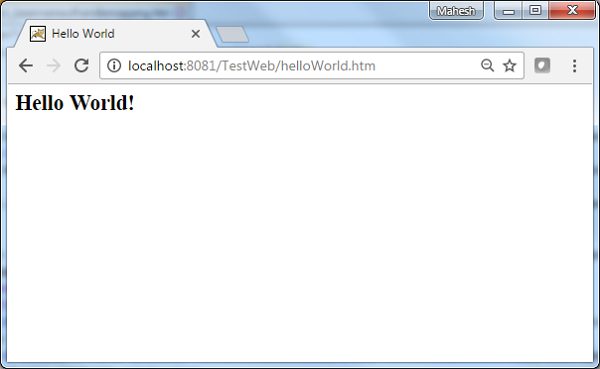
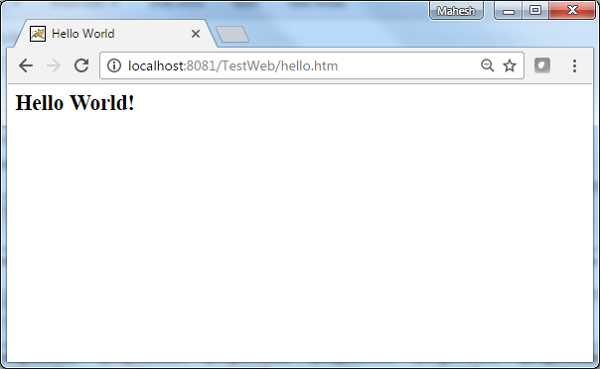
/helloWorld.htm或/ hello {任何字母} .htm,DispatcherServlet会将请求转发到HelloController 。
-
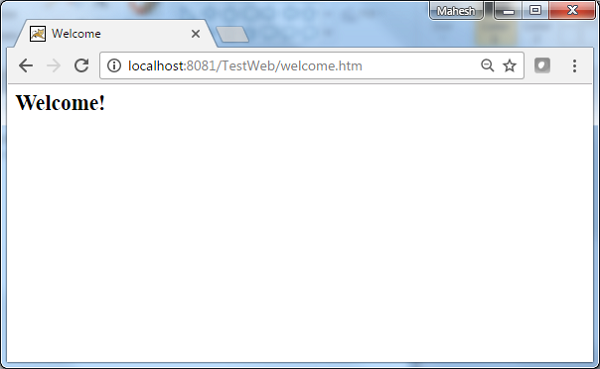
/welcome.htm是请求的,DispatcherServlet会将请求转发到WelcomeController 。
-
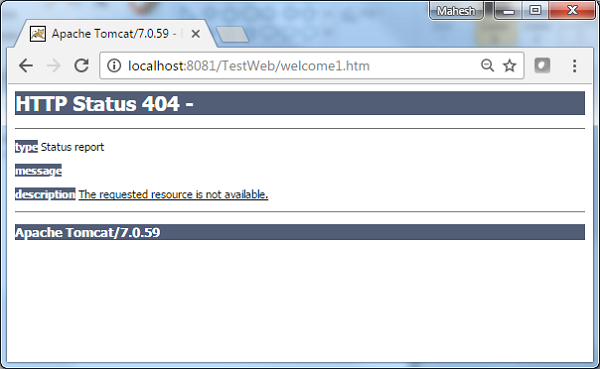
/welcome1.htm是请求的,DispatcherServlet将找不到任何控制器,服务器将抛出404状态错误。
首先,让我们拥有一个运行良好的Eclipse IDE,并考虑以下步骤,以使用Spring Web Framework开发基于动态表单的Web应用程序。
| Step | Description |
|---|---|
| 1 | Create a project with a name TestWeb under a package com.tutorialspoint as explained in the Spring MVC – Hello World chapter. |
| 2 | Create Java classes HelloController, WelcomeController under the com.tutorialspoint package. |
| 3 | Create view files hello.jsp, welcome.jsp under the jsp sub-folder. |
| 4 | The final step is to create the content of all source and configuration files and export the application as explained below. |
HelloController.java
package com.tutorialspoint;

import javax.servlet.http.HttpServletRequest;
import javax.servlet.http.HttpServletResponse;

import org.springframework.web.servlet.ModelAndView;
import org.springframework.web.servlet.mvc.AbstractController;

public class HelloController extends AbstractController{

   @Override
   protected ModelAndView handleRequestInternal(HttpServletRequest request,
      HttpServletResponse response) throws Exception {
      ModelAndView model = new ModelAndView("hello");
      model.addObject("message", "Hello World!");
      return model;
   }
}
WelcomeController.java
package com.tutorialspoint;

import javax.servlet.http.HttpServletRequest;
import javax.servlet.http.HttpServletResponse;

import org.springframework.web.servlet.ModelAndView;
import org.springframework.web.servlet.mvc.AbstractController;

public class WelcomeController extends AbstractController{

   @Override
   protected ModelAndView handleRequestInternal(HttpServletRequest request,
      HttpServletResponse response) throws Exception {
      ModelAndView model = new ModelAndView("welcome");
      model.addObject("message", "Welcome!");
      return model;
   }
}
TestWeb-servlet.xml
hello.jsp
Hello World


      ${message}
welcome.jsp
Welcome


      ${message}
完成创建源文件和配置文件后,导出应用程序。右键单击您的应用程序,使用“导出”→“ WAR文件”选项,并将TestWeb.war文件保存在Tomcat的webapps文件夹中。
现在,启动Tomcat服务器,并确保您能够使用标准浏览器从webapps文件夹访问其他网页。尝试使用URL- http:// localhost:8080 / TestWeb / helloWorld.htm ,如果Spring Web Application一切正常,我们将看到以下屏幕。
尝试使用URL- http:// localhost:8080 / TestWeb / hello.htm ,如果Spring Web Application一切正常,我们将看到以下屏幕。
尝试使用URL http:// localhost:8080 / TestWeb / welcome.htm ,如果Spring Web Application一切正常,我们将看到以下屏幕。
尝试使用URL http:// localhost:8080 / TestWeb / welcome1.htm ,如果Spring Web Application一切正常,我们将看到以下屏幕。