📌 相关文章
- C++历史(1)
- C++的历史(1)
- C++历史
- C++的历史
- Python的历史
- Python的历史(1)
- 历史 javascript (1)
- Bash的历史
- Bash的历史(1)
- Java的历史
- Java的历史(1)
- 历史 javascript 代码示例
- 历史删除行 (1)
- Linux历史(1)
- Linux历史
- Android的历史
- Laravel的历史(1)
- Laravel的历史
- 云计算的历史
- 云计算的历史(1)
- 云计算的历史
- Git的历史(1)
- Git的历史
- 网络历史(1)
- 网络历史
- Scala的历史
- Scala的历史(1)
- JavaScript |历史对象
- JavaScript |历史对象(1)
📜 奥雷利亚-历史
📅 最后修改于: 2020-12-09 05:25:28 🧑 作者: Mango
在本章中,您将学习如何使用aurelia-history插件。
第1步-安装插件
该插件已作为标准配置的一部分提供。如果您将aurelia.use.standardConfiguration()设置为手动配置的一部分,则可以开始使用。
main.js
export function configure(aurelia) {
   aurelia.use
   .standardConfiguration()
   .developmentLogging();

   aurelia.start().then(() => aurelia.setRoot());
}
第2步-使用历史记录
我们将使用上一章( Aurelia-路由)中的示例。如果要设置向后或向前导航的功能,则可以将历史对象与back()和forward()方法一起使用。我们将在路由器配置后添加它。
app.js
export class App {
   configureRouter(config, router) {
      config.title = 'Aurelia';
      config.map([
         { route: ['','home'],  name: 'home',
            moduleId: './pages/home/home',  nav: true, title:'Home' },
         { route: 'about',  name: 'about',
            moduleId: './pages/about/about',    nav: true, title:'About' }
      ]);
      this.router = router;
   }
   goBack() {
      history.back();
   }
    goForward() {
      history.forward();
   }
}
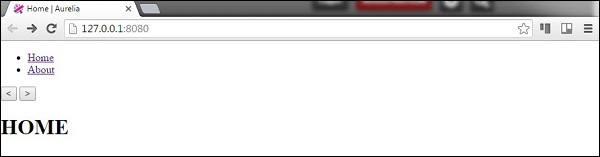
现在,让我们在view中添加两个按钮。
app.html
//The button used for navigationg back...
//The button used for navigationg forward...
用户可以通过单击我们添加的按钮来回浏览。