先决条件:使用MATLAB的基于LSB的图像隐写术
在使用MATLAB的基于LSB的图像隐写术中,我们看到了如何在图像内隐藏文本。在本文中,我们将看到隐秘图像或像素值以及作为输入嵌入的文本的长度,以及如何从中提取文本。
提取过程:
提取过程很简单。我们首先需要计算文本存储在多少像素中。例如,文本“ geeksforgeeks”具有13个字符。每个字符用8位表示。因此,存储文本的像素数将为13 * 8 = 104 。现在,知道了这一点之后,我们需要遍历图像,一次一个像素。我们将每个像素的最低有效位(LSB)存储在一个数组extract_bits中。提取所需像素的LSB后,我们需要从extracted_bits中获取每8位,并将其转换为相应的字符。这样,可以提取存储在隐身图像中的文本。
在本文中,我们采用先决条件文章中获得的图像的像素值。值以xlsx格式存储。图像中嵌入的消息是“ geeksforgeeks” 。
注意:要将输出图像像素存储为.xlsx格式,请将以下代码行添加到上一个代码的末尾:
filename = 'path_to_folder\output_img.xlsx';

xlswrite(filename, output);
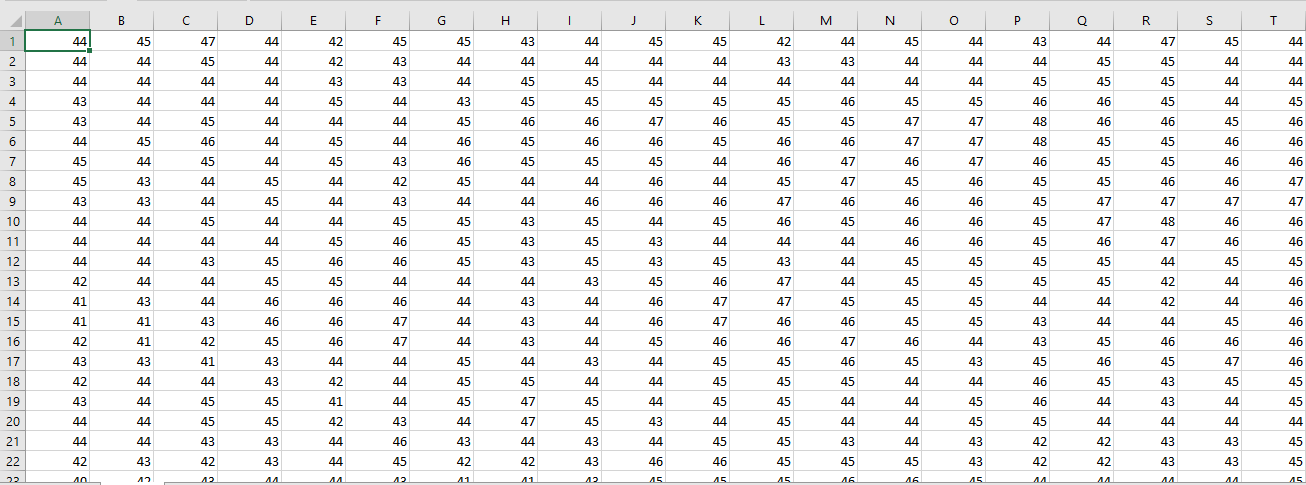
这是从先决条件文章获得的输入图像和隐秘图像的屏幕截图: 
Input : A screenshot of the pixel values of the image:
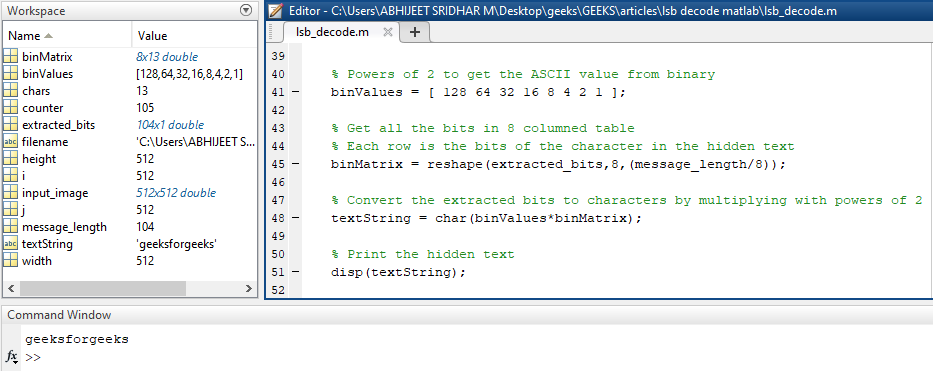
Output : geeksforgeeks
xlsx格式的输入文件在此处给出:input_image.xlsx
下面是在MATLAB中的实现:
% Clear the existing workspace
clear all;

% Clear the command window
clc;

% Getting the input image
filename = 'path_to_folder\output_img.xlsx';
input_image = xlsread(filename);

% Get height and width for traversing through the image
height = size(input_image, 1);
width = size(input_image, 2);

% Number of characters of the hidden text
chars = 13;

% Number of bits in the message
message_length = chars * 8;

% counter to keep track of number of bits extracted
counter = 1;

% Traverse through the image
for i = 1 : height
    for j = 1 : width

        % If more bits remain to be extracted
        if (counter <= message_length)

            % Store the LSB of the pixel in extracted_bits
            extracted_bits(counter, 1) = mod(double(input_image(i, j)), 2);

            % Increment the counter
            counter = counter + 1;
        end
    end
end

% Powers of 2 to get the ASCII value from binary
binValues = [ 128 64 32 16 8 4 2 1 ];

% Get all the bits in 8 columned table
% Each row is the bits of the character
% in the hidden text
binMatrix = reshape(extracted_bits, 8,
                  (message_length/8));

% Convert the extracted bits to characters
% by multiplying with powers of 2
textString = char(binValues*binMatrix);

% Print the hidden text
disp(textString);
输出: 
正如我们看到的输出,文本是从像素值中提取的,结果被显示到命令窗口中。