使用 Python-PIL 创建证书
先决条件: Python:Pillow(PIL 的一个分支)
好吧,如果您曾经做过诸如为任何活动的参与者创建证书之类的事情,那么您就会知道这是多么乏味的过程。让我们使用Python自动化。我们将使用Python的 Pillow 模块。要安装它,只需在终端中键入以下内容
pip install Pillow您还需要将证书设计为图像格式(最好是 png)。您可以使用 Microsoft Office Publisher 之类的工具来创建证书并将其导出为 png。保留一些额外的空间以输入名称。下面是我们将使用的模板证书。
模板证书:

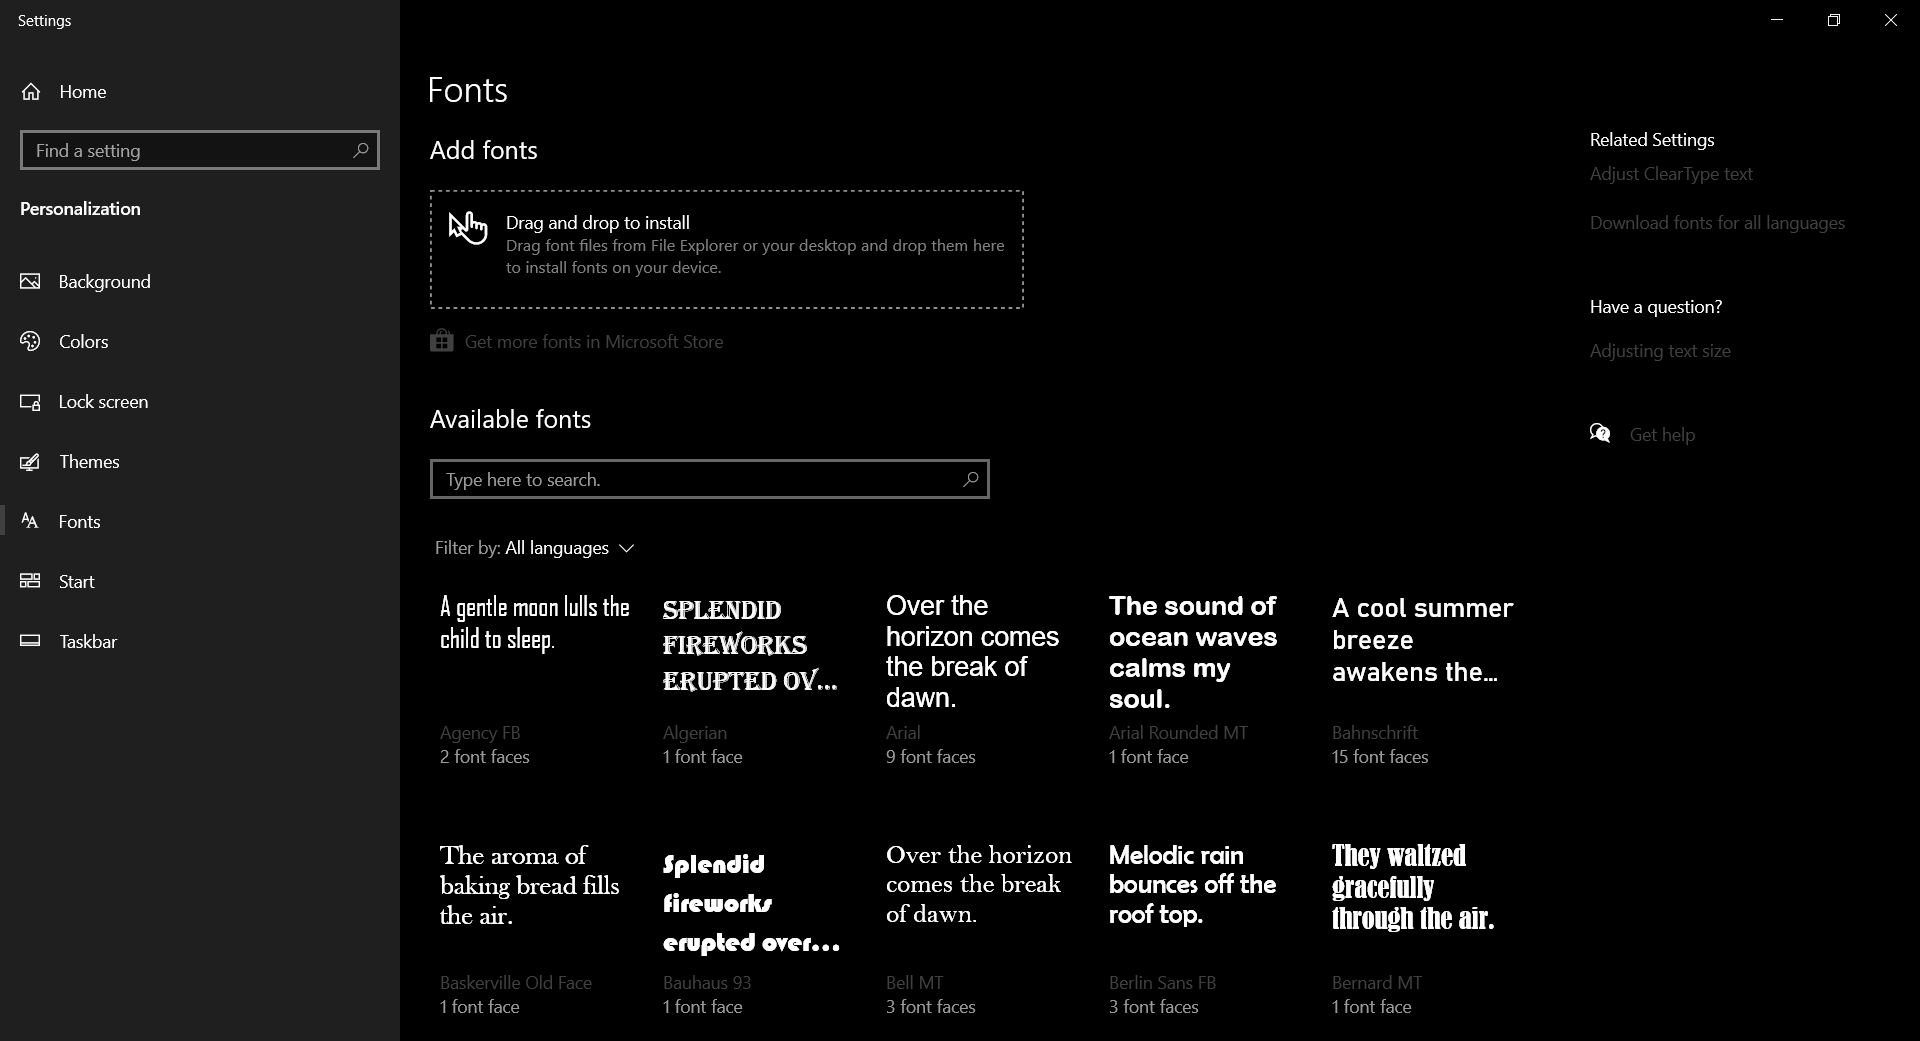
这样,我们的证书模板就准备好了。现在,我们需要找到一种合适的字体来在上面写名字。您需要字体文件(TTF 文件)的路径。如果您使用的是 Windows 10,那么只需在 Windows 搜索中搜索字体,它就会显示字体设置的结果。前往那里,您应该会看到类似于以下屏幕的内容。

现在,从这里选择您喜欢的字体并单击它。您将看到该字体的路径。记下某处的路径。您将在代码中需要它。
下面是实现。
# imports
from PIL import Image, ImageDraw, ImageFont


def coupons(names: list, certificate: str, font_path: str):

    for name in names:

        # adjust the position according to
        # your sample
        text_y_position = 900

        # opens the image
        img = Image.open(certificate, mode ='r')

        # gets the image width
        image_width = img.width

        # gets the image height
        image_height = img.height

        # creates a drawing canvas overlay
        # on top of the image
        draw = ImageDraw.Draw(img)

        # gets the font object from the
        # font file (TTF)
        font = ImageFont.truetype(
            font_path,
            200 # change this according to your needs
        )

        # fetches the text width for
        # calculations later on
        text_width, _ = draw.textsize(name, font = font)

        draw.text(
            (
                # this calculation is done
                # to centre the image
                (image_width - text_width) / 2,
                text_y_position
            ),
            name,
            font = font        )

        # saves the image in png format
        img.save("{}.png".format(name))

# Driver Code
if __name__ == "__main__":

    # some example of names
    NAMES = ['Frank Muller',
             'Mathew Frankfurt',
             'Cristopher Greman',
             'Natelie Wemberg',
             'John Ken']

    # path to font
    FONT = "/path / to / font / ITCEDSCR.ttf"

    # path to sample certificate
    CERTIFICATE = "path / to / Certificate.png"

    coupons(NAMES, CERTIFICATE, FONT)
输出: 
将名称添加到NAMES列表中。然后根据您的系统更改字体路径和证书模板的路径。然后运行上面的代码,你的所有证书都应该准备好了。这是自动化为大量参与者创建证书的过程的非常有效的解决方案。这对活动组织者来说非常有效。