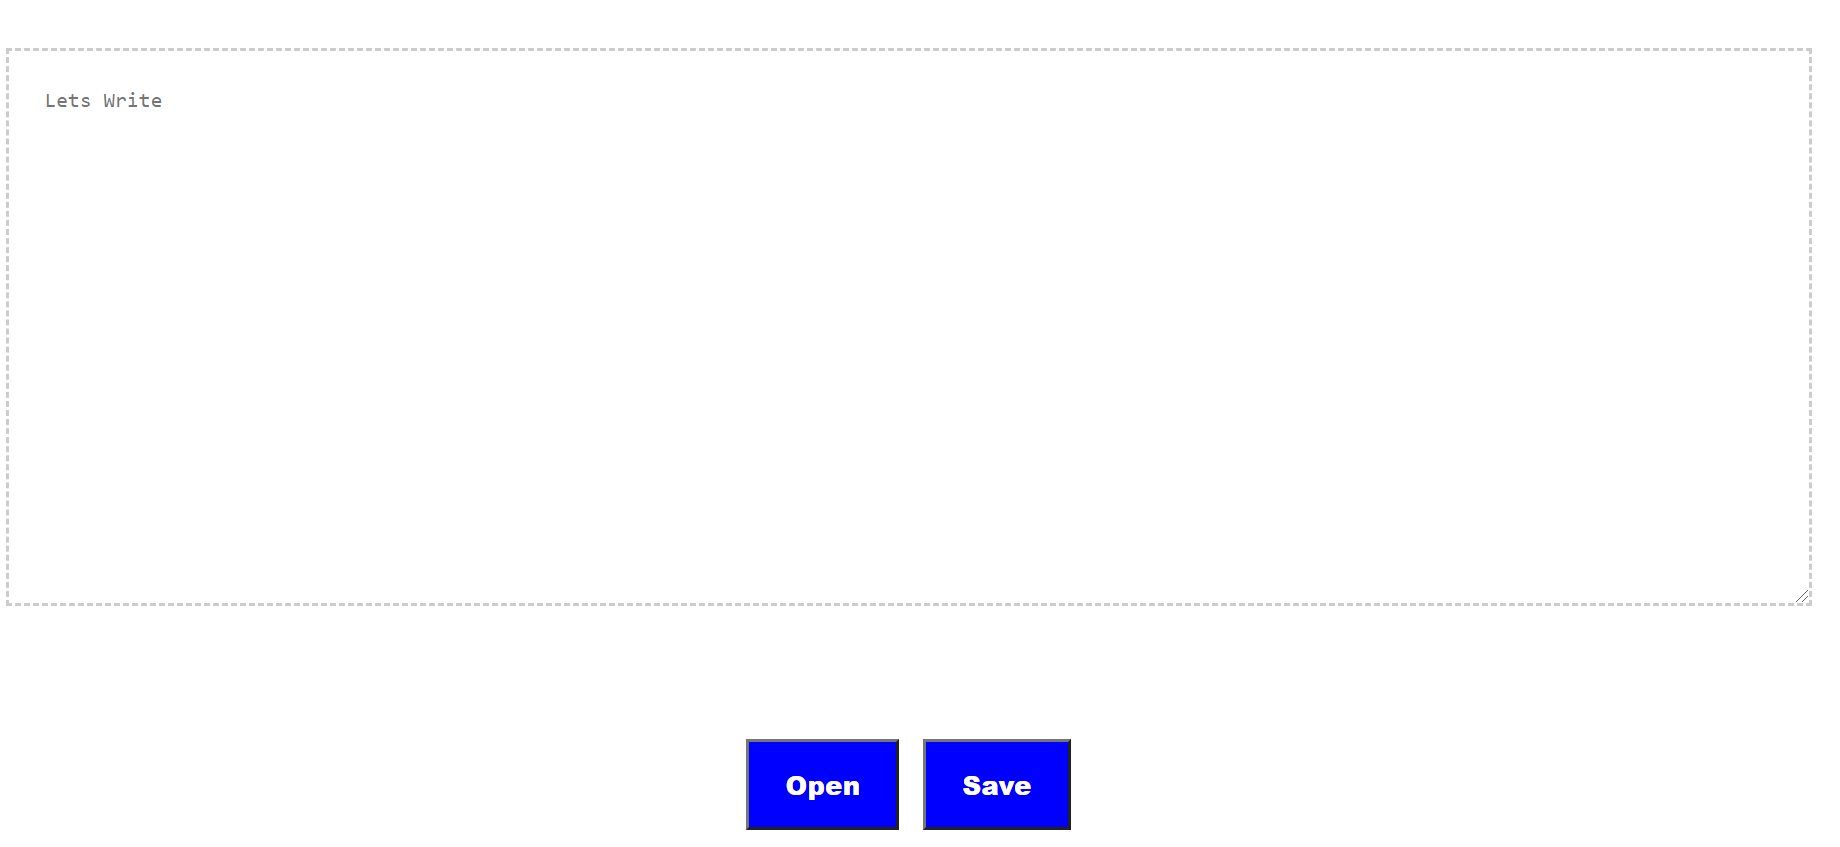
在本文中,我们将创建一个简单的文本编辑器,如应用程序,我们可以使用它在文件系统访问 API的帮助下打开、编辑和保存文本文件。
文件系统访问 API使我们能够与本地设备(如照片和视频编辑器)上的文件进行交互。当用户授予权限时,这有助于我们直接读取或保存对本地存储上的文件和文件夹的更改。使用这个API我们可以读、写、修改,也可以打开一个目录修改其内容。
我们将分三步创建这个应用程序。
- 使用 HTML 创建一个通用结构。
- 使用 CSS 给出一般样式。
- 在文件系统访问 API 的帮助下用 JavaScript 编写一些代码。
HTML 代码:我们将使用 HTML 来设计网页结构或布局。创建一个带有文本区域和两个按钮的容器,用于打开文件并保存文件。
HTML
HTML
const openFile = document.getElementById('openfile');
const saveFile = document.getElementById('savefile');
const contentTextArea = document.getElementById('content');
let fileHandle;
HTML
const open = async () => {
  [fileHandle] = await window.showOpenFilePicker();
  const file = await fileHandle.getFile();
  const contents = await file.text();
  contentTextArea.value = contents;
}
HTML
const save = async content => {
    try {
        const handle = await window.showSaveFilePicker({
            types: [
                {
                    accept: {
                        'text/plain': ['.txt'],
                    },
                },
            ],
        })

        // Create a FileSystemWritableFileStream to write
        const writable = await handle.createWritable();

        // Write the contents of the file to the stream
        await writable.write(content);

        // Close the file and write the contents to disk
        await writable.close();
        return handle;
    } catch (err) {
        console.error(err.name);
    }
}
HTML
openFile.addEventListener('click', () => open());
saveFile.addEventListener('click',
    () => save(contentTextArea.value));
CSS 代码: CSS 用于提供一般样式并使其更具视觉吸引力。为整个页面提供一般样式,如颜色和对齐方式。我们使用flex来使元素居中。在上面的 HTML 代码中,在代码头部的样式部分包含以下内容。
/* General Alignment to container
using flexbox */
.container{
    display: flex;
    height: 100vh;
    flex-wrap: wrap;
    align-items: center;
    justify-content: center;
}

/* Styling to the textarea */
textarea {
    width: 90vw;
    color: #777;
    font-size: 1.1rem;
    min-height: 20rem;
    border: 2px dashed rgba(0, 0, 0, 0.2);
    padding: 1.5rem;
}

/* Aligning buttons to center */
.buttons{
    width: 100%;
    display: flex;
    justify-content: center;
}

/* General styling to button */
button{
    margin:0 0.5rem;
    font-size: 1.1rem;
    font-weight: 800;
    background-color: blue;
    color: #ffffff;
    padding: 1rem 1.5rem;
}
输出:

JavaScript:我们将使用文件系统 API来打开、编辑和保存文件。我们将把我们的 JavaScript 代码分成三个步骤。
- 创建变量并访问具有 id 的元素、打开文件并保存文件。
- 创建一个函数来打开文件。
- 创建一个函数来关闭文件
第 1 步:访问元素
HTML
const openFile = document.getElementById('openfile');
const saveFile = document.getElementById('savefile');
const contentTextArea = document.getElementById('content');
let fileHandle;
第 2 步:它演示了打开文件的函数。要打开一个文件,首先我们需要提示用户选择一个文件。为此,我们将使用showOpenFilePicker()方法。此方法将返回一个文件句柄数组。
现在我们有了一个文件句柄,所以我们可以使用filehandle.getFile()方法访问文件本身,它返回包含一个 blob 的文件对象。要访问数据,我们将使用方法text() 。
HTML
const open = async () => {
  [fileHandle] = await window.showOpenFilePicker();
  const file = await fileHandle.getFile();
  const contents = await file.text();
  contentTextArea.value = contents;
}
第三步:演示保存文件的函数。为了保存文件,我们将使用showSaveFilePicker()方法。我们还想将其保存为 .txt 格式,因此我们将提供一些可选参数。
现在我们必须将文件写入磁盘,为此我们将使用FileSystemWritableFileStream对象。我们将通过调用createWritable()方法创建一个流。调用此方法时,它将检查写入权限,如果未授予权限,它将要求用户授予权限。如果权限被拒绝,则会抛出异常。然后我们将使用write()方法将文件的内容写入流。我们将关闭可写流并返回句柄。
HTML
const save = async content => {
    try {
        const handle = await window.showSaveFilePicker({
            types: [
                {
                    accept: {
                        'text/plain': ['.txt'],
                    },
                },
            ],
        })

        // Create a FileSystemWritableFileStream to write
        const writable = await handle.createWritable();

        // Write the contents of the file to the stream
        await writable.write(content);

        // Close the file and write the contents to disk
        await writable.close();
        return handle;
    } catch (err) {
        console.error(err.name);
    }
}
最后,我们会将 open 和 save 方法关联到我们的变量 open file 和 save file。
HTML
openFile.addEventListener('click', () => open());
saveFile.addEventListener('click',
    () => save(contentTextArea.value));
输出:所以我们的编辑器现在准备好了。
https://github.com/Nandini-72/Notepad