什么是图像滑块?
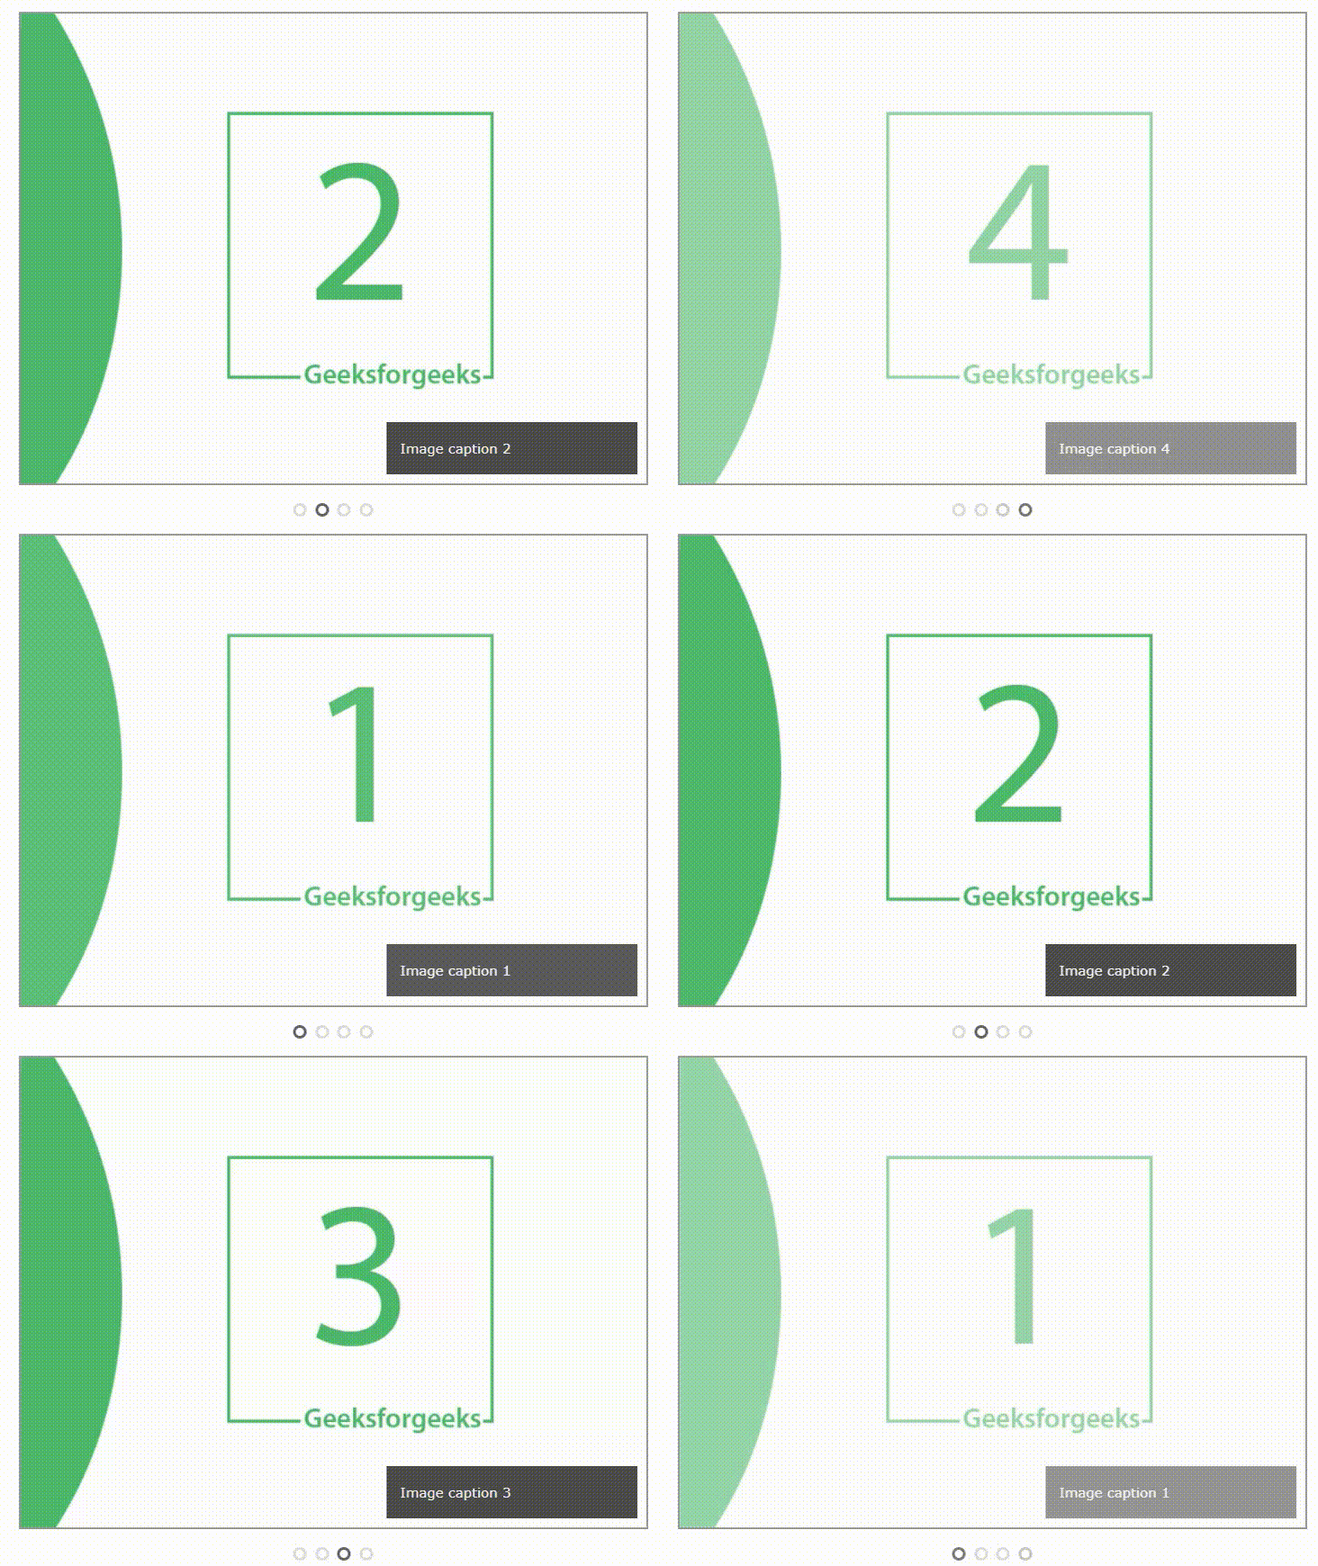
图像滑块或图像轮播是一种在网站上显示多个图像的权宜之计。诱人的华丽图像可以吸引许多访问者访问该网站。下图显示了示例图像滑块: 
在这篇文章中,我们将使用 HTML、CSS 和 JavaScript 创建上面的图像滑块。让我们从创建图像滑块开始。
步骤 – 1 :使用 HTML 创建图像滑块的结构并插入来自相应来源的图像。以下是执行此操作的完整 HTML 代码:
步骤 – 2 :一旦我们为图像滑块创建了 HTML 结构,下一步就是使用 CSS 设置滑块的样式。我们将为图像、背景等添加样式。我们还将为点设置样式,并使用 CSS 使我们的图像具有响应性和浏览器友好性。以下是用于设置图像滑块样式的完整 CSS 代码:
// CSS code
*
{
  box-sizing: border-box;
}
body
{
  font-family: Verdana, sans-serif;
}

.image-sliderfade
{
  display: none;
}

img
{
  vertical-align: middle;
}

/* Slideshow container */
.container
{
  max-width: 1000px;
  position: relative;
  margin: auto;
}

/* Caption text */
.text
{
  color: #f2f2f2;
  font-size: 15px;
  padding: 20px 15px;
  position: absolute;
  right: 10px;
  bottom: 10px;
  width: 40%;
  background: rgba(0, 0, 0, .7);
  text-align: left;
}

/* The dots/bullets/indicators */
.dot
{
  height: 15px;
  width: 15px;
  margin: 0 2px;
  background-color: transparent;
  border-color: #ddd;
  border-width: 5 px;
  border-style: solid;
  border-radius: 50%;
  display: inline-block;
  transition: border-color 0.6s ease;
}

.active
{
  border-color: #666;
}

/* Animation */
.fade
{
  -webkit-animation-name: fade-image;
  -webkit-animation-duration: 1.5s;
  animation-name: fade-image;
  animation-duration: 1.5s;
}

@-webkit-keyframes fade-image
{
  from {opacity: .4}
  to {opacity: 1}
}

@keyframes fade-image
{
  from {opacity: .4}
  to {opacity: 1}
}

/* On smaller screens, decrease text size */
@media only screen and (max-width: 300px)
{
  .text {font-size: 11px}
}
步骤 – 3 : 为滑块添加样式后,剩下的最后一件事是使用 javascript 添加在特定时间间隔后自动更改图像的功能。
在下面的代码片段中,一开始,我们将所有类名为“image-sliderfade”的 div 元素放入一个数组中,并使用 getElementByClassName() 侦听器对类名为“dots”的 div 执行相同操作。之后,我们为所有包含图像的 div 设置显示。在最后一个 for 循环中,我们删除了数组 dots[] 中每个元素的类名。完成这些后,我们将显示设置为要显示的图像块,并将类名附加到 dots[] 数组的相应元素。函数setTimeout 用于以 2 秒的间隔调用函数showlides()。
下面是完整的 JavaScript 代码:
var slideIndex = 0;
showSlides(); // call showslide method

function showSlides()
{
    var i;

    // get the array of divs' with classname image-sliderfade
    var slides = document.getElementsByClassName("image-sliderfade");

    // get the array of divs' with classname dot
    var dots = document.getElementsByClassName("dot");

    for (i = 0; i < slides.length; i++) {
        // initially set the display to
        // none for every image.
        slides[i].style.display = "none";
    }

     // increase by 1, Global variable
    slideIndex++;

     // check for boundary
    if (slideIndex > slides.length)
    {
        slideIndex = 1;
    }

    for (i = 0; i < dots.length; i++) {
        dots[i].className = dots[i].className.
                            replace(" active", "");
    }

    slides[slideIndex - 1].style.display = "block";
    dots[slideIndex - 1].className += " active";

    // Change image every 2 seconds
    setTimeout(showSlides, 2000);
}
完成上述所有步骤后,我们将使滑块向上运行,如下所示: 


