- TestLink-测试计划关系
- TestLink-测试计划关系(1)
- 测试计划(1)
- 测试计划
- 测试计划
- 测试计划
- TestLink-安装(1)
- TestLink-安装
- 什么是测试计划 (1)
- TestLink-项目(1)
- TestLink-项目
- TestLink-搜索(1)
- TestLink-搜索
- 测试计划 id (1)
- TestLink教程(1)
- TestLink教程
- TestLink-简介
- TestLink-简介(1)
- TestLink-功能(1)
- TestLink-功能
- 讨论TestLink(1)
- 讨论TestLink
- TestLink-登录
- TestLink-登录(1)
- 测试计划参考 (1)
- TestLink-关键字
- 什么是测试计划 - 无论代码示例
- TestLink-添加项目
- TestLink-图表(1)
📅 最后修改于: 2020-12-04 05:06:49 🧑 作者: Mango
测试计划是最重要的活动,以确保基线计划中最初包含任务和里程碑列表以跟踪项目进度。它还定义了测试工作量。
它是主要文档,通常称为主测试计划或项目测试计划,通常在项目的早期阶段开发。
创建测试计划
要创建测试计划,您应该具有“创建测试计划权限”。
以下是创建测试计划的步骤-
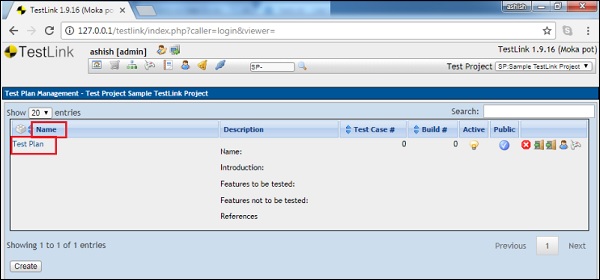
步骤1-转到仪表板上的测试计划→测试计划管理,如以下屏幕截图所示。
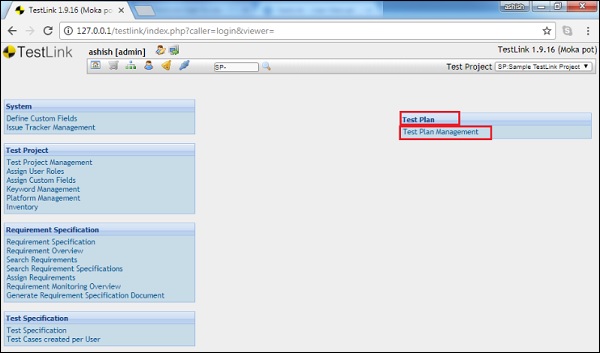
如果该项目列出了任何测试计划,它将显示测试计划列表。否则,它将显示一条消息以创建一个测试计划以支持测试执行功能。
步骤2-单击创建按钮,如以下屏幕截图所示。
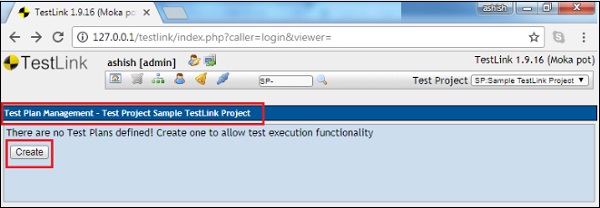
它显示测试计划创建表单。
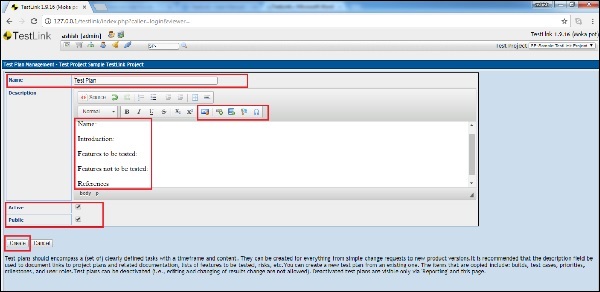
步骤3-在表单中输入以下详细信息。
-
名称-它应该是测试计划的名称。
-
描述-该字段应包含测试计划的详细信息。通常,测试计划包含以下信息。
| Sr.No. | Parameter & Description |
|---|---|
| 1 |
Test plan identifier Unique identifying reference. |
| 2 |
Introduction A brief introduction about the project and of the document. |
| 3 |
Test items A test item is a software item that is the application under test. |
| 4 |
Features to be tested A feature that needs to tested on the testware. |
| 5 |
Features not to be tested Identify the features and the reasons for not including as part of testing. |
| 6 |
Approach Details about the overall approach to testing. |
| 7 |
Item pass/fail criteria Documented whether a software item has passed or failed its test. |
| 8 |
Test deliverables Deliverables that are part of the testing process, such as test plans, test specifications and test summary reports. |
| 9 |
Testing tasks All tasks for planning and executing the testing. |
| 10 |
Environmental needs Defining the environmental requirements such as hardware, software, OS, network configurations, and tools required. |
| 11 |
Responsibilities Lists the roles and responsibilities of the team members. |
| 12 |
Staffing and training needs Captures the actual staffing requirements and any specific skills and training requirements. |
| 13 |
Schedule States the important project delivery dates and key milestones. |
| 14 |
Risks and Mitigation High-level project risks and assumptions as well as a mitigating plan for each identified risk. |
| 15 |
Approvals Captures all approvers of the document, their titles and the sign-off date. |
Testlink支持图像,表格,链接,特殊字符等,以使内容丰富。
如下面的屏幕截图所示,有2个复选框。
-
活动-将在创建后激活文档,您可以在测试执行或任何其他活动中使用此文档作为参考。
-
公共-允许其他用户使用此文档。与该项目链接的其他用户也将看到该对象。如果未选中此复选框,则只有创建者才能使用和查看此文档。
步骤4-单击位于表单底部的创建按钮。
单击创建后,您可以在屏幕的最右侧看到添加的测试计划以及一些图标,如下所示。
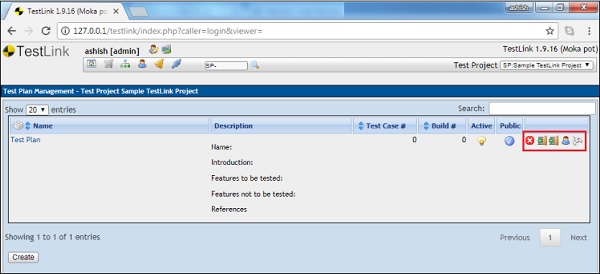
这些图标包括删除测试计划,导出到测试用例和平台的链接,导入到测试用例和平台的链接,从左到右分配角色和测试执行,如下面的屏幕快照所示。
编辑测试计划
要编辑测试计划,您应该具有“编辑权限”。
以下是编辑测试计划的步骤。
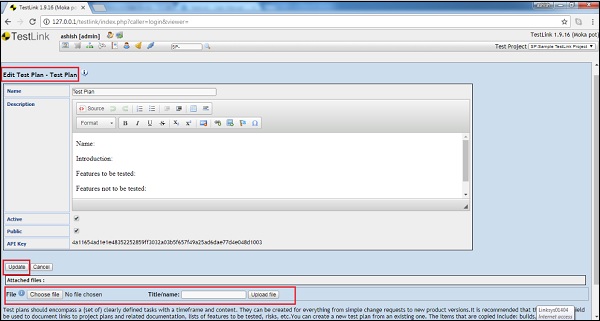
步骤1-单击测试计划名称以打开详细信息。测试计划的名称显示在第一列中,并且其超链接如以下屏幕截图所示。
步骤2-在编辑模式下打开测试计划详细信息。您可以编辑“活动”和“公共”模式的名称,描述和选择。
步骤3-在测试计划中附加文件。此功能仅在编辑模式下可用。创建测试计划时,您可以在说明中添加图像/表格。但是,附加文件选项不可用。
步骤4-更新详细信息后,单击更新以完成编辑。
以下屏幕截图显示了如何编辑测试计划。
删除测试计划
要删除计划,您应该具有“删除许可”。
如果删除了测试计划,它将同时删除测试计划及其所有相应数据。数据包括测试用例,结果等。
以下是删除构建的步骤-
步骤1-从仪表板转到“测试计划管理”→“测试计划”。
步骤2-单击与需要删除的测试计划行相对应的删除图标,如下所示。
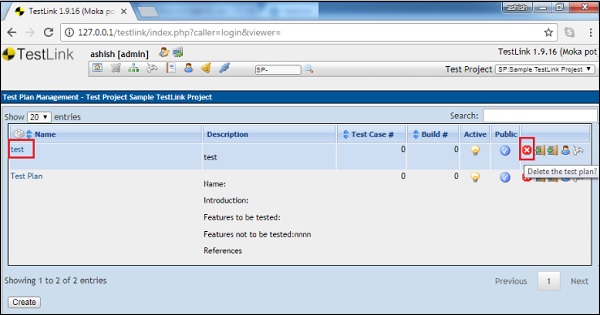
将显示一个弹出窗口,以确认删除。
步骤3-单击是,如下所示。
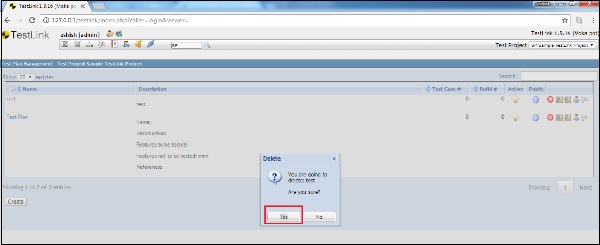
页面将刷新,并且测试计划将被删除。