构建 Android Studio 项目时添加 Stacktrace 或调试选项的不同方法
在开发您最喜欢的应用程序时,您可能会在某个时间点遇到这个奇怪的错误,
:GfGapp:processDebugResources FAILED

FAILURE: Build failed with an exception.
* What went wrong:
Execution failed for task ':app:processDebugResources'.
* Try:
Run with --stacktrace option to get the stack trace. Run with --info or --debug option to get more log output.
是的,现在您想使用 –stacktrace 选项运行,正如错误日志现在显示的那样!

图 1. 那个错误!
继续阅读本文,您将立即启动并运行。
方法#1:使用GUI方式实现结果(Windows)
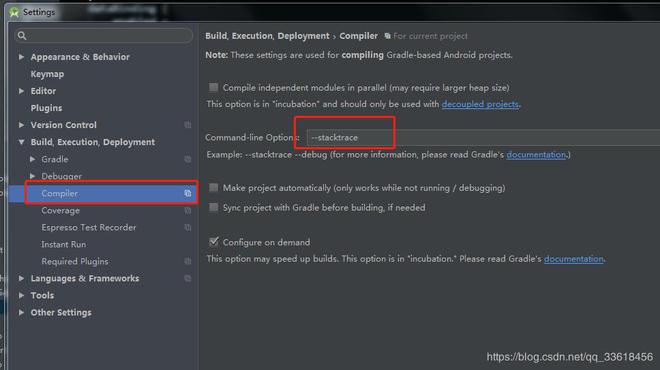
这可能是在 Android Studio 中添加 Stacktrace 选项的最简单方法,只需导航到 files 选项,然后您可以添加 Stacktrace 代替命令行选项,一切顺利。
File > Settings > Build, Execution, Deployment > Compiler
图 2. 编译器设置面板
方法#2:使用GUI方式实现结果(Mac)
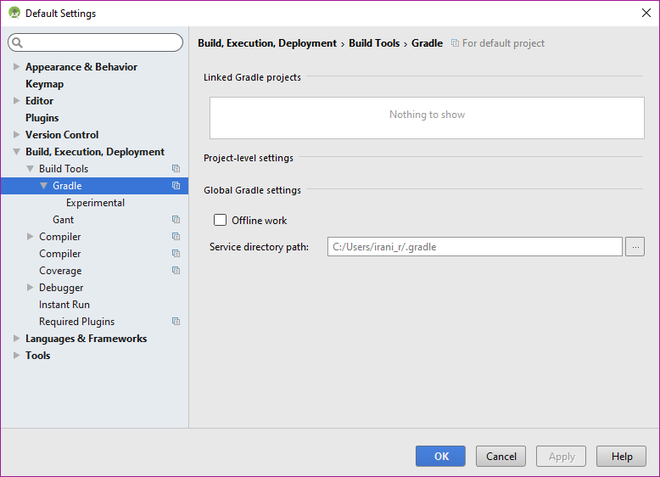
您将在 Mac 上获得与上述方法 #1 中所述相同的结果。只有某些设置的名称不同。
Navigate to Android Studio -> Preferences-> Build, Execution, Deployment-> Compiler
图形用户界面方法
Note: To view the Compiler option in the newest versions of AS (2.2 and 2.3), exit the open project, go to AS begin (where the current projects are shown), and select Configure -> Preferences->Build, Execution,Deployment. Otherwise, the Compiler is hidden.
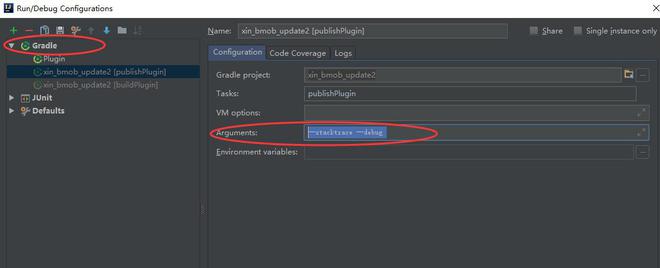
方法#3:通过配置添加
configurations.all {
    resolutionStrategy {
        force 'com.android.support:support-v4:27.0.0'
    }
}
在 Gradle 中添加配置
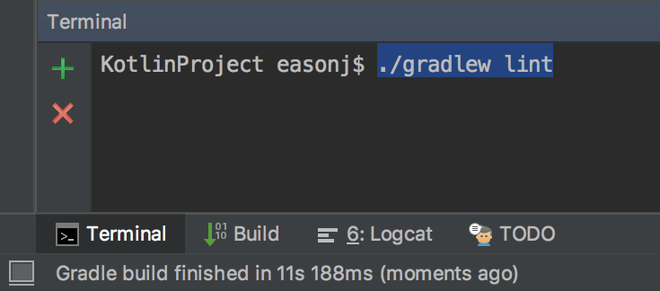
方法 #4:使用 Android Studio 终端
./gradlew assembleMyBuild --stacktrace如果您是 Android Studio 终端的粉丝,那么这可能会成为您的最佳选择,因为这涉及使用终端添加 Stacktrace 选项并获得所需的结果。在 Android Studio 的终端中输入上述语句,结果将开始弹出。

Android Studio 的终端
方法#5:你使用快车道?嗯,有优势
只需添加这个额外的标志,你就可以开始了!
gradle(
   flags: "{--stacktrace}"
)
这就是您刚刚设法运行堆栈跟踪选项的方式!