- Spring Security Java示例
- Spring Security Java示例(1)
- Spring Security教程(1)
- Spring Security教程
- Spring Security简介(1)
- Spring Security简介
- Spring Security XML示例(1)
- Spring Security XML示例
- Spring – 在 Spring Security 中添加角色
- Spring – 在 Spring Security 中添加角色(1)
- security+ (1)
- Spring Security项目模块
- Spring Security项目模块(1)
- Spring – 在 Spring Security 中添加用户名和密码(1)
- Spring – 在 Spring Security 中添加用户名和密码
- Spring Security自定义登录(1)
- Spring Security自定义登录
- Spring Security - 自定义登录(1)
- Spring Security - 自定义登录
- Spring Security记住我(1)
- Spring Security记住我
- 更新角色 spring security - Java (1)
- Spring Security - 内存中身份验证
- Spring Security - 内存中身份验证(1)
- 使用Java配置的 Spring Security 项目示例
- 使用Java配置的 Spring Security 项目示例(1)
- 登录重定向后的spring security - Java (1)
- Spring security avec spring version 2.5.6 - Java (1)
- 更新角色 spring security - Java 代码示例
📅 最后修改于: 2020-12-05 03:12:12 🧑 作者: Mango
方法级别的Spring Security
除了身份验证,Spring Security还检查已登录用户的授权。登录后,将根据用户的角色来授权哪个用户访问资源。
在WebSecurityConfig类中创建用户时,我们也可以指定用户的ROLE。
在方法上应用的安全性仅限于未经授权的用户,并且仅允许真实用户。
让我们来看一个例子。首先通过提供详细信息创建一个Maven项目。
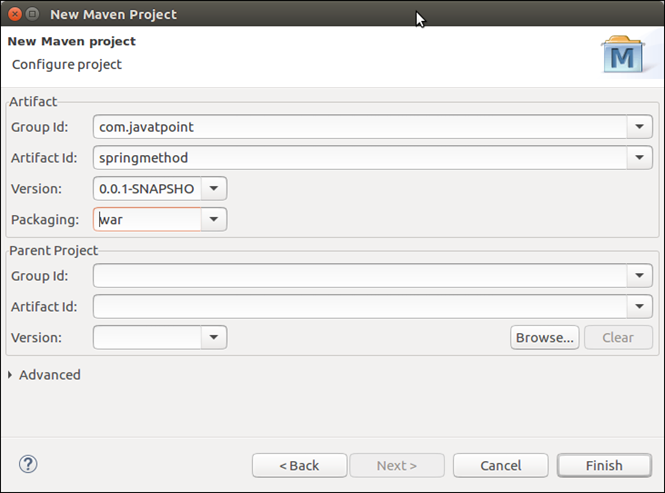
该项目最初看起来像这样:
Spring安全配置
现在,配置应用程序以防止未经授权和未经身份验证的用户。它需要下面给出的四个Java文件,创建一个包com.javatpoint并将所有这些文件放在其中。
// AppConfig.java
此类用于在视图解析器的帮助下设置视图后缀和前缀。
package com.javatpoint;
import org.springframework.context.annotation.Bean;
import org.springframework.context.annotation.ComponentScan;
import org.springframework.context.annotation.Configuration;
import org.springframework.web.servlet.config.annotation.EnableWebMvc;
import org.springframework.web.servlet.view.InternalResourceViewResolver;
import org.springframework.web.servlet.view.JstlView;
@EnableWebMvc
@Configuration
@ComponentScan({ "com.javatpoint.controller.*" })
public class AppConfig {
    @Bean
    public InternalResourceViewResolver viewResolver() {
        InternalResourceViewResolver viewResolver
                          = new InternalResourceViewResolver();
        viewResolver.setViewClass(JstlView.class);
        viewResolver.setPrefix("/WEB-INF/views/");
        viewResolver.setSuffix(".jsp");
        return viewResolver;
    }
}
// MvcWebApplicationInitializer.java.java
package com.javatpoint;
import org.springframework.web.servlet.support.AbstractAnnotationConfigDispatcherServletInitializer;
public class MvcWebApplicationInitializer extends
        AbstractAnnotationConfigDispatcherServletInitializer {
    @Override
    protected Class[] getRootConfigClasses() {
        return new Class[] { WebSecurityConfig.class };
    }
    @Override
    protected Class[] getServletConfigClasses() {
        // TODO Auto-generated method stub
        return null;
    }
    @Override
    protected String[] getServletMappings() {
        return new String[] { "/" };
    }
}
// SecurityWebApplicationInitializer.java
package com.javatpoint;
import org.springframework.security.web.context.*;
public class SecurityWebApplicationInitializer
    extends AbstractSecurityWebApplicationInitializer {
}
// WebSecurityConfig.java
此类用于创建用户并设置其身份验证。当用户想要访问应用程序时,每次都需要登录。
package com.javatpoint;
import org.springframework.context.annotation.*;
import org.springframework.security.config.annotation.method.configuration.EnableGlobalMethodSecurity;
import org.springframework.security.config.annotation.web.builders.HttpSecurity;
import org.springframework.security.config.annotation.web.configuration.*;
import org.springframework.security.core.userdetails.*;
import org.springframework.security.core.userdetails.User.UserBuilder;
import org.springframework.security.provisioning.InMemoryUserDetailsManager;
import org.springframework.security.web.util.matcher.AntPathRequestMatcher;
@EnableWebSecurity
@ComponentScan("com.javatpoint")
@EnableGlobalMethodSecurity(prePostEnabled=true)
public class WebSecurityConfig extends WebSecurityConfigurerAdapter {
@Bean
public UserDetailsService userDetailsService() {
    // ensure the passwords are encoded properly
     UserBuilder users = User.withDefaultPasswordEncoder();
     InMemoryUserDetailsManager manager = new InMemoryUserDetailsManager();
manager.createUser(users.username("irfan").password("user123").roles("USER").build());
manager.createUser(users.username("admin").password("admin123").roles("ADMIN").build());
     return manager;
    }
@Override
protected void configure(HttpSecurity http) throws Exception {
      http.authorizeRequests().
      antMatchers("/index","/").permitAll()
      .antMatchers("/admin","/user").authenticated()
      .and()
      .formLogin()
      .and()
      .logout()
      .logoutRequestMatcher(new AntPathRequestMatcher("/logout"));
}
}
控制者
创建一个控制器HomeController并将其放入com.javatpoint.controller包中。
// HomeController.java
package com.javatpoint.controller;
import org.springframework.security.access.prepost.PreAuthorize;
import org.springframework.stereotype.Controller;
import org.springframework.web.bind.annotation.RequestMapping;
import org.springframework.web.bind.annotation.RequestMethod;
import org.springframework.web.bind.annotation.ResponseBody;
@Controller
public class HomeController {
@RequestMapping(value="/", method=RequestMethod.GET)
public String index() {
return "index";
}
@RequestMapping(value="/user", method=RequestMethod.GET)
public String user() {
return "admin";
}
@RequestMapping(value="/admin", method=RequestMethod.GET)
public String admin() {
return "admin";
}
// Only, a person having ADMIN role can access this method.
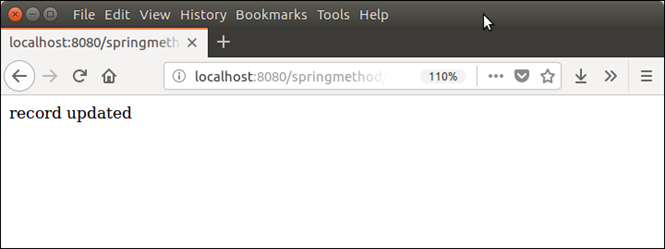
@RequestMapping(value="/update", method=RequestMethod.GET)
@ResponseBody
@PreAuthorize("hasRole('ROLE_ADMIN')")
public String update() {
return "record updated ";
}
}
视图
创建以下视图(JSP页面)以为用户生成输出。将所有视图放入WEB-INF / views文件夹。
// index.jsp
// admin.jsp
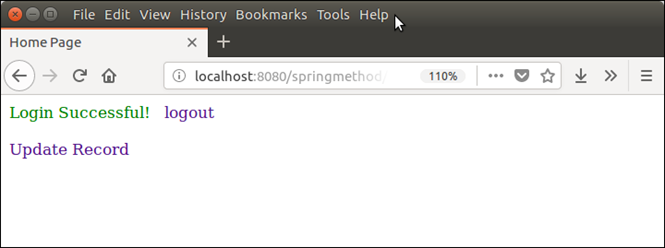
Home Page


Login Successful! ? logout


Update Record
包依赖
以下是创建此项目所需的依赖项。
  4.0.0
  com.javatpoint
  springmethod
  0.0.1-SNAPSHOT
  war

    1.8
    1.8


            org.springframework
            spring-webmvc
            5.0.2.RELEASE


        org.springframework.security
        spring-security-web
        5.0.0.RELEASE


    org.springframework.security
    spring-security-core
    5.0.4.RELEASE


    org.springframework.security
    spring-security-config
    5.0.4.RELEASE


    javax.servlet
    javax.servlet-api
    3.1.0
    provided


    javax.servlet
    jstl
    1.2


            org.apache.maven.plugins
            maven-war-plugin
            2.6

                false
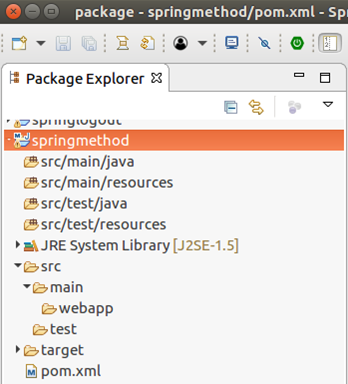
项目结构
添加以上所有文件后,我们的项目如下所示:

运行服务器
输出:
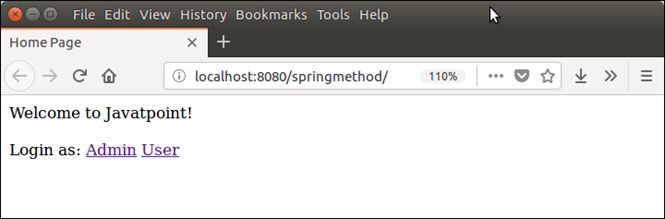
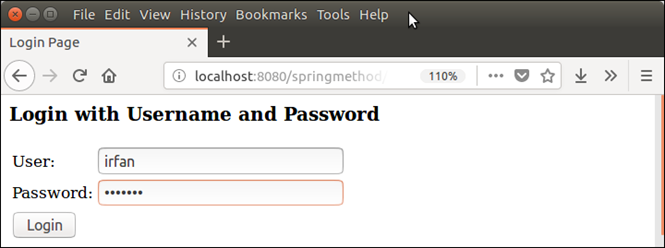
首次以ADMIN身份登录

登录后,

单击更新记录,然后看到记录已更新,因为用户的角色是ADMIN。
用户登录
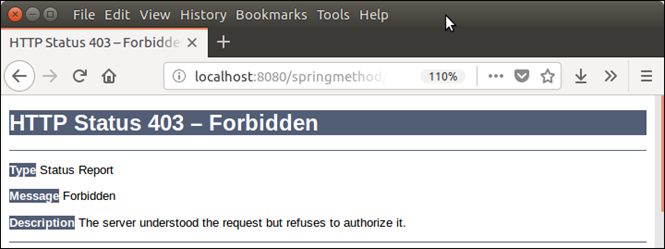
现在,以用户身份登录。
现在,单击更新记录,由于用户角色为USER,因此服务器拒绝访问。