📅 最后修改于: 2020-09-25 05:52:20 🧑 作者: Mango
在本教程中,我们将借助示例学习C++虚拟函数及其用法。
虚函数是基类中的成员 函数 ,我们希望在派生类中重新定义它。
基本上,在基类中使用虚函数 ,以确保该函数被覆盖 。这尤其适用于基类的指针指向派生类的对象的情况。
例如,考虑以下代码:
class Base {
   public:
    void print() {
        // code
    }
};

class Derived : public Base {
   public:
    void print() {
        // code
    }
};稍后,如果我们创建Base类型的指针以指向Derived类的对象并调用print() 函数,则它将调用Base类的print() 函数 。
换句话说, Base的成员 函数不会被覆盖。
int main() {
    Derived derived1;
    Base* base1 = &derived1

    // calls function of Base class
    base1->print();

    return 0;
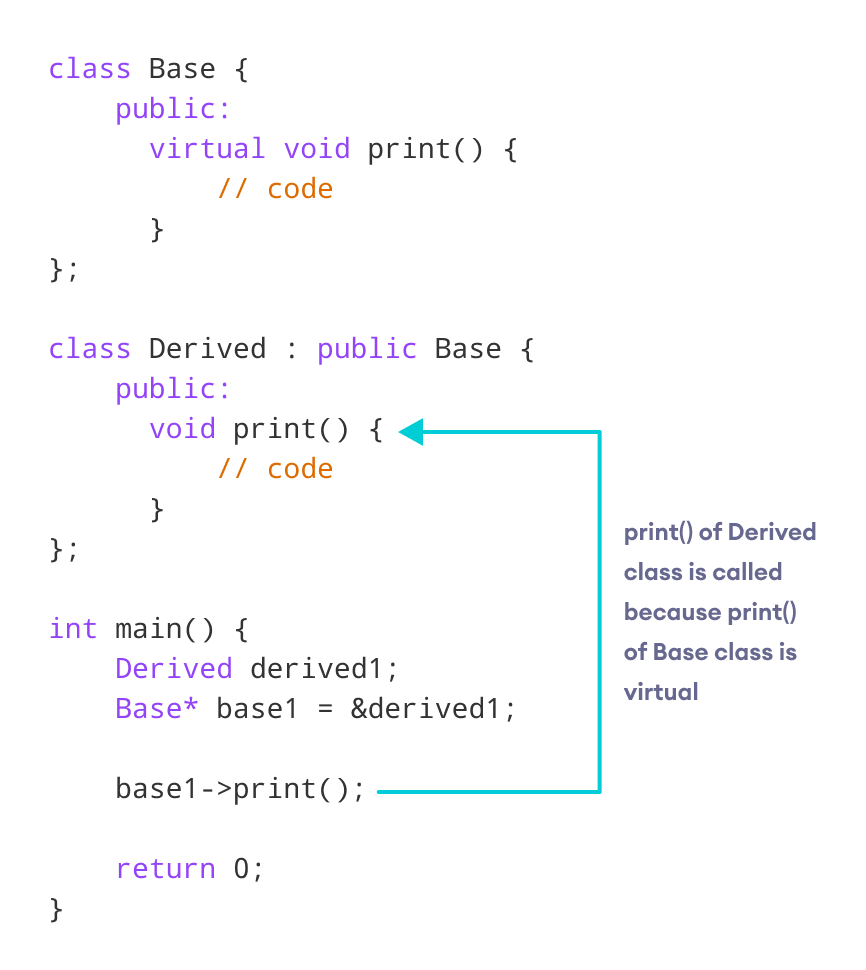
}为了避免这种情况,我们使用virtual关键字将Base类的print() 函数声明为virtual。
class Base {
   public:
    virtual void print() {
        // code
    }
};
虚函数是C++中多态性的组成部分。要了解更多信息,请查看我们的C++多态性教程。
示例1:C++虚拟函数
#include
using namespace std;

class Base {
   public:
    virtual void print() {
        cout << "Base Function" << endl;
    }
};

class Derived : public Base {
   public:
    void print() {
        cout << "Derived Function" << endl;
    }
};

int main() {
    Derived derived1;

    // pointer of Base type that points to derived1
    Base* base1 = &derived1

    // calls member function of Derived class
    base1->print();

    return 0;
}
输出
Derived Function在这里,我们已将Base的print() 函数声明为virtual 。
因此,即使我们使用Base类型的指针指向Derived对象derived1的指针,该函数也会被覆盖。

C++覆盖标识符
C++ 11为我们提供了新的标识符override ,这对于避免使用虚函数时的错误非常有用。
该标识符指定的派生类覆盖基类的成员 函数的成员函数。
例如,
class Base {
   public:
    virtual void print() {
        // code
    }
};

class Derived : public Base {
   public:
    void print() override {
        // code
    }
};如果我们在Derived类中使用函数原型,并在类之外定义该函数 ,那么我们将使用以下代码:
class Derived : public Base {
   public:
    // function prototype
    void print() override;
};

// function definition
void Derived::print() {
        // code
    }
使用C++覆盖
使用虚函数时。在声明派生类的成员函数时可能会出错。
使用override标识符会提示编译器在出现这些错误时显示错误消息。
否则,程序将只进行编译,但虚拟函数将不会被覆盖。
其中一些可能的错误是:
C++虚函数的使用
假设我们有基类Animal和派生类Dog和Cat 。
假设每个类都有一个名为type的数据成员 。假设这些变量是通过它们各自的构造函数初始化的。
class Animal {
   private:
    string type;
    ... .. ...
    public:
      Animal(): type("Animal") {}
    ... .. ...
};

class Dog : public Animal {
   private:
    string type;
    ... .. ...
    public:
      Animal(): type("Dog") {}
    ... .. ...
};

class Cat : public Animal {
   private:
    string type;
      ... .. ...
    public:
      Animal(): type("Cat") {}
    ... .. ...
};现在,让我们假设我们的程序要求我们为每个类创建两个public函数:
我们可以在每个类中分别创建这两个函数并覆盖它们,这将是冗长而乏味的。
或者我们可以在Animal类中使getType() 虚拟 ,然后创建一个单独的print() 函数 ,该函数接受Animal类型的指针作为其参数。然后,我们可以使用此单个函数覆盖虚拟函数。
class Animal {
    ... .. ...
   public:
    ... .. ...
    virtual string getType {...}
};

... .. ...
... .. ...

void print(Animal* ani) {
    cout << "Animal: " << ani->getType() << endl;
}这将使代码更短 , 更简洁且重复性更低 。
示例2:C++虚拟函数演示
// C++ program to demonstrate the use of virtual function

#include
#include
using namespace std;

class Animal {
   private:
    string type;

   public:
    // constructor to initialize type
    Animal() : type("Animal") {}

    // declare virtual function
    virtual string getType() {
        return type;
    }
};

class Dog : public Animal {
   private:
    string type;

   public:
    // constructor to initialize type
    Dog() : type("Dog") {}

    string getType() override {
        return type;
    }
};

class Cat : public Animal {
   private:
    string type;

   public:
    // constructor to initialize type
    Cat() : type("Cat") {}

    string getType() override {
        return type;
    }
};

void print(Animal* ani) {
    cout << "Animal: " << ani->getType() << endl;
}

int main() {
    Animal* animal1 = new Animal();
    Animal* dog1 = new Dog();
    Animal* cat1 = new Cat();

    print(animal1);
    print(dog1);
    print(cat1);

    return 0;
}
输出
Animal: Animal
Animal: Dog
Animal: Cat
在这里,我们使用了虚函数 getType()和Animal指针ani ,以避免在每个类中都重复print() 函数 。
void print(Animal* ani) {
    cout << "Animal: " << ani->getType() << endl;
}在main() ,我们创建了3个Animal指针来动态创建Animal , Dog和Cat类的对象。
// dynamically create objects using Animal pointers
Animal* animal1 = new Animal();
Animal* dog1 = new Dog();
Animal* cat1 = new Cat();然后,我们使用以下指针调用print() 函数 :