在 Google Cloud Run 上部署容器的指南
Google Cloud Run 是通过安全 https 连接部署 API 的快速且可扩展的解决方案之一,可被视为每个开发人员的首选。那么firebase是用于静态网站的,对吧?如果我们也可以在 firebase 上部署动态网站呢?您只需要Cloud Run 即可。在本教程中,我们将向您展示如何在 Cloud Run 上部署一个简单的网站。我们将在网站上使用 Flask。首先使用 Google Cloud SDK 设置您的系统。如果你不知道怎么做,我建议你在这里阅读他们的官方文档。
启用 Cloud Run API
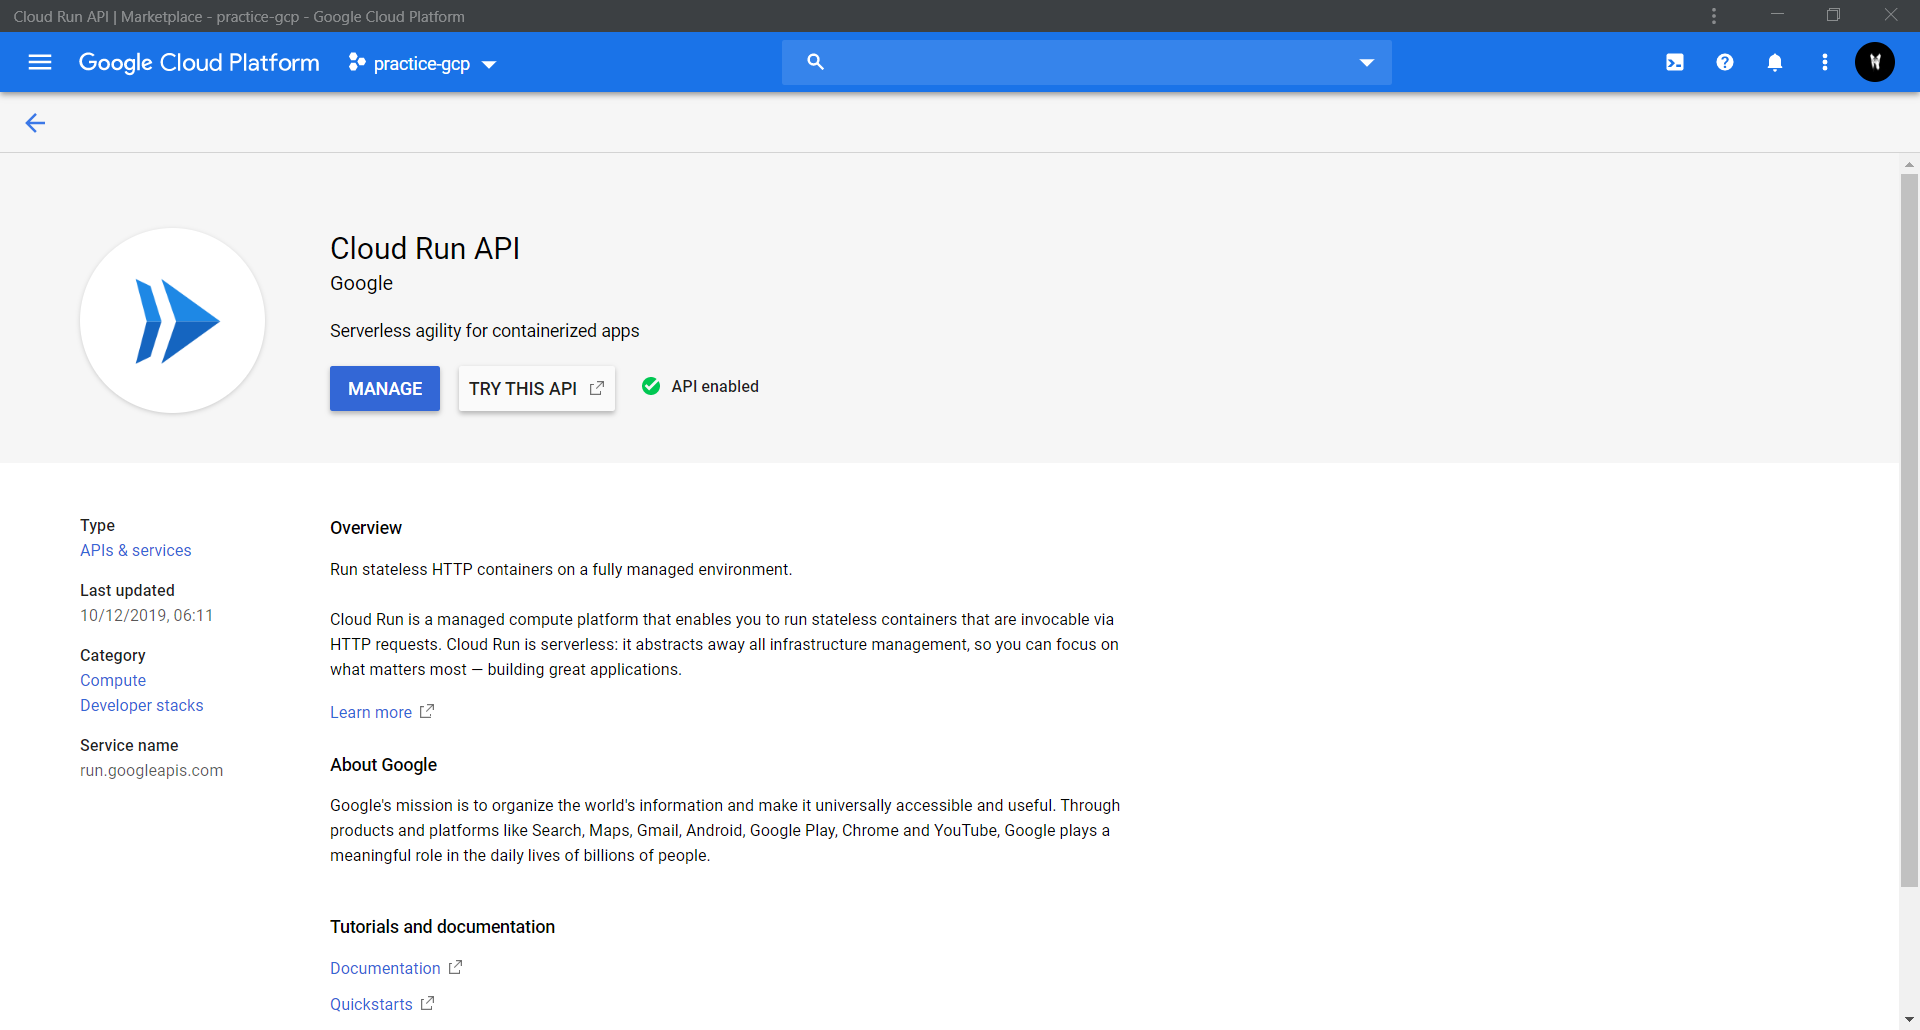
接下来,您需要启用Cloud Run API 。
- 转到 Cloud Console 中的 Marketplace。
- 然后搜索 Cloud Run API 并启用它
完成所有这些步骤后,您的页面应如下所示
创建项目
现在有趣的部分开始了。让我们来看看代码。
- 首先创建一个项目文件夹。就我而言,我将使用名称Cloud Run Tutorial 。
- 转到项目文件夹并创建一个名为requirements.txt的文件并将Flask==1.1.1添加到该文件中。
- 现在创建一个名为app.py的Python文件,并向其中添加以下行。
# importing Flask
from flask import Flask
app = Flask(__name__)

# specifying the route
@app.route('/')
def hello_world():
    return 'Hello, World !'

# this if block make sure that Flask app runs
# only if the file is executed directly
if __name__ == '__main__':
    # exposing port 8080 of localhost
    app.run(host ='0.0.0.0', port = 8080)
如果您对上述代码有任何困惑或想了解更多信息,我希望您在此处阅读烧瓶文档。
- 接下来创建一个名为Dockerfile (不带任何扩展名)的 Dockerfile,并向其中添加以下代码行。
#pulls python 3.7’s image from the docker hub
FROM python:alpine3.7
#copies the flask app into the container
COPY . /app
#sets the working directory
WORKDIR /app
#install each library written in requirements.txt
RUN pip install -r requirements.txt
#exposes port 8080
EXPOSE 8080
#Entrypoint and CMD together just execute the command
#python app.py which runs this file
ENTRYPOINT [ "python" ]
CMD [ "app.py" ]
部署项目
现在您的项目已准备好部署。要将其部署到 Google Cloud Run,我们需要将项目和容器容器化到 Google Container Registry (gcr)。
让我们看看它是如何做到的。
- 转到您的项目目录并打开终端。
- 键入gcloud init并选择要在其中部署网站的 GCP 项目并记下项目 ID。
- 输入 export project_id=THE_PROJECT_ID_NOTED 。
- 然后输入gcloud builds submit –tag gcr.io/${project_id}/helloworld:v1 。这将需要几分钟才能完成。
- 然后输入gcloud run deploy –image gcr.io/${project_id}/helloworld:v1 –platform managed
- 系统将提示您输入服务名称:按ENTER接受默认名称helloworld 。
- 系统将提示您选择地区:选择您选择的地区。
- 系统将提示您允许未经身份验证的调用:响应y
然后等待片刻,直到部署完成。成功后,命令行会显示服务 URL。
- 通过在 Web 浏览器中打开服务 URL 来访问您部署的容器。
输出-
如果您已正确完成所有步骤,那么您的 Cloud Run 页面应如下所示
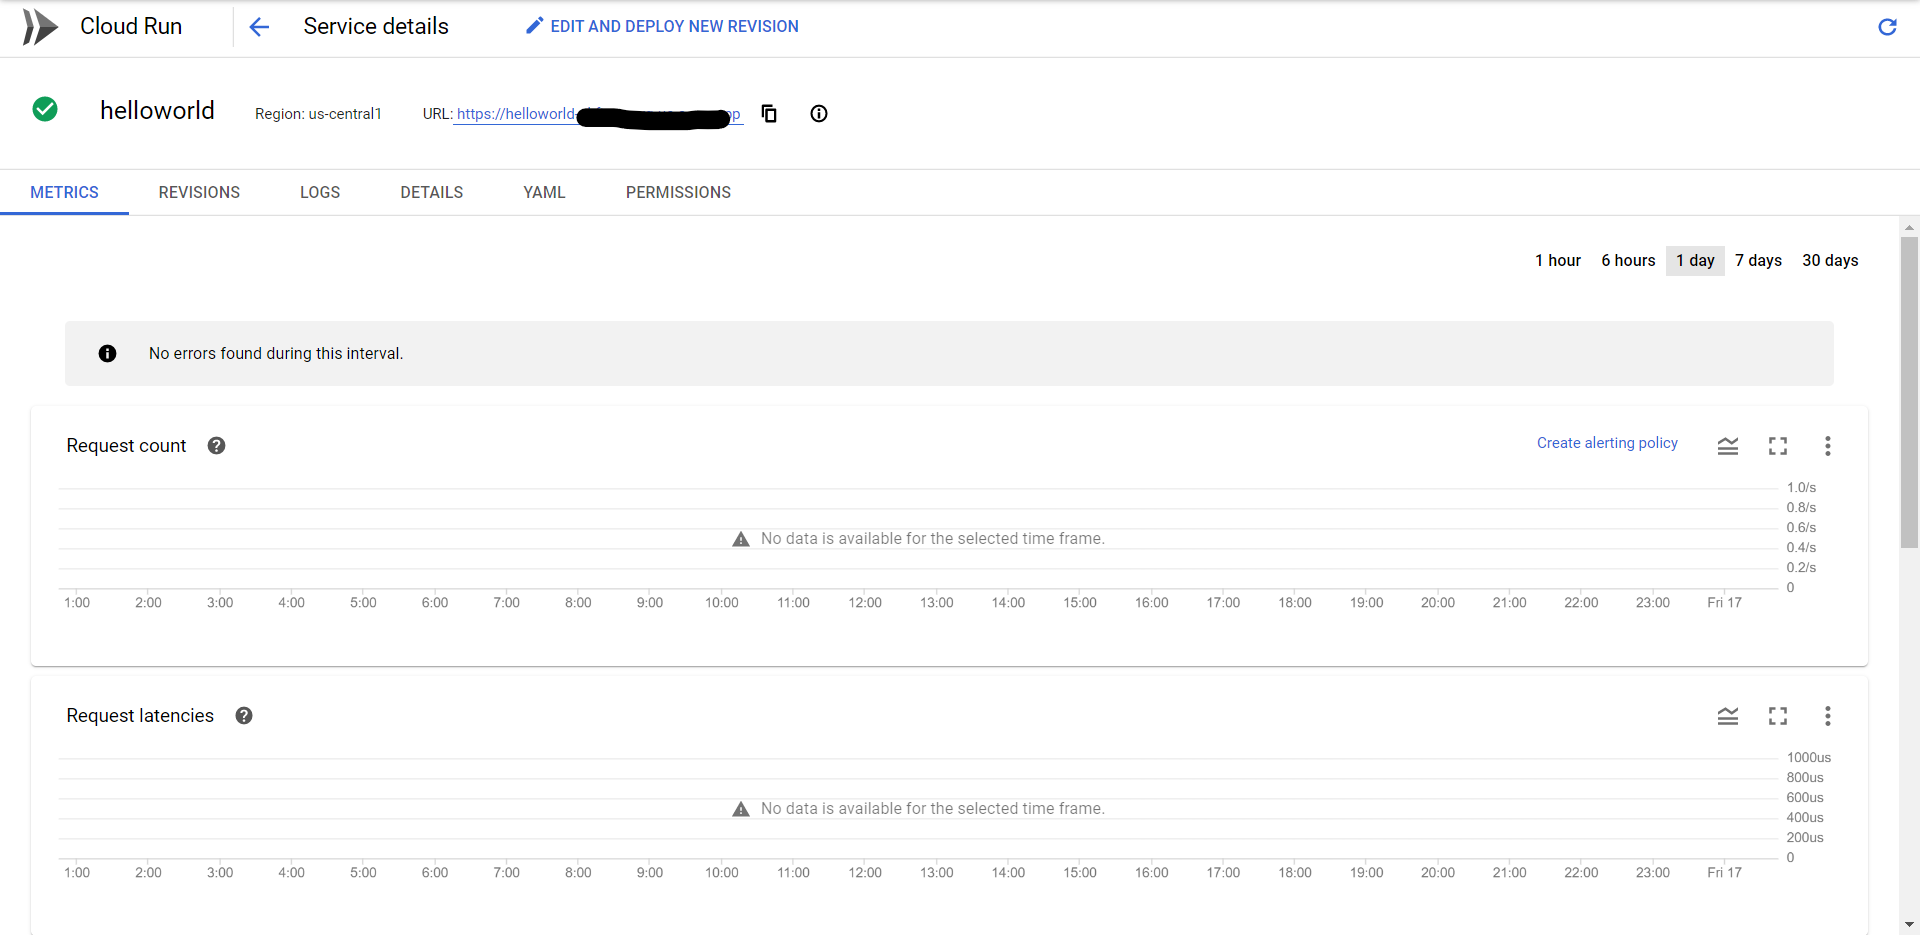
恭喜!您刚刚将一个打包在容器映像中的应用部署到 Cloud Run。 Cloud Run 会自动横向扩展您的容器映像以处理收到的请求,然后在需求减少时进行缩减。
在评论中写代码?请使用 ide.geeksforgeeks.org,生成链接并在此处分享链接。
- 接下来创建一个名为Dockerfile (不带任何扩展名)的 Dockerfile,并向其中添加以下代码行。