在 MacOS 上安装 Tensorflow
TensorFlow 是谷歌大脑团队开发的开源软件库。它广泛用于实现有助于解决现实世界问题的深度学习模型。在本文中,我们将学习如何使用 Homebrew 在 macOS 上安装 TensorFlow。
要求:
- Python 3.6–3.8
- macOS 10.12.6 (Sierra) 或更高版本(不支持 GPU)
安装 TensorFlow:
第一步:验证Python版本:
$ python3 --version
第 2 步:验证是否安装了 brew:
$ brew --version
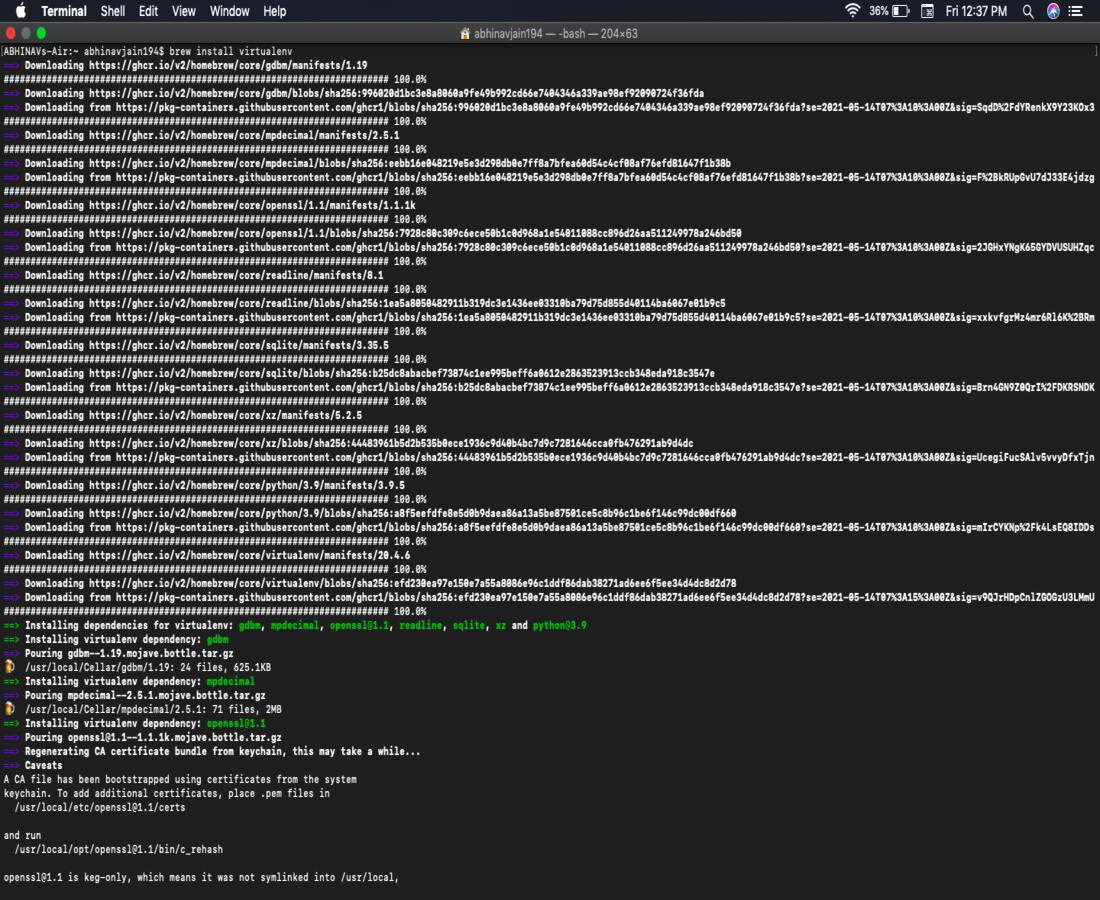
第三步:创建虚拟环境:
$ brew install virtualenv
第四步:创建新的虚拟环境后,创建一个./pythonenv目录来存放它。
$ virtualenv --system-site-packages -p python3 ./pythonenv
第 5 步:进入 ./pythonenv
$ cd ./pythonenv第六步:激活虚拟环境
source bin/activate第 7 步:安装 TensorFlow。
brew install tensorflow
第 8 步:在 /pythonenv 中创建一个名为tfdemo的新文件夹。在tfdemo 中创建一个名为tfdemofile.py的新文件。
第 9 步:运行文件:
$ python3 tfdemofile.pyPython3
# importing tensorflow
import tensorflow as tf

# creating nodes in computation graph
node1 = tf.constant(3, dtype = tf.int32)
node2 = tf.constant(5, dtype = tf.int32)
node3 = tf.add(node1, node2)

# create tensorflow session object
sess = tf.Session()

# evaluating node3 and printing the result
print("Sum of node1 and node2 is:", sess.run(node3))

# closing the session
sess.close()
输出:
