- latex 图
- LateX (1)
- latex表
- latex 图
- c# latex - C# 代码示例
- html中的latex(1)
- latex列表(1)
- latex列表
- LateX - 任何代码示例
- 如何使用Latex
- 如何使用Latex(1)
- 安装LaTeX
- 安装LaTeX(1)
- 什么是LaTeX
- 什么是LaTeX(1)
- html代码示例中的latex
- 新命令 - latex - C# (1)
- latex 矩阵(1)
- latex 矩阵
- latex 颜色(1)
- latex 颜色
- 新命令 - latex - C# 代码示例
- LaTeX教程
- LaTeX教程(1)
- latex格式
- latex格式(1)
- LaTeX 中的字体(1)
- LaTeX 中的字体
- LaTeX中的字体(1)
📅 最后修改于: 2021-01-06 00:43:24 🧑 作者: Mango
latex 图像
图像用于增强文档或任何文件中的信息。在大多数科学文献中,图片是必不可少的。在Latex中,您可以放大,缩小,旋转并设置文档中图像的参考。
latex 不会插入图片本身。
插入图像的基本要求是:
- 包括图形包。该命令将写为\ usepackage {graphicx} 。
- 您需要从浏览器下载特定图像,并将该图像保存在存在Latex文件的同一文件夹中。否则,Latex无法访问这些图像。保存该特定图像时,在代码或程序中提及相同的内容。
让我们考虑一个插入图像的简单示例。代码如下:
\documentclass[12pt]{article}
\usepackage{graphicx}
\begin{document}

The lion is the king of jungle.\\
\includegraphics[scale=0.1]{lion}

\end{document}
输出:
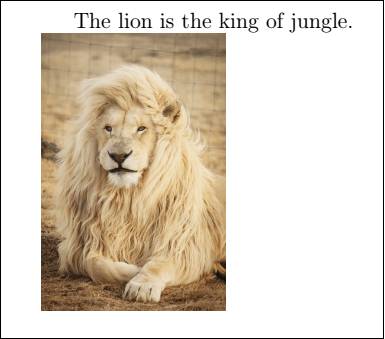
您可以根据需要在文档中插入许多图片。
插入两个图像的代码如下:
\documentclass[12pt]{article}
\usepackage{graphicx}
\begin{document}

Some stars are visible with the naked \\ eye in the night while some are not.\\
\includegraphics[scale=0.5]{star}\\ % star and star1 are the images saved with these names.
The group of stars is called cluster.\\
\includegraphics[scale=0.25]{star1}

\end{document}
输出:
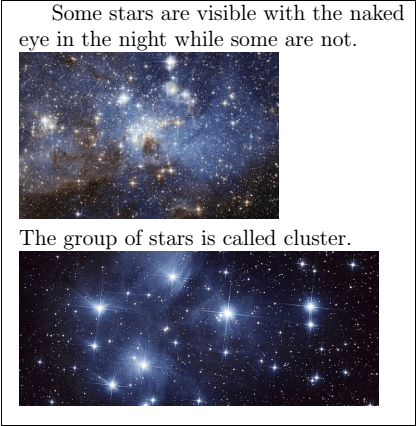
路径规格
有时,计算机上不同文件夹中存在大量图像。要将这些图像直接插入Latex文档中,可以使用\ graphicspath {{path}}命令指定路径。
让我们考虑路径图像。该命令将写为\ graphicspath {{\ images}} 。您需要使用名称“ images”创建文件夹,以便Latex可以通过此路径轻松将图像或图片插入文档中。
示例如下:
\documentclass[12pt]{article}
\usepackage{graphicx}
\begin{document}
\graphicspath{ {images/} }
\includegraphics[scale=0.65]{cloud}\\
The image of the cloud is given above.
\end{document}
我们首先在存在Latex文件的位置创建了images文件夹。您可以将多个图像保存在该文件夹中,并可以直接访问它们。
输出:
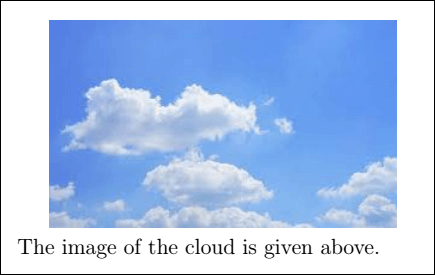
如果在系统中指定了文件的确切位置,则也可以指定绝对路径。此类示例如下:
\documentclass[12pt]{article}
\usepackage{graphicx}
\begin{document}

\graphicspath{ {c:/images1/} }
\includegraphics[scale=0.35]{butterfly}\\
The image of the butterfly is given above.
\end{document}
在这里,我们在C:驱动器中创建了“ images1”文件夹,并因此指定了路径。同样,即使子文件夹中存在图像,也可以指定路径。
输出:
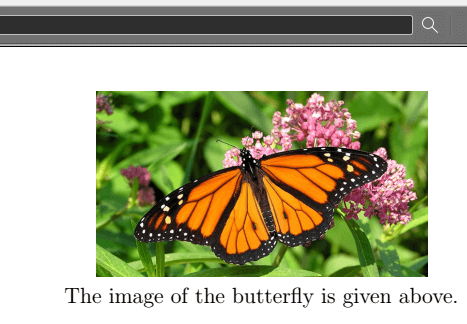
更改图像大小
您可以根据要求指定图像的高度和宽度。示例如下:
\documentclass[12pt]{article}
\usepackage{graphicx}
\begin{document}

\graphicspath{ {images/} }
\includegraphics[width=6cm, height=4cm]{smiley}\\
The image of a smiley is given above.

\end{document}
输出:
在这里,您可以根据需要使用任何路径和尺寸。

图像旋转
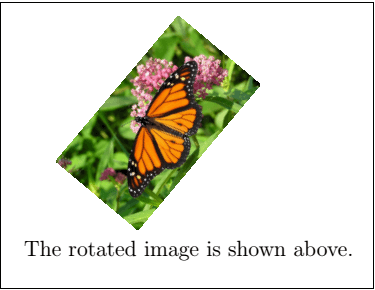
您可以通过在\ includegraphics命令中指定角度来旋转任何图像。让我们考虑一张蝴蝶的图片。
下例给出了这种类型的代码:
\documentclass[12pt]{article}
\usepackage{graphicx}
\begin{document}

\graphicspath{ {images/} }
\includegraphics[scale=0.2, angle=50]{butterfly}\\
The rotated image is shown above.

\end{document}
输出:
图像对齐
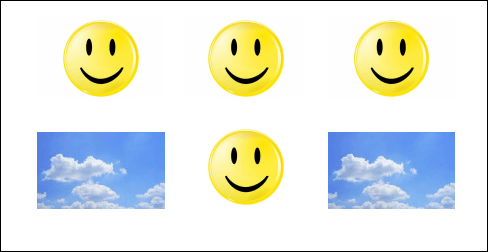
在图像对齐中,使用了两个命令。第一个命令是\ baselineskip ,用于生成垂直行间距。第二个命令是\ quad ,用于维持水平空间。它只有一个宽度。
如果要以矩阵形式对齐图像,请确保所有照片中提到的宽度均相等。
下面给出了以矩阵形式排列六个图像的代码:
\documentclass{article}
\usepackage{graphicx}

\begin{document}
\begin{center}
\graphicspath{ {images/} }
\includegraphics[width=.2\linewidth]{smiley}\quad
\includegraphics[width=.2\linewidth]{smiley}\quad
\includegraphics[width=.2\linewidth]{smiley}
\\[\baselineskip]% adds vertical line spacing
\includegraphics[width=.2\linewidth]{cloud}\quad
\includegraphics[width=.2\linewidth]{smiley}\quad
\includegraphics[width=.2\linewidth]{cloud}
\end{center}
\end{document}
输出:
如果要将页面的所有图像都包含在框架中,则需要使用showframe包。该命令将写为\ usepackage {showframe} 。