Next.js 注入路由器
在本文中,我们将学习如何将路由器注入到 NextJS 项目中。 NextJS 是一个基于 React 的框架。它有能力为 Windows、Linux 和 mac 等不同平台开发漂亮的 Web 应用程序。
Next.js 有一个基于页面概念的基于文件系统的路由器。将文件添加到 pages 目录时,它会自动作为路由使用。要访问 React 组件中的路由器对象,您可以使用 useRouter 或 withRouter,这称为注入路由器。
创建 NextJS 应用程序:您可以使用以下命令创建一个新的 NextJs 项目:
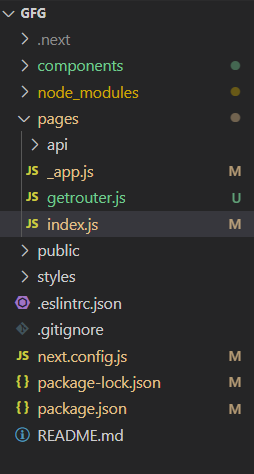
npx create-next-app gfg项目结构:它看起来像这样。
我们可以在 NextJs 页面中注入路由器来访问路由器对象。您可以使用 2 个函数来执行此操作:-
- 使用用户路由器()
- 使用 withRouter()
1.使用useRouter():在NextJs中我们可以很容易的使用useRouter()函数获取当前路由的值。要使用它,我们将在 pages 目录中创建一个名为“ getrouter.js ”的新页面。之后,我们将以下代码添加到我们的 getrouter.js 页面。在下面的代码中,首先,我们从 next/router 导入我们的 useRouter函数,然后我们创建一个名为CurrentRoute的新函数,在其中,我们调用我们的 useRouter() 并将该变量存储在一个新的常量变量中命名路由器。之后,我们将显示路径名、asPath 和来自路由变量的查询。
Javascript
import React from 'react'
import {useRouter} from 'next/router';

export default function CurrentRoute() {
    // Calling useRouter() hook
    const router = useRouter()
    console.log(router.query)
    return (

            GeeksforGeeks
            pathname:- {router.pathname}
            asPath:- {router.asPath}

    )
}
Javascript
import React from 'react'
import {withRouter} from 'next/router';

export class CurrentRoute extends React.Component {

    render() {
        return (

                GeeksforGeeks
                pathname:- {this.props.router.pathname}
                asPath:- {this.props.router.asPath}

        )
    }
}

export default withRouter(getRoute)运行应用程序的步骤:通过在终端中键入以下命令来启动开发服务器。
npm run dev输出:
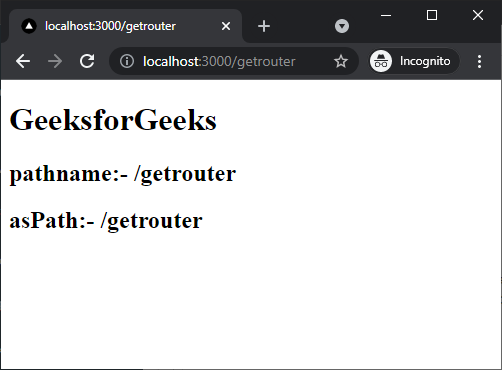
2. 使用 withRouter():你不能在 react 类组件中使用 useRouter() 钩子。因此,如果您想访问类组件内的路由对象数据,则必须使用 withRouter()函数。在我们的getrouter.js文件中,将内容更改为以下内容。
Javascript
import React from 'react'
import {withRouter} from 'next/router';

export class CurrentRoute extends React.Component {

    render() {
        return (

                GeeksforGeeks
                pathname:- {this.props.router.pathname}
                asPath:- {this.props.router.asPath}

        )
    }
}

export default withRouter(getRoute)
在这里,我们只是在 react 类组件中更改 CurrentRoute函数并使用 withRouter 将其导出。
运行应用程序的步骤:通过在终端中键入以下命令来启动开发服务器。
npm run dev输出:
