详细视图——基于函数的视图 Django
详细视图是指一种视图(逻辑),用于显示数据库中表的特定实例以及所有必要的详细信息。它用于在单个页面或视图上显示多种类型的数据,例如用户的个人资料。 Django 为详细视图提供了非凡的支持,但让我们检查一下它是如何通过基于函数的视图手动完成的。本文围绕 Detail View 展开,其中涉及 Django Forms、Django Models 等概念。
对于详细视图,我们需要一个包含一些模型和多个实例的项目,它们将被显示。
Django 详细视图——基于函数的视图
如何使用示例创建和使用详细视图的说明。考虑一个名为 geeksforgeeks 的项目,它有一个名为 geeks 的应用程序。
Refer to the following articles to check how to create a project and an app in Django.
- How to Create a Basic Project using MVT in Django?
- How to Create an App in Django ?
在你有一个项目和一个应用程序之后,让我们创建一个模型,我们将通过我们的视图创建它的实例。在 geeks/models.py 中,
Python3
# import the standard Django Model
# from built-in library
from django.db import models

# declare a new model with a name "GeeksModel"
class GeeksModel(models.Model):

    # fields of the model
    title = models.CharField(max_length = 200)
    description = models.TextField()

    # renames the instances of the model
    # with their title name
    def __str__(self):
        return self.title
Python3
from django.urls import path

# importing views from views..py
from .views import detail_view

urlpatterns = [
    path('', detail_view ),
]
Python3
from django.shortcuts import render

# relative import of forms
from .models import GeeksModel

# pass id attribute from urls
def detail_view(request, id):
    # dictionary for initial data with
    # field names as keys
    context ={}

    # add the dictionary during initialization
    context["data"] = GeeksModel.objects.get(id = id)

    return render(request, "detail_view.html", context)
html
    {{ data.title }}

    {{ data.description }}
创建此模型后,我们需要运行两个命令才能为其创建数据库。
Python manage.py makemigrations
Python manage.py migrate
现在让我们使用 shell 创建这个模型的一些实例,运行表单 bash,
Python manage.py shell输入以下命令
>>> from geeks.models import GeeksModel
>>> GeeksModel.objects.create(
title="title1",
description="description1").save()
>>> GeeksModel.objects.create(
title="title2",
description="description2").save()
>>> GeeksModel.objects.create(
title="title3",
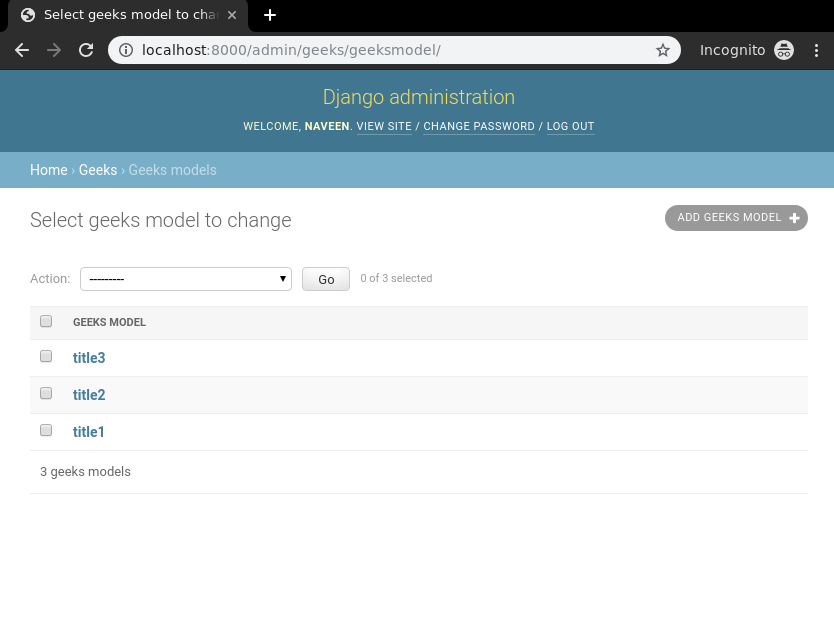
description="description3").save()现在我们已经为后端做好了一切准备。验证是否已从 http://localhost:8000/admin/geeks/geeksmodel/ 创建实例
对于 detail_view,需要一些标识才能获得模型的特定实例。通常它是唯一的主键,例如id 。要指定这个标识,我们需要在 urls.py 中定义它。转到极客/urls.py,
Python3
from django.urls import path

# importing views from views..py
from .views import detail_view

urlpatterns = [
    path('', detail_view ),
]
让我们为其创建一个视图和模板。在 geeks/views.py 中,
Python3
from django.shortcuts import render

# relative import of forms
from .models import GeeksModel

# pass id attribute from urls
def detail_view(request, id):
    # dictionary for initial data with
    # field names as keys
    context ={}

    # add the dictionary during initialization
    context["data"] = GeeksModel.objects.get(id = id)

    return render(request, "detail_view.html", context)
在templates/Detail_view.html中创建一个模板,
html
    {{ data.title }}

    {{ data.description }}
让我们检查一下 http://localhost:8000/1 上有什么
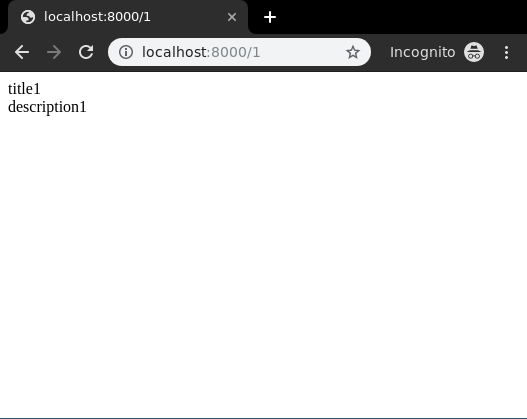
答对了..!!详细视图工作正常。还可以根据多种形式所需的使用类型显示选定的字段。通常不是 id 用于定义详细视图,而是 slug。要了解有关 slug 和 SlugField 的更多信息,请访问 - 在 Django 模型中添加 slug 字段