- 路由器导航离子 - Javascript(1)
- 路由器导航离子 - Javascript代码示例
- 路由器导航离子 (1)
- 路由器导航离子 - 任何代码示例
- 离子卡(1)
- 离子卡
- 离子路线导航 - Html (1)
- 离子-Javascript列表
- 滑出导航 - Javascript (1)
- 离子路线导航 - Html 代码示例
- 滑出导航 - Javascript 代码示例
- 离子-Javascript背景(1)
- 离子-Javascript背景
- 离子图像库 (1)
- 离子-按钮(1)
- 离子-按钮
- 离子-选择(1)
- 离子-选择
- 离子-Javascript键盘(1)
- 离子-Javascript键盘
- 导航栏代码 (1)
- 离子-颜色
- 离子-颜色(1)
- 离子-范围
- 离子-范围(1)
- jquery 导航 - Javascript (1)
- 离子输入中可见的离子密码 - TypeScript (1)
- 离子-内容(1)
- 离子-内容
📅 最后修改于: 2020-12-08 05:08:40 🧑 作者: Mango
导航是每个应用程序的核心组件之一。 Ionic正在使用AngularJS UI路由器来处理导航。
使用导航
可以在app.js文件中配置导航。如果您使用的是Ionic模板之一,则会注意到$ stateProvider服务已注入app config中。以下示例显示了为应用创建状态的最简单方法。
$ stateProvider服务将扫描URL,找到相应的状态并加载文件,这是我们在app.config中定义的。
app.js代码
.config(function($stateProvider) {
   $stateProvider
   .state('index', { url: '/', templateUrl: 'templates/home.html'})
   .state('state1', {url: '/state1', templateUrl: 'templates/state1.html'})
   .state('state2', {url: '/state2', templateUrl: 'templates/state2.html',});
});
该状态将被加载到ion-nav-view元素中,该元素可以放置在index.html主体中。
index.html代码
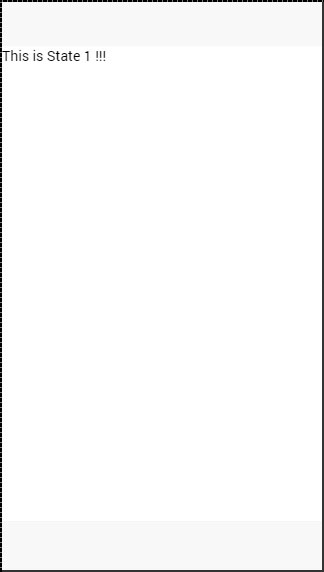
在上述示例中创建状态时,我们使用的是templateUrl ,因此在加载状态时,它将搜索匹配的模板文件。现在,我们将打开模板文件夹并创建一个新文件state1.html ,当应用程序URL更改为/ state1时将加载该文件。
state1.html代码
This is State 1 !!!
创建导航菜单
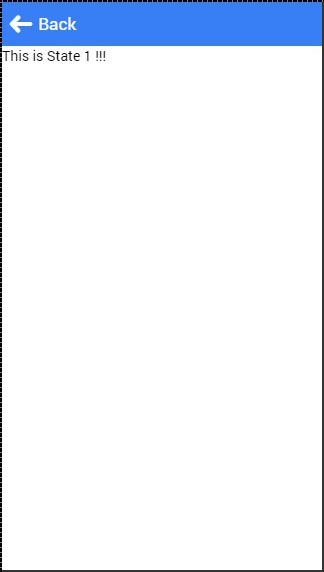
您可以通过添加“ ion-nav-bar”元素将导航栏添加到index.html主体中的应用程序。在导航栏中,我们将添加带图标的ion-nav-back按钮。这将用于返回到先前的状态。状态更改时,该按钮将自动出现。我们将分配goBack()函数,该函数将使用$ ionicHistory服务来处理此功能。因此,当用户离开家乡状态并进入state1时,如果用户想返回家乡状态,将显示可以粘贴的后退按钮。
index.html代码
Back
控制器代码
.MyCtrl($scope, $ionicHistory) {
   $scope.goBack = function() {
      $ionicHistory.goBack();
   };
}
添加导航元素
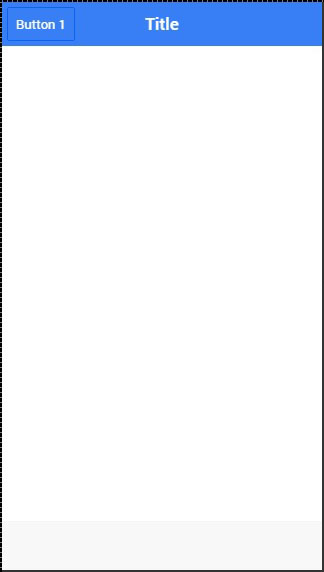
可以使用ion-nav-buttons将按钮添加到导航栏中。该元素应放置在ion-nav-bar或ion-view内部。我们可以为side属性分配四个选项值。主要和次要值将根据使用的平台放置按钮。有时,无论是IOS还是Android,您都希望一侧的按钮。如果是这种情况,则可以改用left或right属性。
我们还可以将ion-nav-title添加到导航栏。所有代码都将放置在index.html主体中,因此可以在任何地方使用。
Title
它将产生以下屏幕-
其他导航属性
下表显示了一些其他功能,可以与离子导航一起使用。
导航属性
| Attribute | Options | Detail |
|---|---|---|
| nav-transition | none, iOS, Android | Used to set animation that should be applied when transition occurs. |
| nav-direction | forward, back, enter, exit, swap | Used to set the direction of the animation when transition occurs. |
| hardwareBackButtonClose | Boolean | It will enable closing the modal when hardware back button is clicked. Default value is true. |
快取
Ionic可以缓存多达十个视图以提高性能。它还提供了一种手动处理缓存的方法。由于每次用户访问时仅缓存后向视图,而前向视图则被加载,因此可以通过使用以下代码轻松设置为缓存前向视图。
$ionicCinfigProvider.views.forwardCache(true);
我们还可以设置应缓存多少个状态。如果我们要缓存三个视图,则可以使用以下代码。
$ionicConfigProvider.views.maxCache(3);
可以在$ stateProvider内部禁用缓存,也可以通过将属性设置为ion-view来禁用。这两个示例如下。
$stateProvider.state('state1', {
   cache: false,
   url : '/state1',
   templateUrl: 'templates/state1.html'
})
控制导航栏
我们可以使用$ ionicNavBarDelegate服务来控制导航栏的行为。该服务需要注入到我们的控制器中。
HTML代码
控制器代码
$scope.setNavTitle = function(title) {
   $ionicNavBarDelegate.title(title);
}
$ ionicNavBarDelegate服务还有其他有用的方法。下表列出了其中一些方法。
$ ionicNavBarDelegate的方法
| Method | Parameter | Type | Detail |
|---|---|---|---|
| align(parameter) | center, left, right | string | Used to align the title. |
| showBackButton(parameter) | show | Boolean | Used to show or hide the back button. |
| title(parameter) | title | string | Used to show the new title. |
追踪记录
您可以使用$ ionicHistory服务跟踪以前,当前和前向视图的历史记录。下表显示了此服务的所有方法。
$ ionicHistory的方法
| Method | Parameter | Type | Detail |
|---|---|---|---|
| viewHistory | / | object | Returns the app view history data. |
| currentView() | / | object | Returns the current view. |
| title(parameter) | title | string | Returns the ID of the view which is parent of the current view. |
| currentTitle(parameter) | val | string | Returns the title of the current view. It can be updated by setting new val value. |
| backView() | / | string | Returns the last back view. |
| backTitle() | / | string | Returns the title of last back view. |
| forwardView() | / | object | Returns the last forward view. |
| currentStateName() | / | string | Returns the current state name. |
| goBack() | backCount | number | Used to set how many views to go back. Number should be negative. If it is positive or zero it will have no effect. |
| clearHistory() | / | / | Used to clear entire view history. |
| clearCache() | / | promise | Used to clear all cached views. |
| nextViewOptions() | / | object | Sets the options of the next view. You can look the following example for more info. |
nextViewOptions()方法具有以下三个可用选项。
-
disableAnimate用于禁用下一个视图更改的动画。
-
disableBack将后视图设置为null。
-
historyRoot会将下一个视图设置为根视图。
$ionicHistory.nextViewOptions({
   disableAnimate: true,
   disableBack: true
});