OpenCV 简介
OpenCV 是最流行的计算机视觉库之一。如果您想在计算机视觉领域开始您的旅程,那么对 OpenCV 概念的透彻理解至关重要。
在本文中,我将尝试以直观的方式介绍 OpenCV 最基本和最重要的概念。
本文将涵盖以下主题:
- 读取图像
- 提取像素的 RGB 值
- 提取感兴趣区域 (ROI)
- 调整图像大小
- 旋转图像
- 绘制一个矩形
- 显示文本
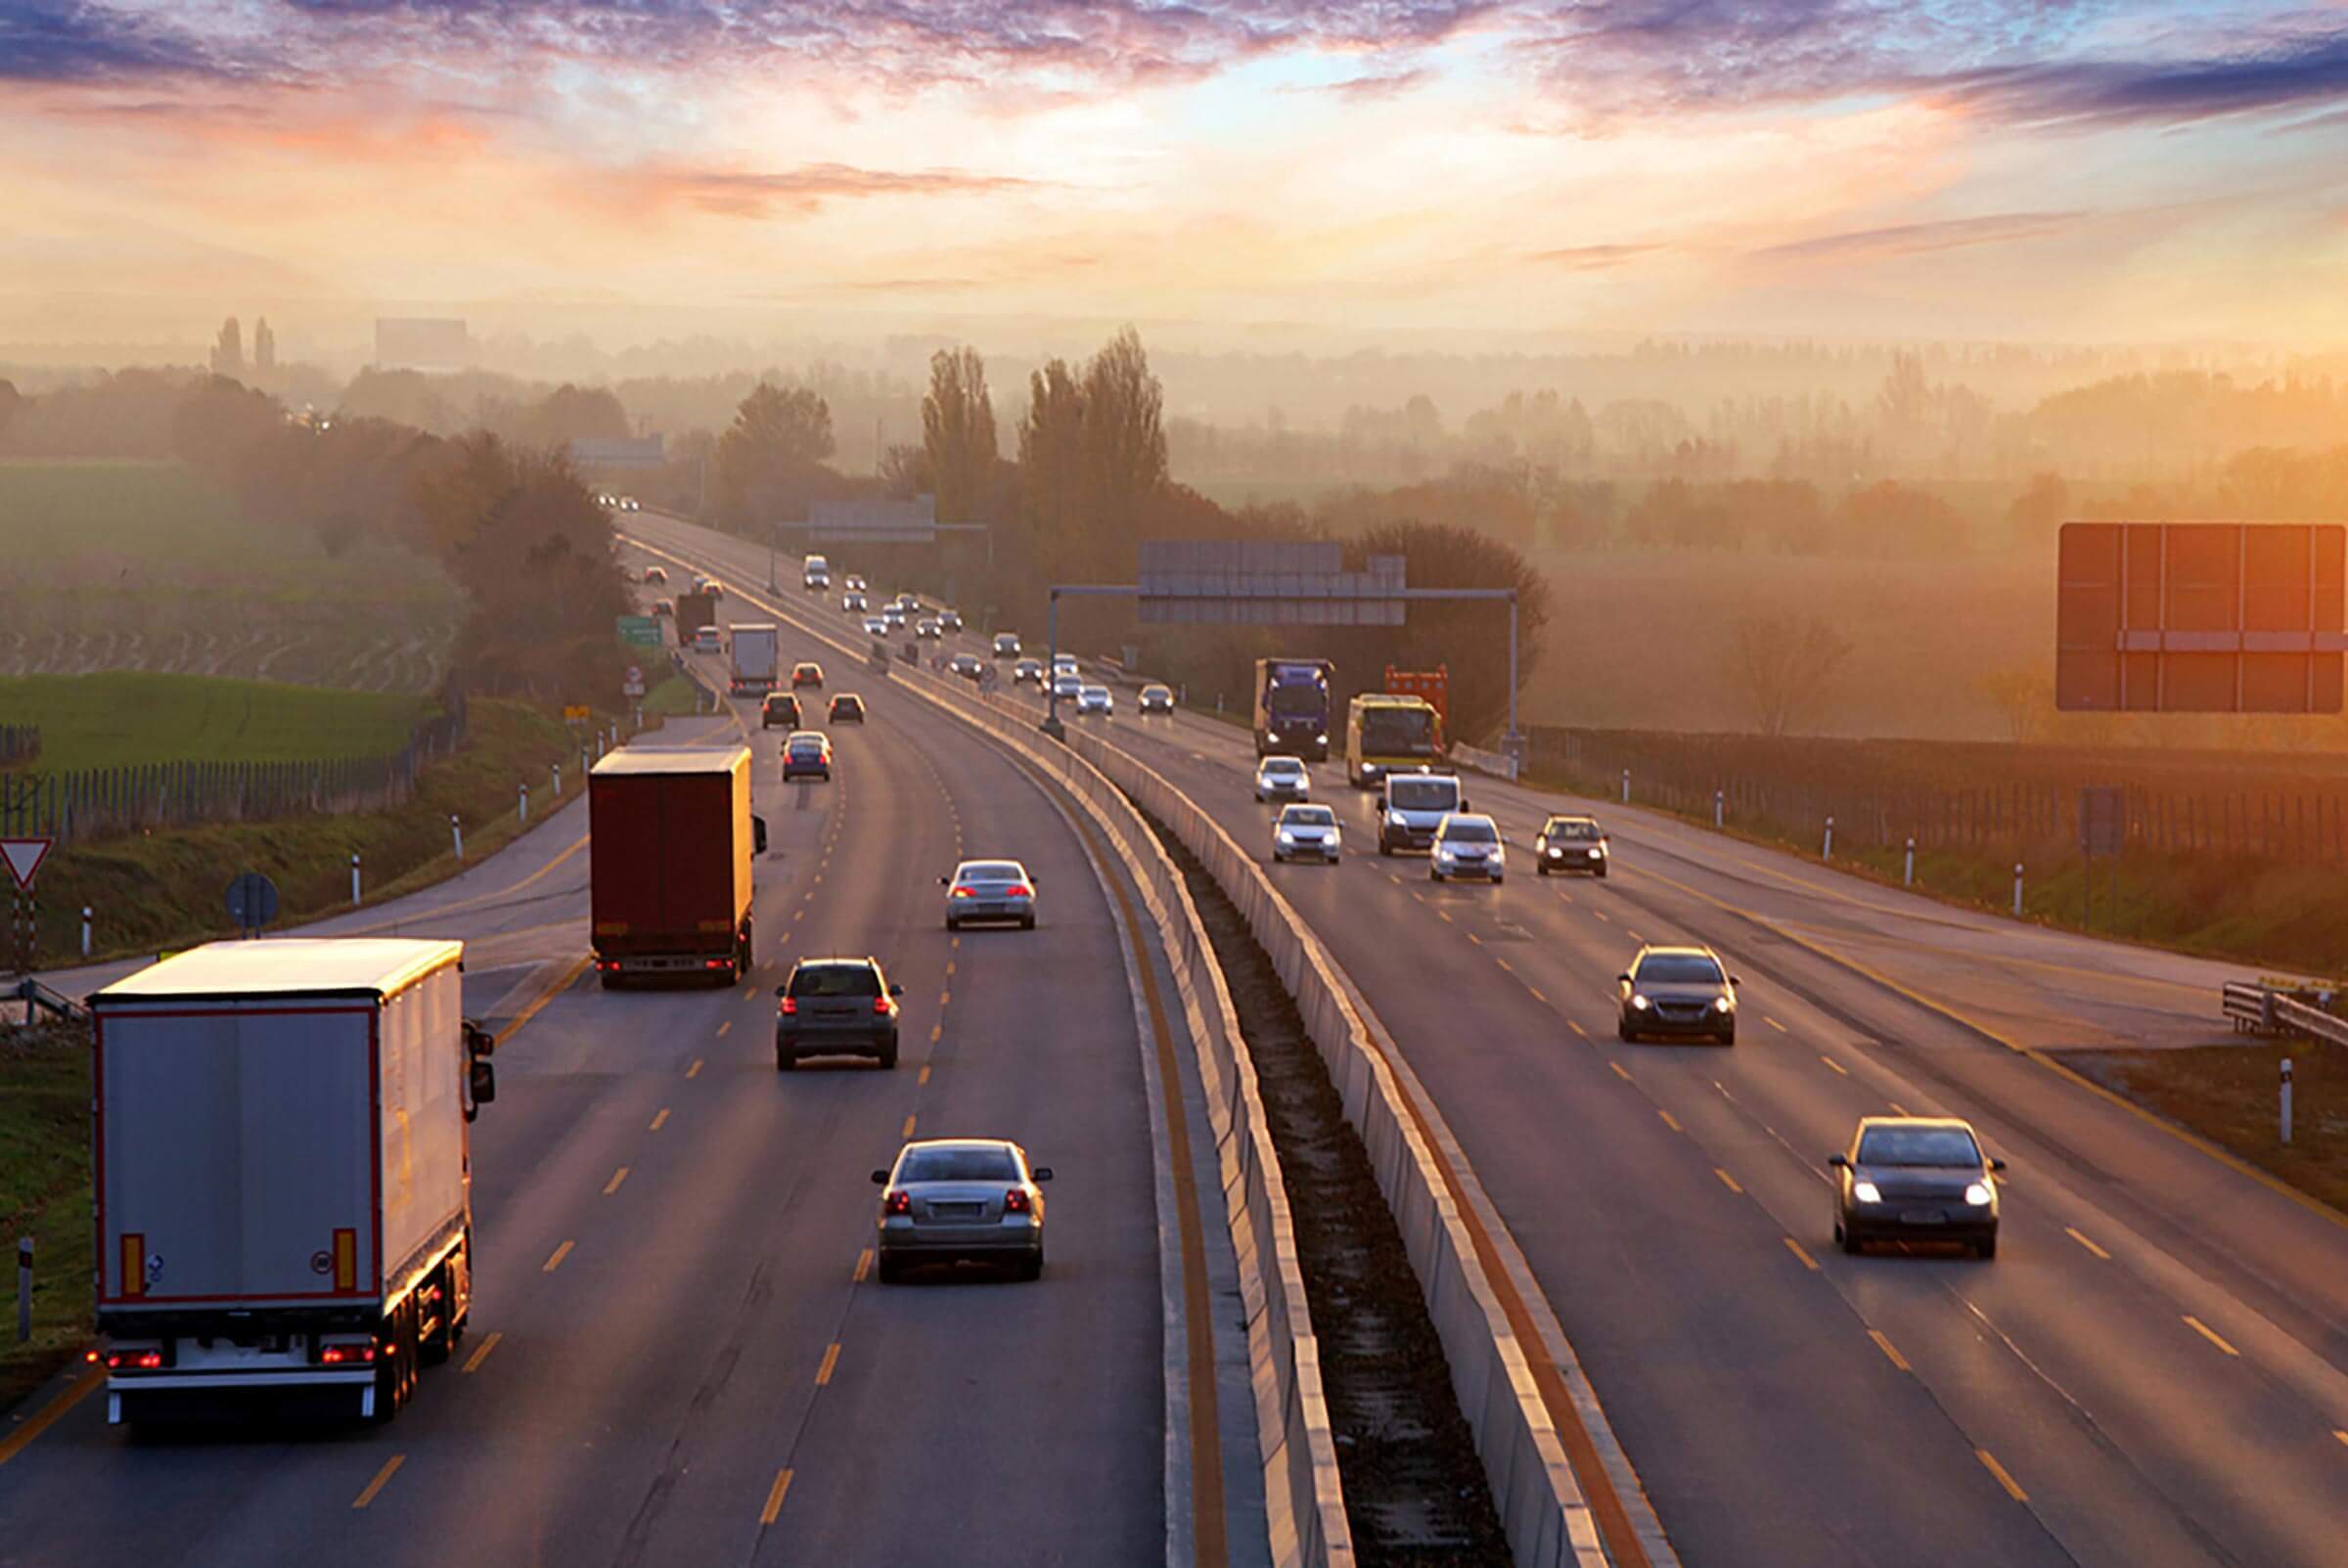
这是我们将在本文的整个过程中处理的原始图像。
让我们从使用 OpenCV 读取图像的简单任务开始。
读取图像
# Importing the OpenCV library
import cv2
# Reading the image using imread() function
image = cv2.imread('image.png')

# Extracting the height and width of an image
h, w = image.shape[:2]
# Displaying the height and width
print("Height = {},  Width = {}".format(h, w))
现在我们将专注于提取单个像素的 RGB 值。
注意 – OpenCV 按 BGR 顺序排列通道。所以第 0 个值将对应于蓝色像素而不是红色。
提取像素的 RGB 值
# Extracting RGB values.
# Here we have randomly chosen a pixel
# by passing in 100, 100 for height and width.
(B, G, R) = image[100, 100]

# Displaying the pixel values
print("R = {}, G = {}, B = {}".format(R, G, B))

# We can also pass the channel to extract
# the value for a specific channel
B = image[100, 100, 0]
print("B = {}".format(B))
提取感兴趣区域 (ROI)
# We will calculate the region of interest
# by slicing the pixels of the image
roi = image[100 : 500, 200 : 700]

调整图像大小
# resize() function takes 2 parameters,
# the image and the dimensions
resize = cv2.resize(image, (800, 800))

这种方法的问题是不能保持图像的纵横比。所以我们需要做一些额外的工作来保持适当的纵横比。
# Calculating the ratio
ratio = 800 / w

# Creating a tuple containing width and height
dim = (800, int(h * ratio))

# Resizing the image
resize_aspect = cv2.resize(image, dim)

旋转图像
# Calculating the center of the image
center = (w // 2, h // 2)

# Generating a rotation matrix
matrix = cv2.getRotationMatrix2D(center, -45, 1.0)

# Performing the affine transformation
rotated = cv2.warpAffine(image, matrix, (w, h))
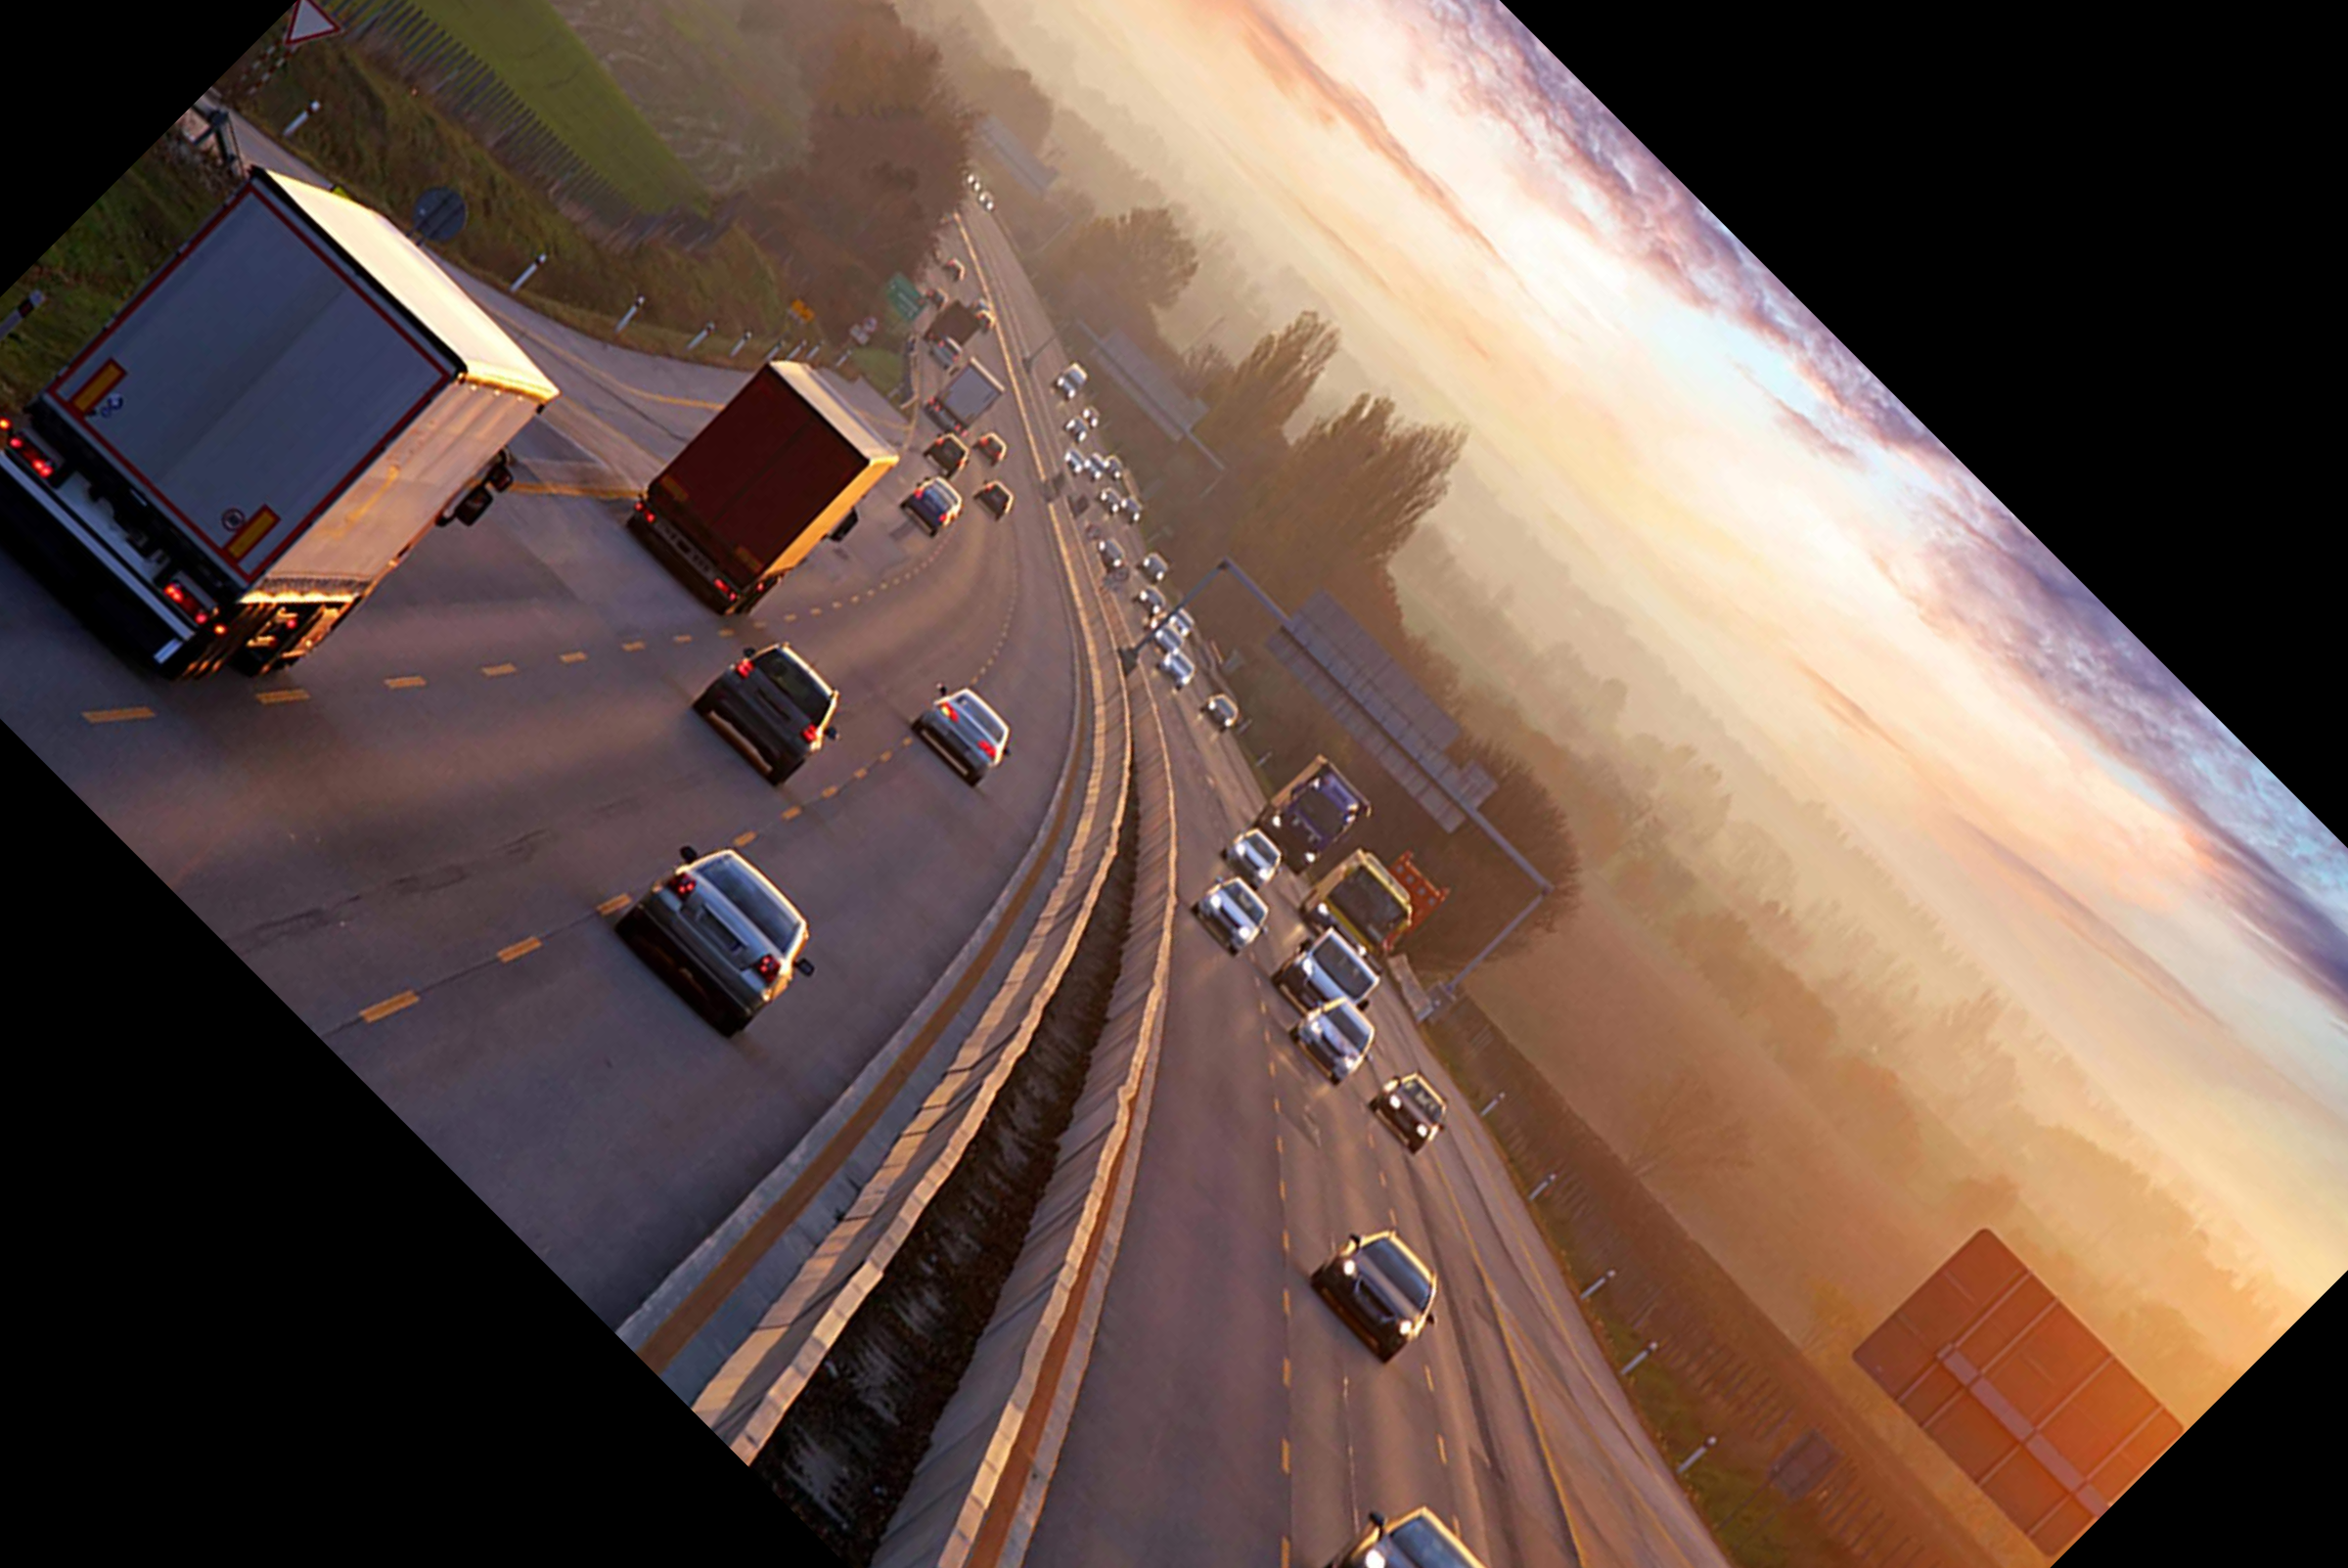
旋转图像涉及很多步骤。因此,让我详细解释它们中的每一个。
这里使用的两个主要功能是 -
- getRotationMatrix2D()
- 变形仿射()
getRotationMatrix2D()
它需要 3 个参数——
- center –图像的中心坐标
- 角度 -图像应旋转的角度(以度为单位)
- Scale –比例因子
它返回一个 2*3 矩阵,由从 alpha 和 beta 派生的值组成
alpha = 比例 * cos(角度)
beta = 比例 * 正弦(角度)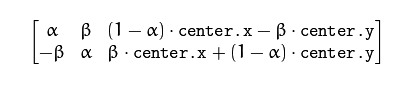
变形仿射()
函数warpAffine 使用旋转矩阵变换源图像:
dst(x, y) = src(M11X + M12Y + M13, M21X + M22Y + M23)这里 M 是旋转矩阵,如上所述。
它计算图像的新 x、y 坐标并对其进行转换。绘制一个矩形
这是一个就地操作。# We are copying the original image, # as it is an in-place operation. output = image.copy() # Using the rectangle() function to create a rectangle. rectangle = cv2.rectangle(output, (1500, 900), (600, 400), (255, 0, 0), 2)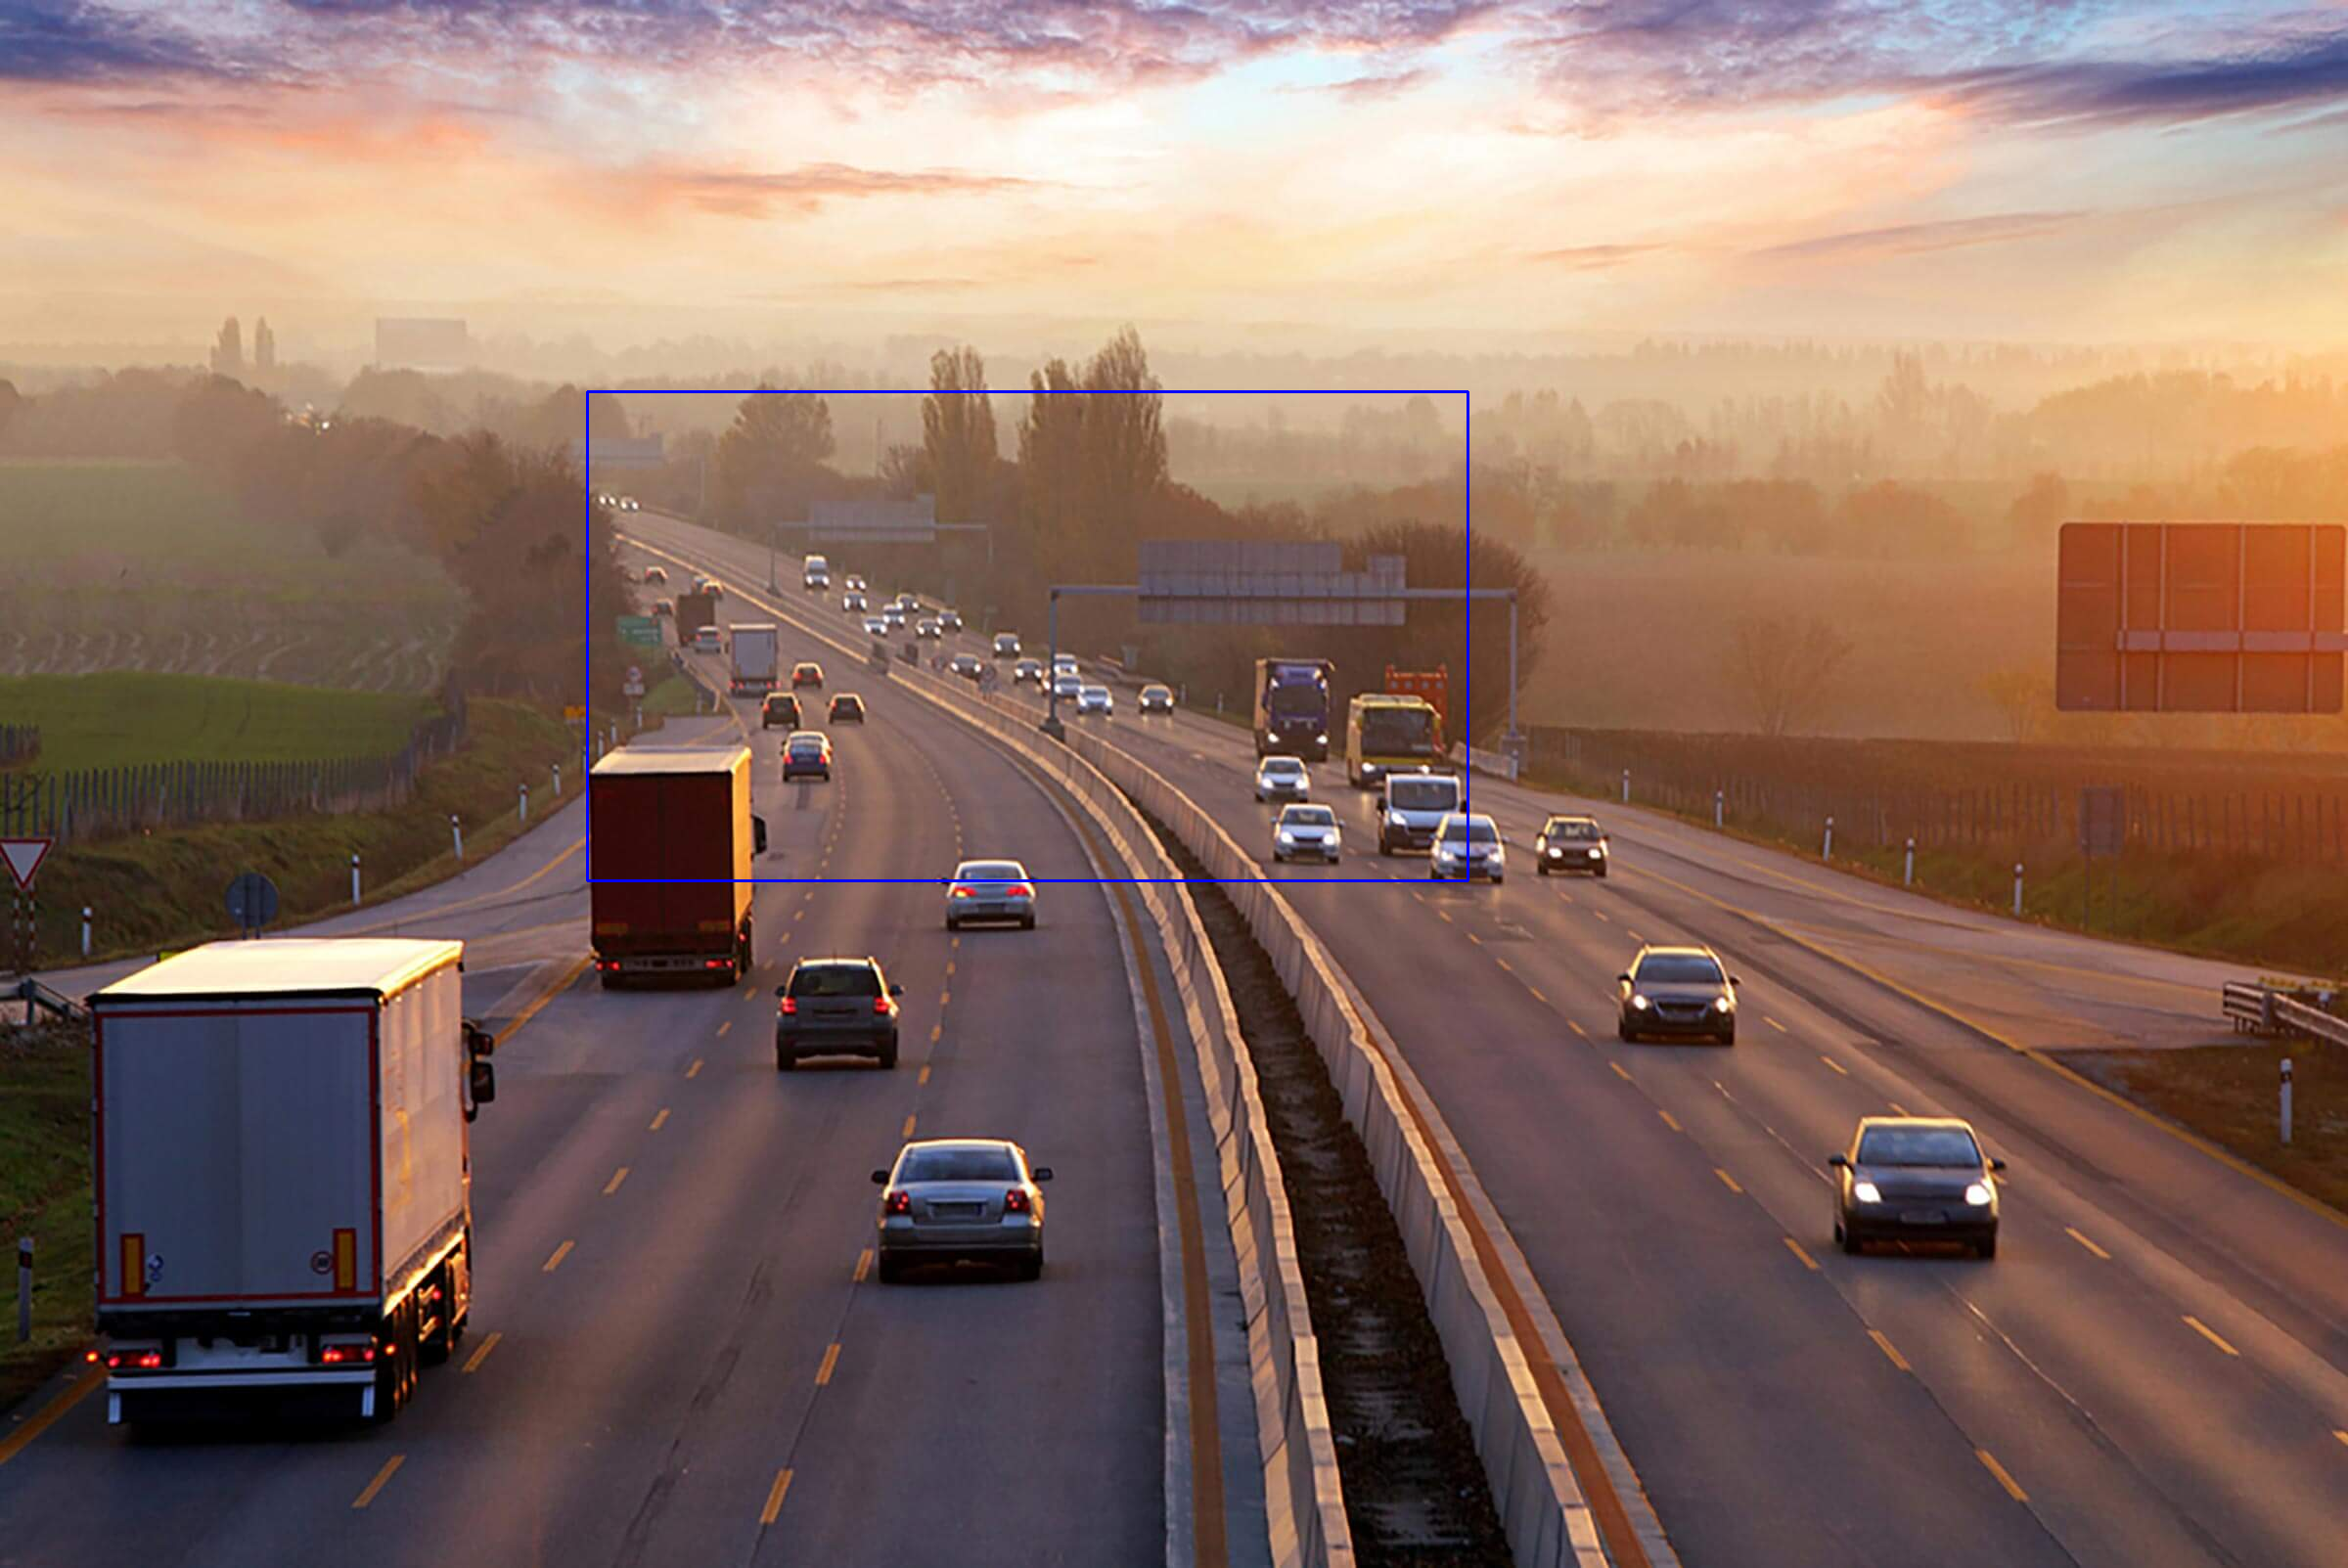
它接受 5 个参数——
- 图片
- 左上角坐标
- 右下角坐标
- 颜色(BGR 格式)
- 行宽
显示文本
也是就地操作# Copying the original image output = image.copy() # Adding the text using putText() function text = cv2.putText(output, 'OpenCV Demo', (500, 550), cv2.FONT_HERSHEY_SIMPLEX, 4, (255, 0, 0), 2)
它接受 7 个参数——
- 图片
- 要显示的文本
- 左下角坐标,文本应该从哪里开始
- 字体
- 字体大小
- 颜色(BGR 格式)
- 行宽