将 ggplot2 绘图轴转换为 R 中的对数刻度
在本文中,我们将讨论如何在 R 编程语言中将 ggplot2 Plot Axis 转换为 log Scale。
方法 1:使用带有 trans 参数的 scale_x_continuous()函数
我们可以使用 scale_x_continous()函数将轴数据转换为所需的对数刻度。我们将所需的对数刻度作为参数 trans 传递,数据根据 ggplot2 图中的对数刻度进行转换。
句法:
plot + scale_x_continous( trans ) / scale_y_continous( trans ) 范围:
- trans:确定给定轴将经历的转换类型。
注意:使用此方法仅将数据图转换为对数刻度。轴刻度线和标签保持不变。
例子:
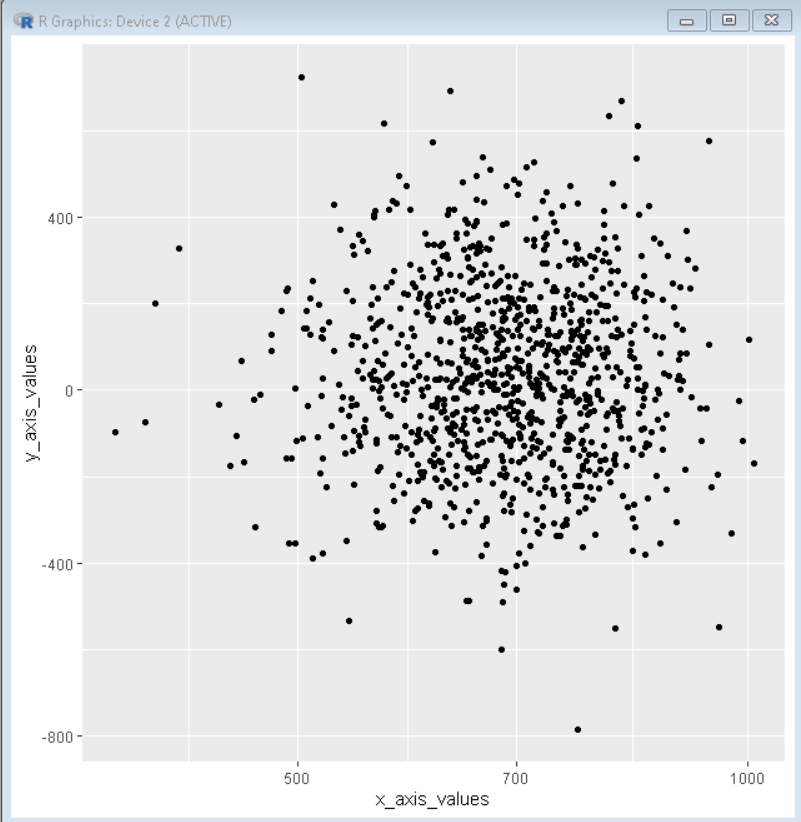
这是一个基本散点图,通过使用 scale_x_continuous函数将 trans 参数作为 log10 转换为 log10 比例 x 轴。
R
#load library ggplot2
library("ggplot2")

# set seed
set.seed(50000)

# create sample data using rnorm function
sample_data <- data.frame(x_axis_values = rnorm(1000, 700, 105),
                   y_axis_values = rnorm(1000, 45, 200))

# draw scatter plot using ggplot()
#and geom_point() function
plot<- ggplot(sample_data, aes(x_axis_values, y_axis_values)) +
                  geom_point()

# scale_x_continuous
#with trans argument transforms axis data to log scale
plot<- plot + scale_x_continuous(trans = "log10")

# show plot
plot
R
# set seed
set.seed(50000)

# create sample data using rnorm function
sample_data <- data.frame(x_axis_values = rnorm(1000, 700, 105),
                   y_axis_values = rnorm(1000, 45, 200))

#load library ggplot2
library("ggplot2")

# draw scatter plot using ggplot() and geom_point() function
# In aes instead of x_axis_values log10(x_axis_values is used
# this transforms the x-axis scale to log scale
plot<- ggplot(sample_data, aes(log10(x_axis_values), y_axis_values)) +
                  geom_point()

# show plot
plot
R
# set seed
set.seed(50000)

# create sample data using rnorm function
sample_data <- data.frame(x_axis_values = rnorm(1000, 700, 105),
                   y_axis_values = rnorm(1000, 45, 200))

#load library ggplot2
library("ggplot2")

# draw scatter plot using ggplot() and geom_point() function
# scale_x_log10() function converts the x-axis values to
# log10 scale
plot<- ggplot(sample_data, aes(x_axis_values, y_axis_values)) +
                  geom_point() + scale_x_log10()

# show plot
plot
输出:

方法二:在ggplot()的aes()函数中使用log函数:
在该方法中,我们直接将 ggplot()函数的 aes()函数中的参数值作为 log 传递。这是最好的方法,因为它可以一次性更新数据点以及轴刻度线和轴标签。
句法:
ggplot( df, aes( log(x), y)参数:
- log:确定任何所需的转换日志函数
例子:
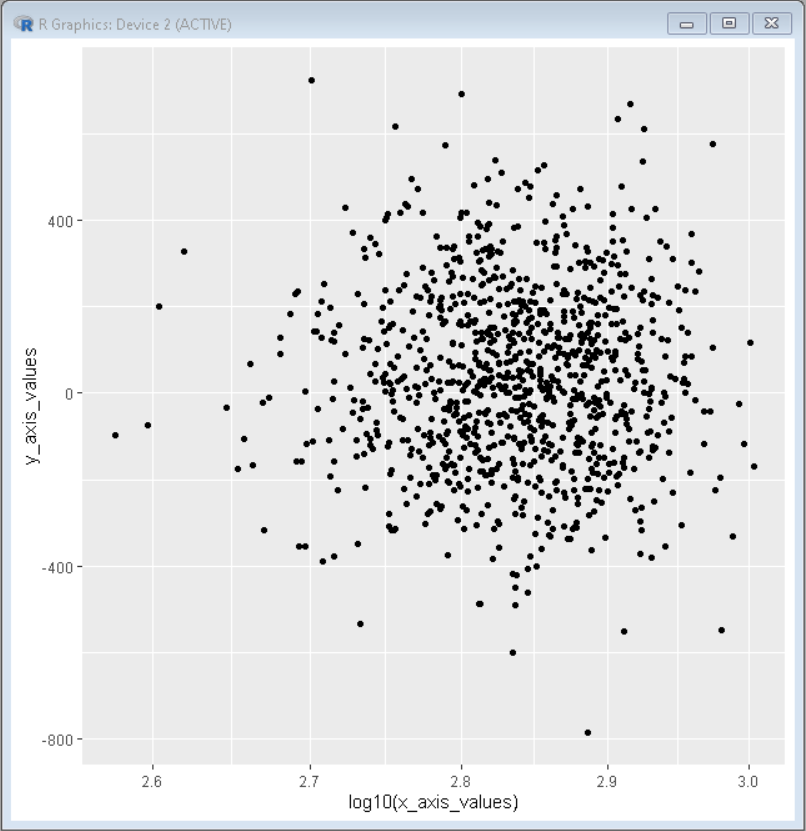
这是通过使用 ggplot()函数的 aes函数中的 log10()函数转换为 log10 刻度 x 轴的基本散点图。
电阻
# set seed
set.seed(50000)

# create sample data using rnorm function
sample_data <- data.frame(x_axis_values = rnorm(1000, 700, 105),
                   y_axis_values = rnorm(1000, 45, 200))

#load library ggplot2
library("ggplot2")

# draw scatter plot using ggplot() and geom_point() function
# In aes instead of x_axis_values log10(x_axis_values is used
# this transforms the x-axis scale to log scale
plot<- ggplot(sample_data, aes(log10(x_axis_values), y_axis_values)) +
                  geom_point()

# show plot
plot
输出:

方法 3:使用 scale_x_log10() / scale_y_log10()
我们可以使用 scale_x_log10() / scale_y_log10()函数将轴数据转换为所需的对数刻度。我们使用所需的轴函数来获得所需的结果。
句法:
plot + scale_x_log10() / scale_y_log10()注意:使用此方法仅将数据图转换为对数刻度。轴刻度线和标签保持不变。
例子:
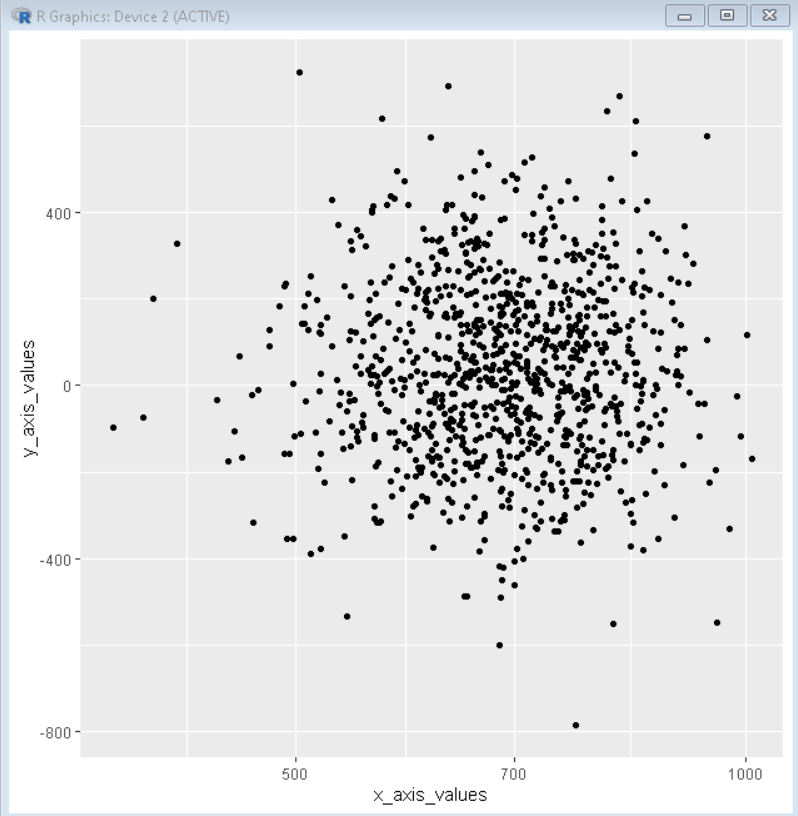
这是使用 scale_x_log10()函数转换为 log10 比例 x 轴的基本散点图。
电阻
# set seed
set.seed(50000)

# create sample data using rnorm function
sample_data <- data.frame(x_axis_values = rnorm(1000, 700, 105),
                   y_axis_values = rnorm(1000, 45, 200))

#load library ggplot2
library("ggplot2")

# draw scatter plot using ggplot() and geom_point() function
# scale_x_log10() function converts the x-axis values to
# log10 scale
plot<- ggplot(sample_data, aes(x_axis_values, y_axis_values)) +
                  geom_point() + scale_x_log10()

# show plot
plot
输出:
