在本文中,我们将研究如何制作漂亮的Google 登录屏幕并通过 Google 对其进行身份验证。
为此,请执行以下步骤:
第一步:首先在你的IDE中创建flutter项目。
第 2 步:之后只需删除默认代码并从头开始。
第 3 步:现在只需导入材料库并将 runApp()函数到主函数名称中作为GoogleSignIn。
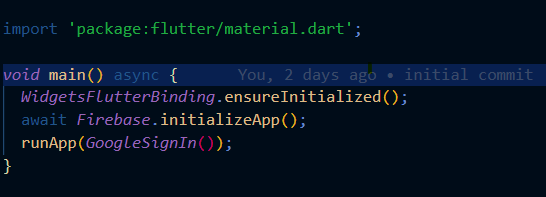
第 4 步:现在创建一个名为“ GoogleSignIn ”的有状态小部件。
Dart
// main.dart file
import 'package:firebase_core/firebase_core.dart';
import 'package:flutter/material.dart';
import 'package:GoogleSignIn/SignInScreen.dart';

void main() async {
  WidgetsFlutterBinding.ensureInitialized();

  // initializing the firebase app
  await Firebase.initializeApp();

  // calling of runApp
  runApp(GoogleSignIn());
}

class GoogleSignIn extends StatefulWidget {
  GoogleSignIn({Key key}) : super(key: key);
   @override
  _GoogleSignInState createState() => _GoogleSignInState();
}

class _GoogleSignInState extends State {
  @override
  Widget build(BuildContext context) {

    // we return the MaterialApp here ,
    // MaterialApp contain some basic ui for android ,
    return MaterialApp(

      //materialApp title
      title: 'GEEKS FOR GEEKS',
      debugShowCheckedModeBanner: false,
      theme: ThemeData(
        primarySwatch: Colors.green,
      ),

      // home property contain SignInScreen widget
      home: SignInScreen(),
    );
  }
}
Dart
//SignInScreen

import 'package:firebase_auth/firebase_auth.dart';
import 'package:flutter/material.dart';
import 'package:google_sign_in/google_sign_in.dart';
import 'package:GoogleSignIn/homepage.dart';


class SignInScreen extends StatefulWidget {
  SignInScreen({Key key}) : super(key: key);

  @override
  _SignInScreenState createState() => _SignInScreenState();
}

class _SignInScreenState extends State {


  @override
  Widget build(BuildContext context) {
    return Scaffold(
      body: Container(
        width: double.infinity,
        height: double.infinity,
        decoration: BoxDecoration(
          gradient: LinearGradient(
            colors: [
              Colors.blue,
              Colors.red,
            ],
          ),
        ),
        child: Card(
          margin: EdgeInsets.only(top: 200, bottom: 200, left: 30, right: 30),
          elevation: 20,
          child: Column(
            mainAxisAlignment: MainAxisAlignment.spaceEvenly,
            children: [
              Text(
                "GEEKS FOR GEEKS",
                style: TextStyle(fontSize: 25, fontWeight: FontWeight.bold),
              ),
              Padding(
                padding: const EdgeInsets.only(left: 20, right: 20),
                child: MaterialButton(
                  color: Colors.teal[100],
                  elevation: 10,
                  child: Row(
                    mainAxisAlignment: MainAxisAlignment.start,
                    children: [
                      Container(
                        height: 30.0,
                        width: 30.0,
                        decoration: BoxDecoration(
                          image: DecorationImage(
                              image:
                                  AssetImage('assets/images/googleimage.png'),
                              fit: BoxFit.cover),
                          shape: BoxShape.circle,
                        ),
                      ),
                      SizedBox(
                        width: 20,
                      ),
                      Text("Sign In with Google")
                    ],
                  ),

                  // by onpressed we call the function signup function
                  onPressed: ()
                    signup(context);
                  },
                ),
              )
            ],
          ),
        ),
      ),
    );
  }
}
Dart
// function to implement the google signin

// creating firebase instance
final FirebaseAuth auth = FirebaseAuth.instance;

  Future signup(BuildContext context) async {
    final GoogleSignIn googleSignIn = GoogleSignIn();
    final GoogleSignInAccount googleSignInAccount = await googleSignIn.signIn();
    if (googleSignInAccount != null) {
      final GoogleSignInAuthentication googleSignInAuthentication =
          await googleSignInAccount.authentication;
      final AuthCredential authCredential = GoogleAuthProvider.credential(
          idToken: googleSignInAuthentication.idToken,
          accessToken: googleSignInAuthentication.accessToken);

      // Getting users credential
      UserCredential result = await auth.signInWithCredential(authCredential);
      User user = result.user;

      if (result != null) {
        Navigator.pushReplacement(
            context, MaterialPageRoute(builder: (context) => HomePage()));
      }  // if result not null we simply call the MaterialpageRoute,
        // for go to the HomePage screen
    }
  }
Dart
// Home page screen

import 'package:flutter/material.dart';
class HomePage extends StatefulWidget {
  HomePage({Key? key}) : super(key: key);

  @override
  _HomePageState createState() => _HomePageState();
}

class _HomePageState extends State {
  @override
  Widget build(BuildContext context) {
    return Scaffold(
      appBar: AppBar(
        backgroundColor: Colors.green,
        centerTitle: true,

        // on appbar text contaning 'GEEKS FOR GEEKS'
        title: Text("GEEKS FOR GEEKS"),

        // In body text contaning 'Home page ' in center
        body: Center(child:Text('Home page'),
    );
  }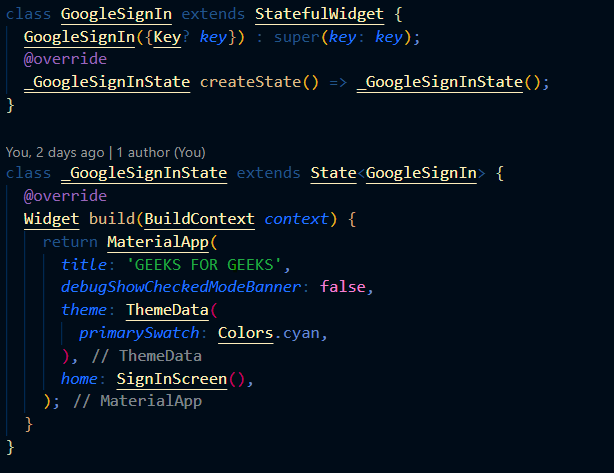
} 这里我们返回MaterialApp() ,其中 title 属性是“GEEKS FOR GEEKS”, home属性是SignInScreen。
现在让我们创建我们为 home 属性提供的SignInScreen()小部件。现在,在创建 SignInScreen() 之前,我们必须在 firebase 上创建一个项目。
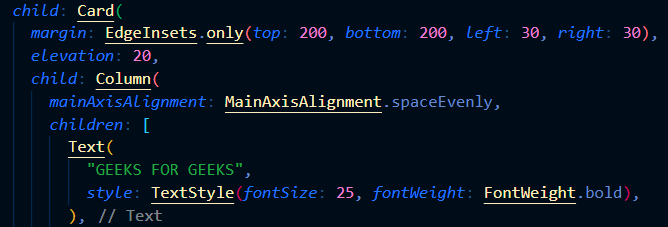
第 5 步:现在只需返回脚手架。在脚手架主体中,我们有一个用于渐变装饰的容器,如下所示:

第 6 步:现在有一个包含列小部件的卡片子属性,在列小部件中,我们有第一个小部件文本包含“Geeks for Geeks”:
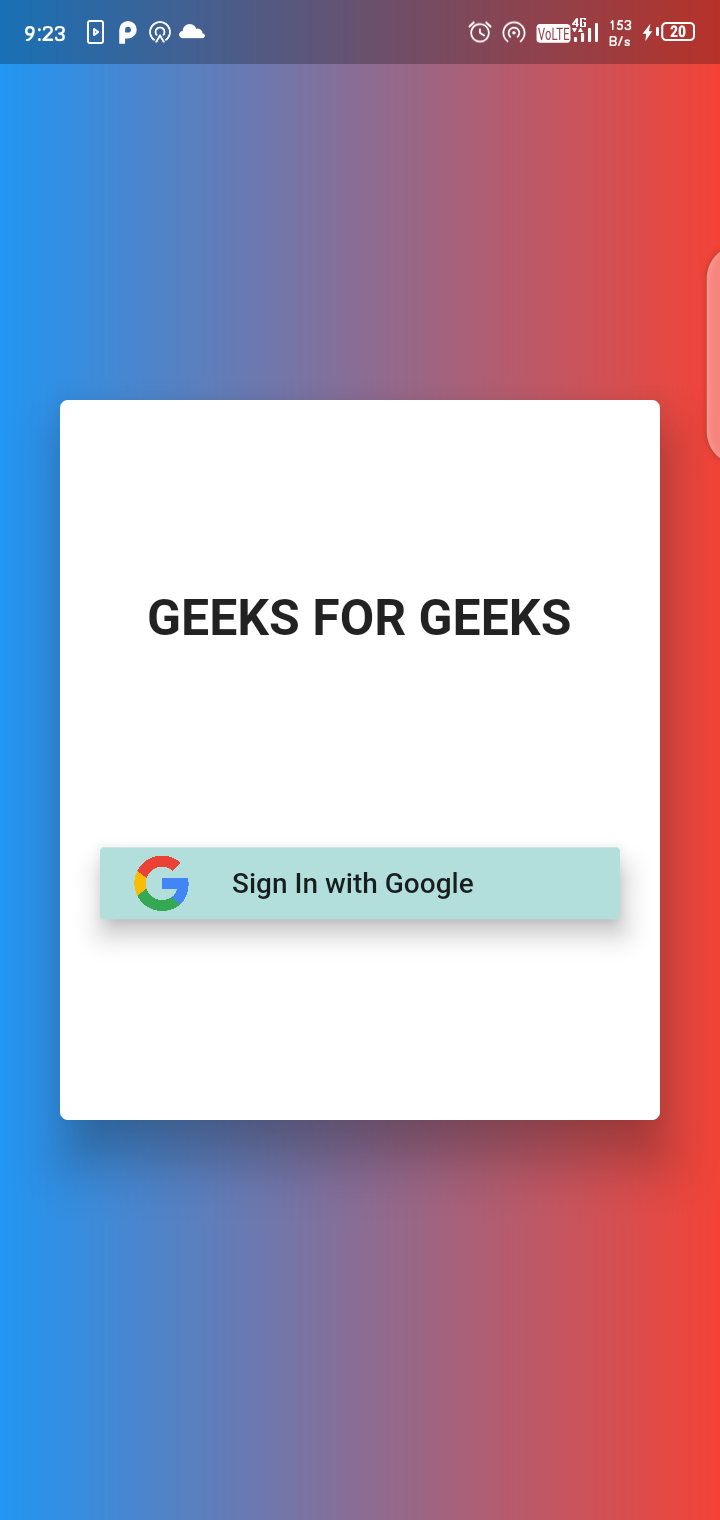
第 7 步:第二个小部件是一个包含子属性的材质按钮,其中有一个 Row,Row 有是孩子的,第一个是谷歌标志,第二个是文本“谷歌登录”,按下我们调用该函数登入。让我们创建它。
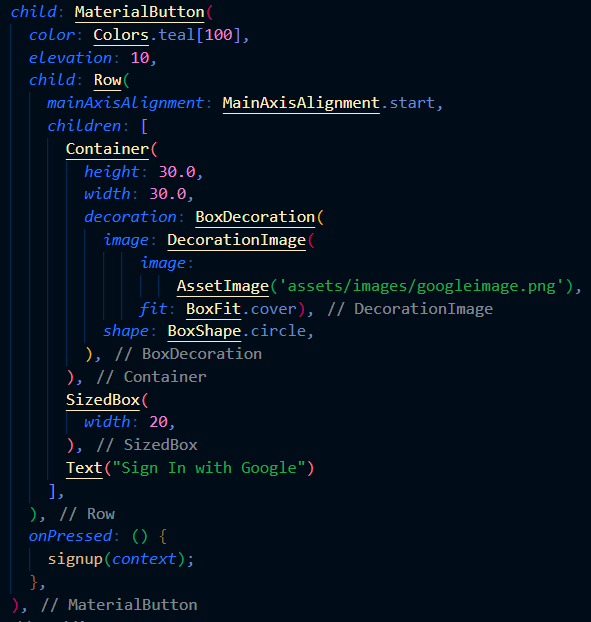
我们的屏幕中心包含“谷歌登录”,在此下方有一个注册按钮,我们可以通过该按钮成功注册并移动到主屏幕。
Dart
//SignInScreen

import 'package:firebase_auth/firebase_auth.dart';
import 'package:flutter/material.dart';
import 'package:google_sign_in/google_sign_in.dart';
import 'package:GoogleSignIn/homepage.dart';


class SignInScreen extends StatefulWidget {
  SignInScreen({Key key}) : super(key: key);

  @override
  _SignInScreenState createState() => _SignInScreenState();
}

class _SignInScreenState extends State {


  @override
  Widget build(BuildContext context) {
    return Scaffold(
      body: Container(
        width: double.infinity,
        height: double.infinity,
        decoration: BoxDecoration(
          gradient: LinearGradient(
            colors: [
              Colors.blue,
              Colors.red,
            ],
          ),
        ),
        child: Card(
          margin: EdgeInsets.only(top: 200, bottom: 200, left: 30, right: 30),
          elevation: 20,
          child: Column(
            mainAxisAlignment: MainAxisAlignment.spaceEvenly,
            children: [
              Text(
                "GEEKS FOR GEEKS",
                style: TextStyle(fontSize: 25, fontWeight: FontWeight.bold),
              ),
              Padding(
                padding: const EdgeInsets.only(left: 20, right: 20),
                child: MaterialButton(
                  color: Colors.teal[100],
                  elevation: 10,
                  child: Row(
                    mainAxisAlignment: MainAxisAlignment.start,
                    children: [
                      Container(
                        height: 30.0,
                        width: 30.0,
                        decoration: BoxDecoration(
                          image: DecorationImage(
                              image:
                                  AssetImage('assets/images/googleimage.png'),
                              fit: BoxFit.cover),
                          shape: BoxShape.circle,
                        ),
                      ),
                      SizedBox(
                        width: 20,
                      ),
                      Text("Sign In with Google")
                    ],
                  ),

                  // by onpressed we call the function signup function
                  onPressed: ()
                    signup(context);
                  },
                ),
              )
            ],
          ),
        ),
      ),
    );
  }
}
我们的注册屏幕看起来很漂亮,
现在创建一个名为 signup 的函数。
第 8 步:现在只需从库中导入auth和google_sign up。

第 9 步:现在我们已经创建了一个FirebaseAuth类型的 auth 实例。我们已经提出了 GoogleSignIn 的请求,它通过用户凭据进行注册。如果结果不是 Null,我们只需调用pushReplacement函数导航到主屏幕。
请参阅下面的代码:
Dart
// function to implement the google signin

// creating firebase instance
final FirebaseAuth auth = FirebaseAuth.instance;

  Future signup(BuildContext context) async {
    final GoogleSignIn googleSignIn = GoogleSignIn();
    final GoogleSignInAccount googleSignInAccount = await googleSignIn.signIn();
    if (googleSignInAccount != null) {
      final GoogleSignInAuthentication googleSignInAuthentication =
          await googleSignInAccount.authentication;
      final AuthCredential authCredential = GoogleAuthProvider.credential(
          idToken: googleSignInAuthentication.idToken,
          accessToken: googleSignInAuthentication.accessToken);

      // Getting users credential
      UserCredential result = await auth.signInWithCredential(authCredential);
      User user = result.user;

      if (result != null) {
        Navigator.pushReplacement(
            context, MaterialPageRoute(builder: (context) => HomePage()));
      }  // if result not null we simply call the MaterialpageRoute,
        // for go to the HomePage screen
    }
  }
Don’t forget to add dependencies in pubspec yaml file.
- firebase_auth: ^1.0.3
- google_sign_in: ^5.0.1
Note : Use the latest available version of the package.
现在让我们创建主屏幕。
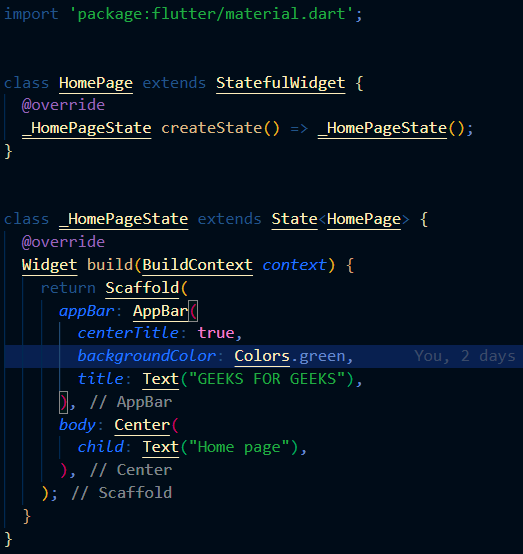
第 10 步:我们的主屏幕仅包含一个简单的文本“主屏幕”,带有一个名为“GEEKS FOR GEEKS”的绿色应用栏。
Dart
// Home page screen

import 'package:flutter/material.dart';
class HomePage extends StatefulWidget {
  HomePage({Key? key}) : super(key: key);

  @override
  _HomePageState createState() => _HomePageState();
}

class _HomePageState extends State {
  @override
  Widget build(BuildContext context) {
    return Scaffold(
      appBar: AppBar(
        backgroundColor: Colors.green,
        centerTitle: true,

        // on appbar text contaning 'GEEKS FOR GEEKS'
        title: Text("GEEKS FOR GEEKS"),

        // In body text contaning 'Home page ' in center
        body: Center(child:Text('Home page'),
    );
  }
}
这是主屏幕的外观:
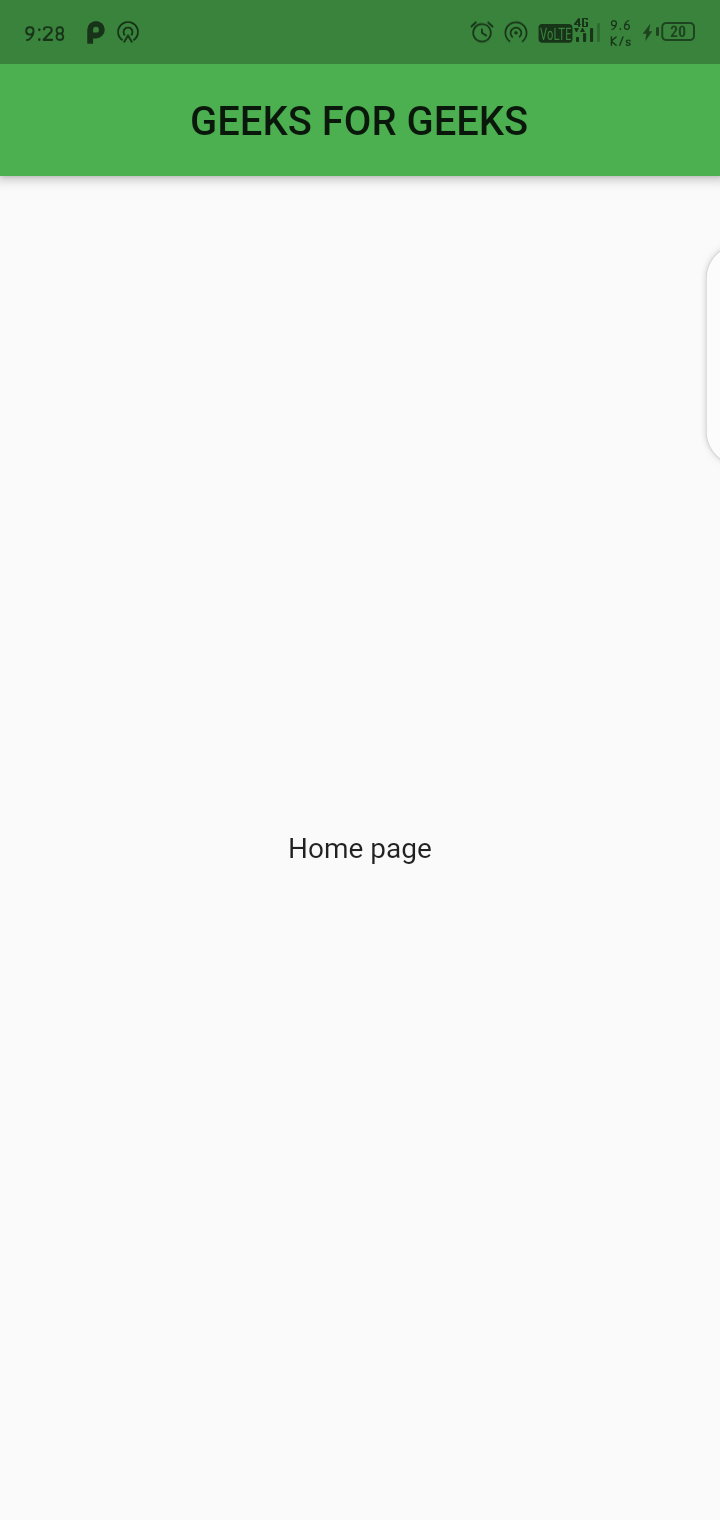
输出 :