📌 相关文章
- RichFaces面试问题
- RichFaces面试问题(1)
- RichFaces教程
- RichFaces教程
- RichFaces教程(1)
- RichFaces简介
- RichFaces简介(1)
- RichFaces功能
- RichFaces功能(1)
- RichFaces配置(1)
- RichFaces配置
- 讨论RichFaces(1)
- 讨论RichFaces
- RichFaces-概述(1)
- RichFaces-概述
- RichFaces-输入组件
- RichFaces-输入组件(1)
- RichFaces-选择组件
- RichFaces-选择组件(1)
- RichFaces-环境设置
- RichFaces-环境设置(1)
- RichFaces体系结构(1)
- RichFaces体系结构
- RichFaces-错误处理
- RichFaces-错误处理(1)
- RichFaces-输出组件(1)
- RichFaces-输出组件
- RichFaces-迭代组件(1)
- RichFaces-迭代组件
📜 RichFaces应用程序
📅 最后修改于: 2021-01-08 12:11:16 🧑 作者: Mango
RichFaces应用
1)添加JAR之后,创建一个JavaServer Faces项目并将该库集成到项目中。
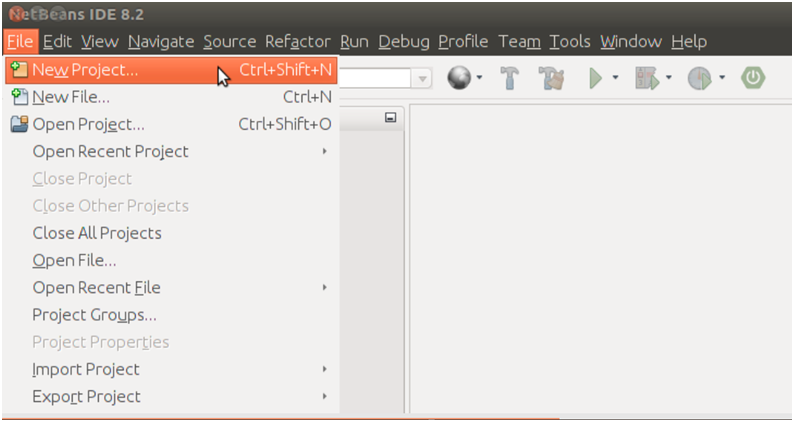
选择项目类型作为Web应用程序。
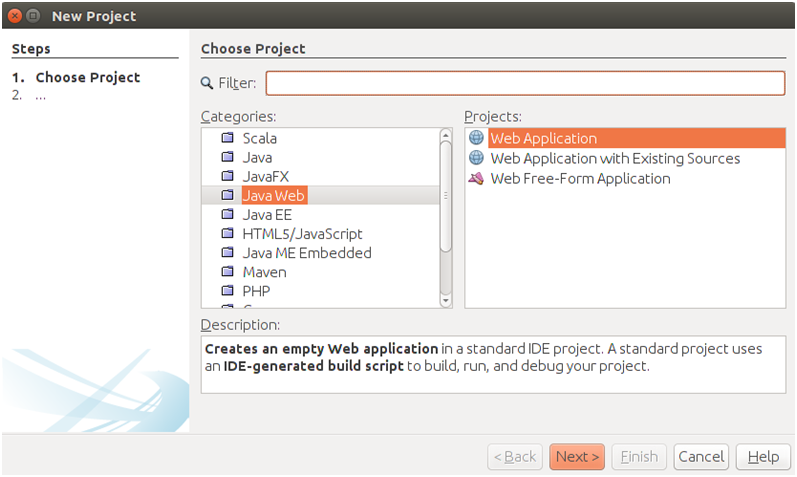
提供项目名称。
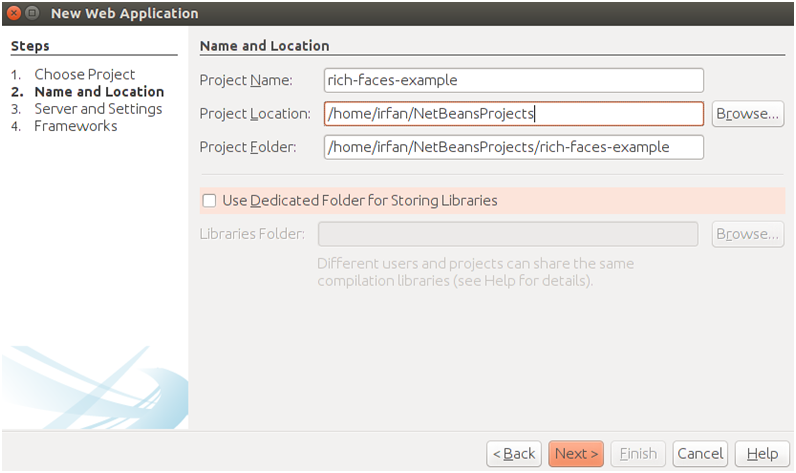

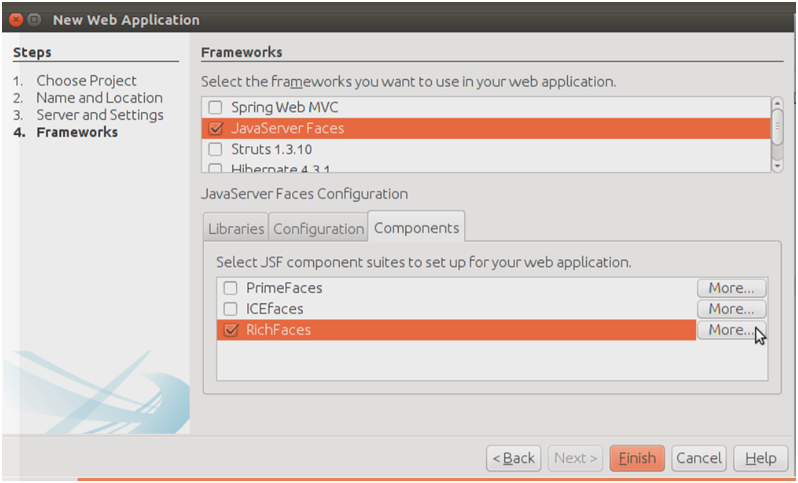
选择框架作为JavaServer Faces。
2)现在选择我们在示例前面创建的库。
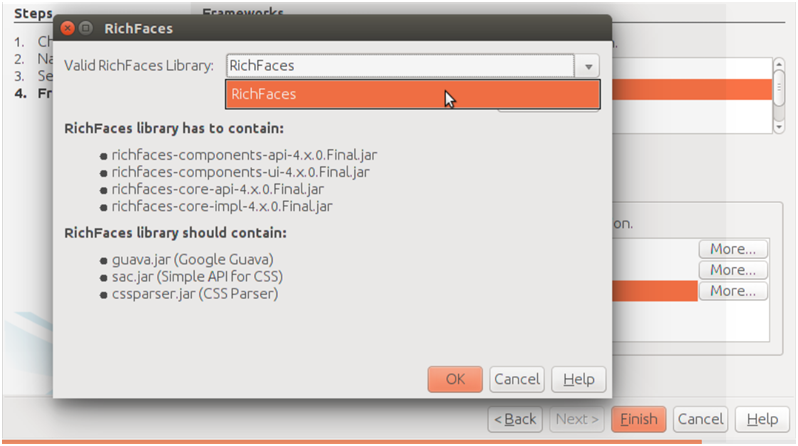
完成后,我们的项目结构应如下所示。
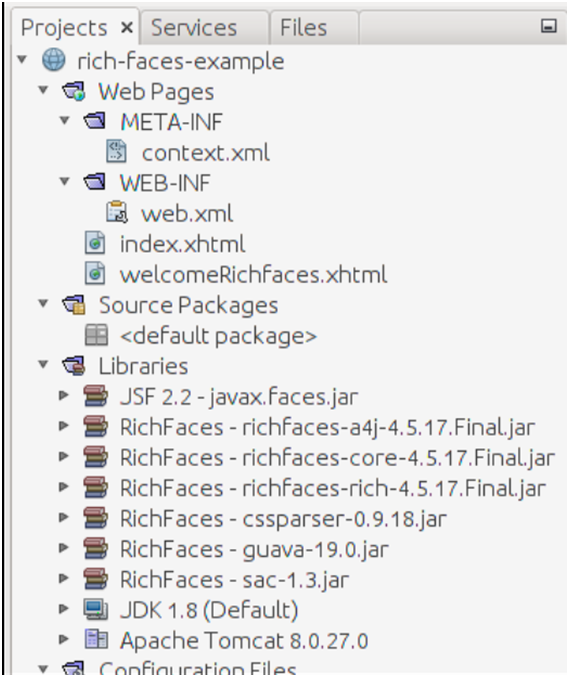
好吧,这一切都与配置有关。我们实际上不需要配置RichFaces。如果查看生成的项目中的web.xml文件,将看不到RichFaces过滤器的内容。从RichFaces 4开始,我们不需要在web.xml文件中注册过滤器。如果项目中存在RichFaces JAR,则将使用RichFaces。
该项目包含两个默认的xhtml文件。第一个是index.xhtml,第二个是welcomeRichfaces.xhtml。这两个文件具有以下代码。
// index.xhtml
Facelet Title


Hello from Facelets
// welcomeRichfaces.xhtml
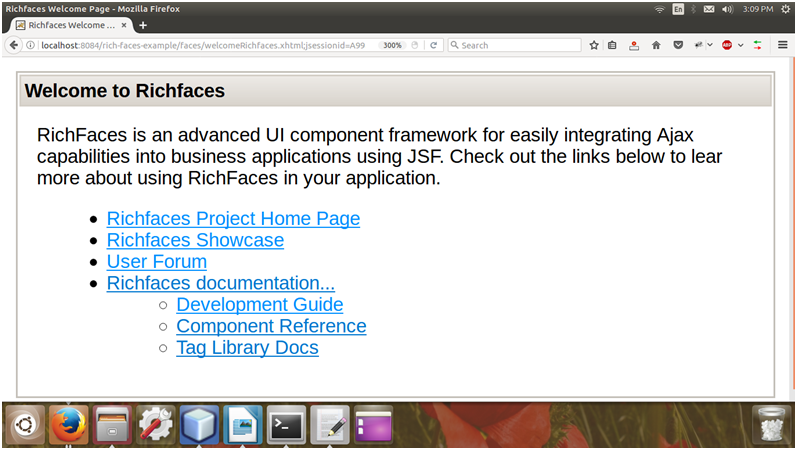
Richfaces Welcome Page


RichFaces is an advanced UI component framework for easily integrating Ajax capabilities into business
applications using JSF.  Check out the links below to lear more about using RichFaces in your application.

Richfaces Project Home Page

Richfaces Showcase

User Forum

Richfaces documentation...


Development Guide

Component Reference

Tag Library Docs
3)运行项目
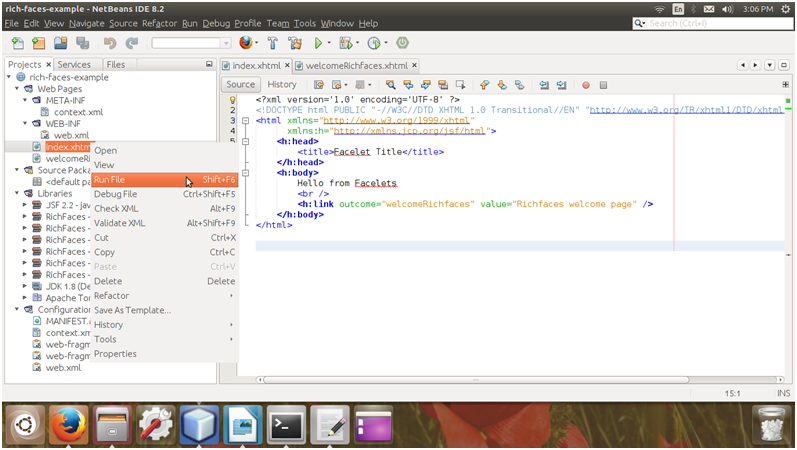
运行index.xhtml文件之后。它产生以下输出:
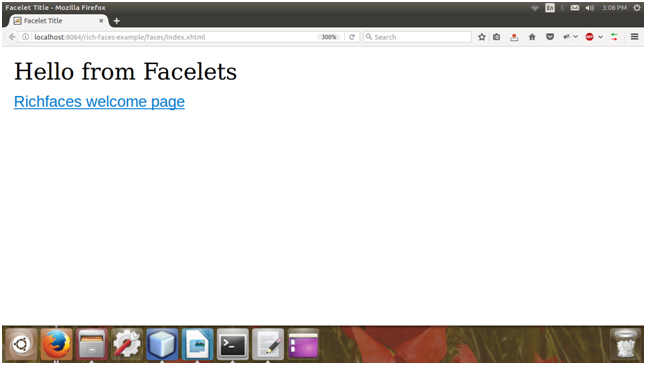
单击链接后,它将重定向到welcomeRichfaces页面。
