React Native 简介
React Native 是如何工作的?
有两种类型的数据控制组件:
- props :是不可变的,由父级设置,并且在组件的整个生命周期中都是固定的。
- 状态:是可变的。这意味着 state 可以在未来更新而 props 不能。我们可以在构造函数中初始化 state,然后在我们想要改变它的时候调用 setState。
道具 v/s 状态
- 使用 props 通过组件树传递数据和设置。
- 永远不要在组件内部修改 this.props;考虑 props 不可变。
- 使用 props to for 事件处理程序与子组件进行通信。
- 使用 state 存储简单的视图状态,例如下拉选项是否可见。
- 永远不要直接修改 this.state,而是使用 this.setstate。
商店:商店保存应用程序的整个状态树。改变它内部状态的唯一方法是在它上面发送一个动作。商店不是一个类。它只是一个带有一些方法的对象,我将在即将发布的关于 React Native 的文章中解释它。
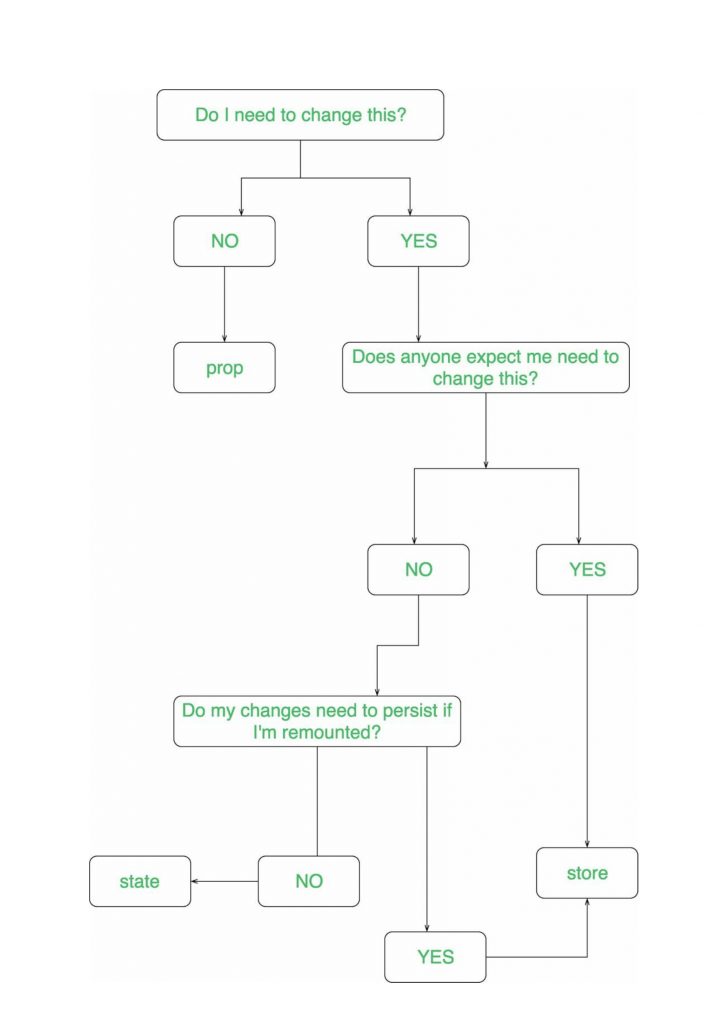
一种更详细的方式来理解 props、state 和 store 之间关于如何以及在何处使用这些组件的区别。

让我们举个例子来了解更多关于状态的信息:
例如,假设我们想要制作在 TextInput 布局中显示/隐藏密码的文本。 “密码是否隐藏”随时间变化,因此应保持状态。
Java
import React, { Component } from 'react';
import {
  AppRegistry,
  StyleSheet,
  Text,
  View,
  TextInput,
  TouchableOpacity
} from 'react-native';

export default class GeeksForGeeks extends Component {

  state: {
    password: string,
    isPasswordHidden: boolean,
    toggleText: string,
  }

  constructor(props: Props) {
        super(props);
        this.state = {
          password: '',
          isPasswordHidden: true,
          toggleText: 'Show',
        };
    }

    handleToggle = () => {
    const { isPasswordHidden } = this.state;

    if (isPasswordHidden) {
      this.setState({ isPasswordHidden: false });
      this.setState({ toggleText: 'Hide' });
    } else {
      this.setState({ isPasswordHidden: true });
      this.setState({ toggleText: 'Show' });
    }
  };

  render() {
    return (


          {this.state.toggleText}


    );
  }
}

const styles = StyleSheet.create({
  container: {
    flex: 1,
    justifyContent: 'center',
    alignItems: 'center',
  }
});

AppRegistry.registerComponent('GeeksForGeeks', () => GeeksForGeeks);
Java
import React, { Component } from 'react';
import {
AppRegistry,
Image
} from 'react-native';
export default class GeeksForGeeks extends Component {
render() {
const image = {
url: 'https://www.appcoda.com/wp-content/uploads/2015/04/react-native.png'
};
return (
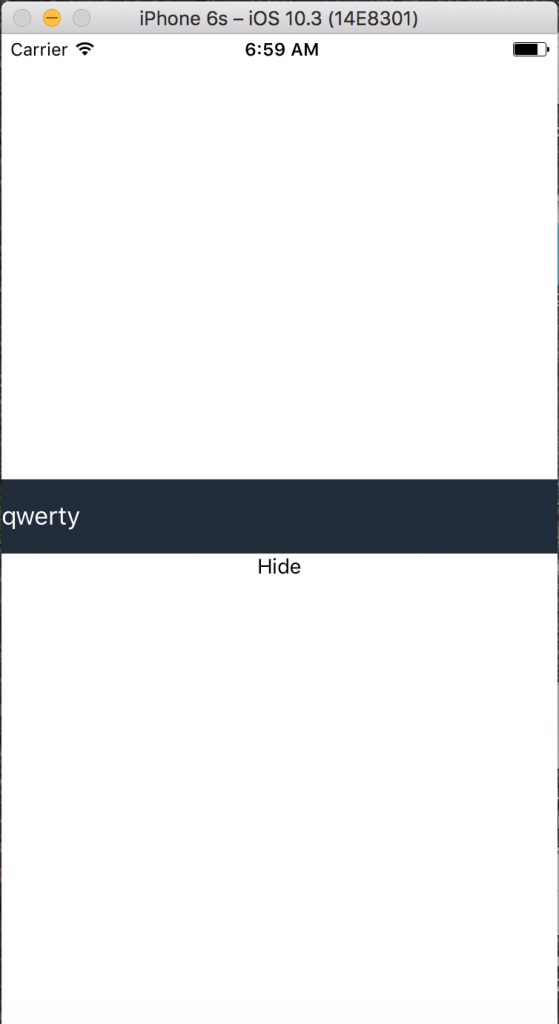
在这里,我们在构造函数中初始化了 state,然后当我们想要更新它时调用 setState。我们实际上使用了两种状态。一种用于更新密码的布尔值是否隐藏,一种用于显示/隐藏密码的字符串文本。运行应用程序后,您将看到如下内容:


对于完整的工作应用程序,请查看链接:Github
现在,让我们看一个例子来了解更多关于props 的信息:
Java
import React, { Component } from 'react';
import {
AppRegistry,
Image
} from 'react-native';
export default class GeeksForGeeks extends Component {
render() {
const image = {
url: 'https://www.appcoda.com/wp-content/uploads/2015/04/react-native.png'
};
return (
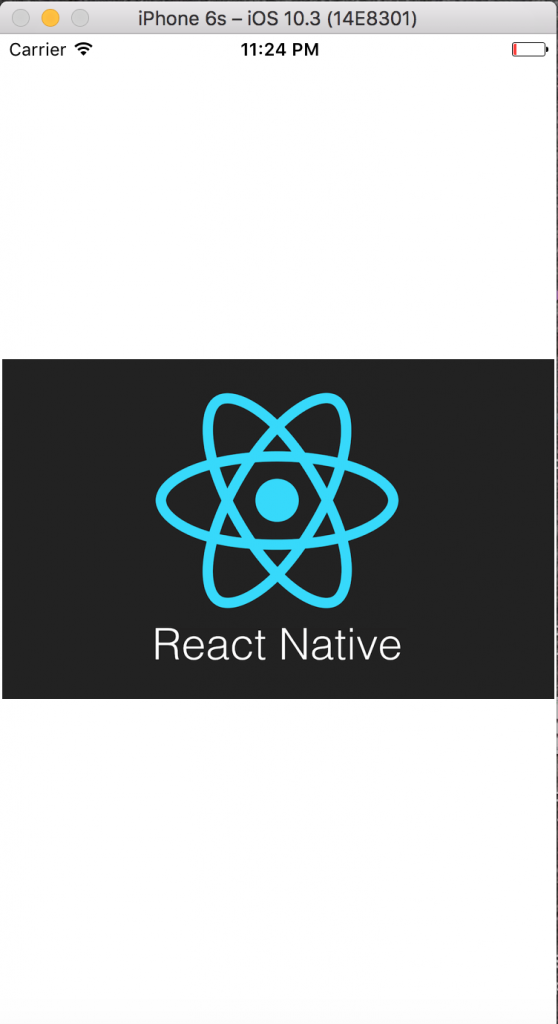
现在,我们实际上是从 url 获取图像并将其显示在应用程序上。如果您会注意到,现在我们只使用一个链接来显示图像。使用该应用程序的其他人没有进行任何更新。这基本上称为props 。
运行应用程序后的演示:
