Mahotas – 高斯滤波
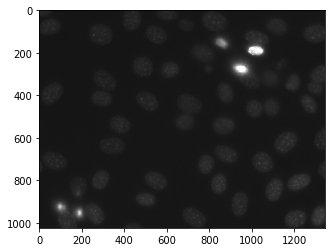
在本文中,我们将了解如何在 mahotas 中进行高斯滤波。为此,我们将使用来自核分割基准的荧光显微镜图像。我们可以在下面给出的命令的帮助下获取图像
mhotas.demos.nuclear_image()高斯滤波器是线性滤波器。它通常用于模糊图像或减少噪音。如果您使用其中两个并相减,则可以将它们用于“不锐化掩蔽”(边缘检测)。单独的高斯滤波器会模糊边缘并降低对比度。
下面是nuclear_image

为此,我们将使用 mahotas.gaussian_filter 方法
Syntax : mahotas.gaussian_filter(nuclear, 20)
Argument : It takes numpy.ndarray object as argument and a integer
Return : It returns numpy.ndarray object
注意:高斯滤波器的输入应该是滤波后的图像对象
为了过滤图像,我们将获取图像对象 numpy.ndarray 并在索引的帮助下对其进行过滤,下面是执行此操作的命令
image = image[:, :, 0]示例 1:
Python3
# importing required libraries
import mahotas
import mahotas.demos
import numpy as np
from pylab import imshow, show

# getting nuclear image
nuclear = mh.demos.nuclear_image()


# filtering the image
nuclear = nuclear[:, :, 0]

print("Image with filter")
# showing the image
imshow(nuclear)
show()

# setting gaussian filter
nuclear = mahotas.gaussian_filter(nuclear, 35)

print("Image with gaussian filter")
# showing the gaussian filter
imshow(nuclear)
show()
Python3
# importing required libraries
import numpy as np
import mahotas
from pylab import imshow, show

# loading image
img = mahotas.imread('dog_image.png')

# filtering the image
img = img[:, :, 0]

print("Image with filter")
# showing the image
imshow(img)
show()


# setting gaussian filter
gaussian = mahotas.gaussian_filter(img, 15)

print("Image with gaussian filter")
# showing the gaussian filter
imshow(gaussian)
show()
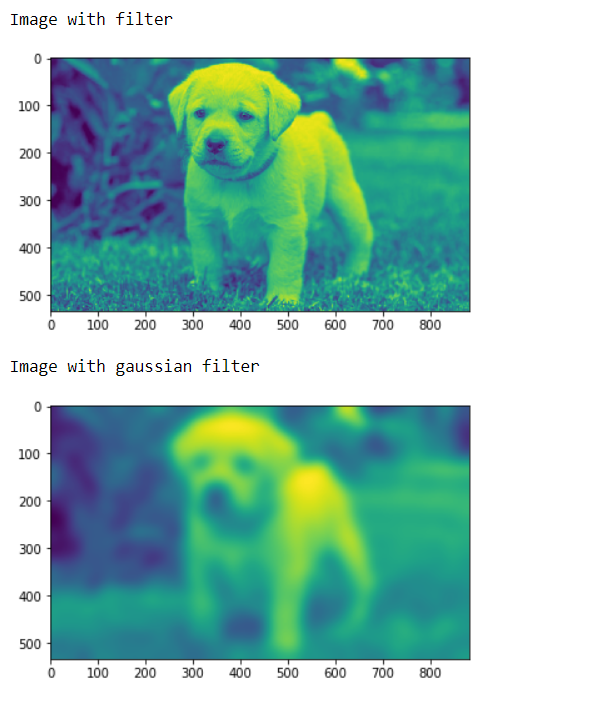
输出 :

示例 2:
Python3
# importing required libraries
import numpy as np
import mahotas
from pylab import imshow, show

# loading image
img = mahotas.imread('dog_image.png')

# filtering the image
img = img[:, :, 0]

print("Image with filter")
# showing the image
imshow(img)
show()


# setting gaussian filter
gaussian = mahotas.gaussian_filter(img, 15)

print("Image with gaussian filter")
# showing the gaussian filter
imshow(gaussian)
show()
输出 :
