Mahotas – 制作图像小波中心
在本文中,我们将了解如何在 mahotas 中使图像小波居中。小波表示图像中特征的尺度,以及它们的位置。小波中心将使图像变小并将其放置在中心,这与 daubechies 小波不同。
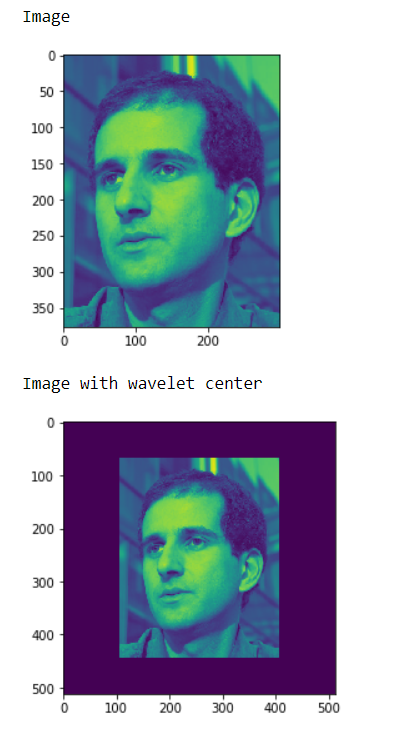
在本教程中,我们将使用“luispedro”图像,下面是加载它的命令。
mahotas.demos.load('luispedro')下面是 luispedro 图像

为此,我们将使用 wavelet_center 方法
Syntax : mahotas.wavelet_center(img)
Argument : It takes image object as argument
Return : It returns image object
注意:输入图像应被过滤或应加载为灰色
为了过滤图像,我们将获取图像对象 numpy.ndarray 并在索引的帮助下对其进行过滤,下面是执行此操作的命令
image = image[:, :, 0]示例 1:
Python3
# importing various libraries
import numpy as np
import mahotas
import mahotas.demos
from mahotas.thresholding import soft_threshold
from pylab import imshow, show
from os import path

# loading image
f = mahotas.demos.load('luispedro', as_grey = True)


# showing image
print("Image")

imshow(f)
show()

# making image wavelet center
fc = mahotas.wavelet_center(f)

# showing image
print("Image with wavelet center")
imshow(fc)
show()
Python3
# importing required libraries
import mahotas
import numpy as np
from pylab import imshow, show
import os
# loading image
img = mahotas.imread('dog_image.png')
# filtering image
img = img[:, :, 0]
# showing image
print("Image")
imshow(img)
show()
# making image wavelet center
fc = mahotas.wavelet_center(img)
# showing image
print("Image with wavelet center")
imshow(fc)
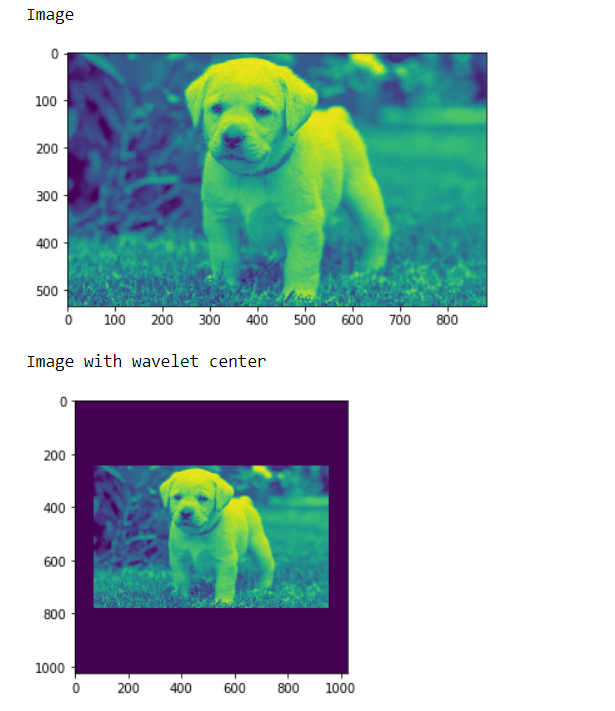
show()输出 :
示例 2:
Python3
# importing required libraries
import mahotas
import numpy as np
from pylab import imshow, show
import os


# loading image
img = mahotas.imread('dog_image.png')

# filtering image
img = img[:, :, 0]


# showing image
print("Image")

imshow(img)
show()

# making image wavelet center
fc = mahotas.wavelet_center(img)

# showing image
print("Image with wavelet center")
imshow(fc)
show()
输出 :