用Python生成词云|设置 2
先决条件:在Python中生成词云 |套装 – 1
词云是一种数据可视化技术,用于表示文本数据,其中每个词的大小表示其频率或重要性。可以使用词云突出显示重要的文本数据点。词云广泛用于分析来自社交网络网站的数据。
为了在Python中生成词云,需要的模块是——matplotlib、pandas 和 wordcloud。要安装这些软件包,请运行以下命令:
pip install matplotlib
pip install pandas
pip install wordcloud
要获取所使用的 csv 文件的链接,请单击此处。
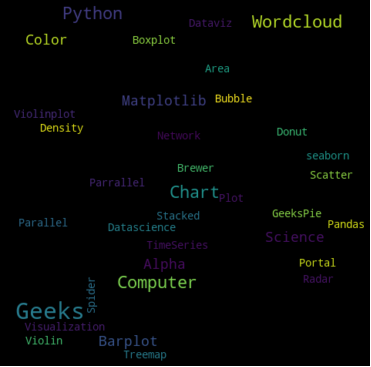
代码#1:字数
可以设置要在 tagcloud 上显示的最大单词数。为此,请使用 WordCloud()函数的 max_words 关键字参数。
Python3
# importing the necessary modules
from wordcloud import WordCloud
import matplotlib.pyplot as plt
import csv

# file object is created
file_ob = open(r"C:/Users/user/Documents/sample.csv")

# reader object is created
reader_ob = csv.reader(file_ob)

# contents of reader object is stored .
# data is stored in list of list format.
reader_contents = list(reader_ob)

# empty string is declare
text = ""

# iterating through list of rows
for row in reader_contents :

    # iterating through words in the row
    for word in row :

        # concatenate the words
        text = text + " " + word

# show only 10 words in the wordcloud .
wordcloud = WordCloud(width=480, height=480, max_words=10).generate(text)

# plot the WordCloud image
plt.figure()
plt.imshow(wordcloud, interpolation="bilinear")
plt.axis("off")
plt.margins(x=0, y=0)
plt.show()
Python3
# importing the necessary modules
from wordcloud import WordCloud
import matplotlib.pyplot as plt
import csv

# file object is created
file_ob = open(r"C:/Users/user/Documents/sample.csv")

# reader object is created
reader_ob = csv.reader(file_ob)

# contents of reader object is stored .
# data is stored in list of list format.
reader_contents = list(reader_ob)

# empty string is declare
text = ""

# iterating through list of rows
for row in reader_contents :

    # iterating through words in the row
    for word in row :

        # concatenate the words
        text = text + " " + word

# remove Python , Matplotlib , Geeks Words from WordCloud .
wordcloud = WordCloud(width=480, height=480,
            stopwords=["Python", "Matplotlib","Geeks"]).generate(text)

# plot the WordCloud image
plt.figure()
plt.imshow(wordcloud, interpolation="bilinear")
plt.axis("off")
plt.margins(x=0, y=0)
plt.show()
Python3
# importing the necessary modules
from wordcloud import WordCloud
import matplotlib.pyplot as plt
import csv

# file object is created
file_ob = open(r"C:/Users/user/Documents/sample.csv")

# reader object is created
reader_ob = csv.reader(file_ob)

# contents of reader object is stored .
# data is stored in list of list format.
reader_contents = list(reader_ob)

# empty string is declare
text = ""

# iterating through list of rows
for row in reader_contents :

    # iterating through words in the row
    for word in row :

        # concatenate the words
        text = text + " " + word

wordcloud = WordCloud(width=480, height=480, background_color="pink").generate(text)

# plot the WordCloud image
plt.figure()
plt.imshow(wordcloud, interpolation="bilinear")
plt.axis("off")
plt.margins(x=0, y=0)
plt.show()
Python3
# importing the necessary modules
from wordcloud import WordCloud
import matplotlib.pyplot as plt
import csv

# file object is created
file_ob = open(r"C:/Users/user/Documents/sample.csv")

# reader object is created
reader_ob = csv.reader(file_ob)

# contents of reader object is stored .
# data is stored in list of list format.
reader_contents = list(reader_ob)

# empty string is declare
text = ""

# iterating through list of rows
for row in reader_contents :

    # iterating through words in the row
    for word in row :

        # concatenate the words
        text = text + " " + word

wordcloud = WordCloud(width=480, height=480, colormap="Oranges_r").generate(text)

# plot the WordCloud image
plt.figure()
plt.imshow(wordcloud, interpolation="bilinear")
plt.axis("off")
plt.margins(x=0, y=0)
plt.show()
Python3
# importing the necessary modules
from wordcloud import WordCloud
import matplotlib.pyplot as plt
import csv

# file object is created
file_ob = open(r"C:/Users/user/Documents/sample.csv")

# reader object is created
reader_ob = csv.reader(file_ob)

# contents of reader object is stored .
# data is stored in list of list format.
reader_contents = list(reader_ob)

# empty string is declare
text = ""

# iterating through list of rows
for row in reader_contents :

    # iterating through words in the row
    for word in row :

        # concatenate the words
        text = text + " " + word

wordcloud = WordCloud(width=480, height=480, max_font_size=20, min_font_size=10).generate(text)
plt.figure()
plt.imshow(wordcloud, interpolation="bilinear")
plt.axis("off")
plt.margins(x=0, y=0)
plt.show()
输出:
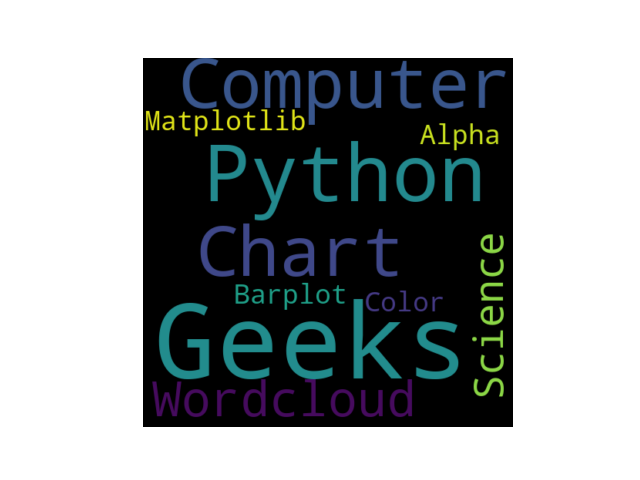
代码 #2:删除一些单词
可以删除一些我们不想显示的单词。为此,将这些词传递给 WordCloud()函数的停用词列表参数。
Python3
# importing the necessary modules
from wordcloud import WordCloud
import matplotlib.pyplot as plt
import csv

# file object is created
file_ob = open(r"C:/Users/user/Documents/sample.csv")

# reader object is created
reader_ob = csv.reader(file_ob)

# contents of reader object is stored .
# data is stored in list of list format.
reader_contents = list(reader_ob)

# empty string is declare
text = ""

# iterating through list of rows
for row in reader_contents :

    # iterating through words in the row
    for word in row :

        # concatenate the words
        text = text + " " + word

# remove Python , Matplotlib , Geeks Words from WordCloud .
wordcloud = WordCloud(width=480, height=480,
            stopwords=["Python", "Matplotlib","Geeks"]).generate(text)

# plot the WordCloud image
plt.figure()
plt.imshow(wordcloud, interpolation="bilinear")
plt.axis("off")
plt.margins(x=0, y=0)
plt.show()
输出:
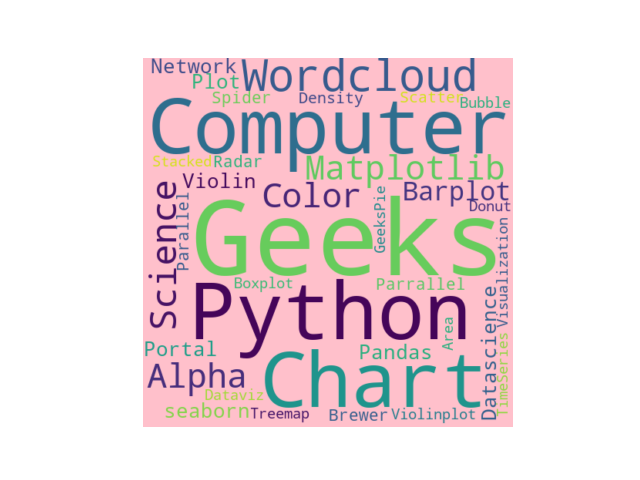
代码#3:改变背景
我们可以改变 wordcloud 的背景颜色。为此,请使用 WordCloud()函数的 background_color 关键字参数。
Python3
# importing the necessary modules
from wordcloud import WordCloud
import matplotlib.pyplot as plt
import csv

# file object is created
file_ob = open(r"C:/Users/user/Documents/sample.csv")

# reader object is created
reader_ob = csv.reader(file_ob)

# contents of reader object is stored .
# data is stored in list of list format.
reader_contents = list(reader_ob)

# empty string is declare
text = ""

# iterating through list of rows
for row in reader_contents :

    # iterating through words in the row
    for word in row :

        # concatenate the words
        text = text + " " + word

wordcloud = WordCloud(width=480, height=480, background_color="pink").generate(text)

# plot the WordCloud image
plt.figure()
plt.imshow(wordcloud, interpolation="bilinear")
plt.axis("off")
plt.margins(x=0, y=0)
plt.show()
输出:
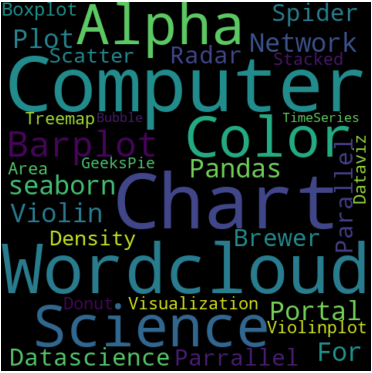
代码 #4 : 改变单词的颜色
我们可以使用 WordCloud()函数的 colormap 关键字参数来更改单词的颜色。
Python3
# importing the necessary modules
from wordcloud import WordCloud
import matplotlib.pyplot as plt
import csv

# file object is created
file_ob = open(r"C:/Users/user/Documents/sample.csv")

# reader object is created
reader_ob = csv.reader(file_ob)

# contents of reader object is stored .
# data is stored in list of list format.
reader_contents = list(reader_ob)

# empty string is declare
text = ""

# iterating through list of rows
for row in reader_contents :

    # iterating through words in the row
    for word in row :

        # concatenate the words
        text = text + " " + word

wordcloud = WordCloud(width=480, height=480, colormap="Oranges_r").generate(text)

# plot the WordCloud image
plt.figure()
plt.imshow(wordcloud, interpolation="bilinear")
plt.axis("off")
plt.margins(x=0, y=0)
plt.show()
输出:

代码#5:最大和最小字体大小
我们可以控制 wordcloud 的最小和最大字体大小。为此,请使用 WordCloud()函数的 max_font_size、min_font_size 关键字参数。
Python3
# importing the necessary modules
from wordcloud import WordCloud
import matplotlib.pyplot as plt
import csv

# file object is created
file_ob = open(r"C:/Users/user/Documents/sample.csv")

# reader object is created
reader_ob = csv.reader(file_ob)

# contents of reader object is stored .
# data is stored in list of list format.
reader_contents = list(reader_ob)

# empty string is declare
text = ""

# iterating through list of rows
for row in reader_contents :

    # iterating through words in the row
    for word in row :

        # concatenate the words
        text = text + " " + word

wordcloud = WordCloud(width=480, height=480, max_font_size=20, min_font_size=10).generate(text)
plt.figure()
plt.imshow(wordcloud, interpolation="bilinear")
plt.axis("off")
plt.margins(x=0, y=0)
plt.show()
输出: