Python OpenCV – 平滑和模糊
在本文中,我们将学习使用 python-OpenCV 进行平滑和模糊。
当我们在某些点处理图像时,图像会更清晰,更清晰,我们需要平滑或模糊以获得干净的图像,或者有时图像的边缘非常糟糕,我们也需要对其进行平滑处理可用的图像。在 OpenCV 中,我们有不止一种方法可以平滑或模糊图像,让我们一一讨论。
方法 1:使用 2D 卷积
在这种平滑方法中,我们在滤波过程中具有完全的灵活性,因为我们将使用我们定制的内核[一个简单的 NumPy 数组的二维矩阵,它可以帮助我们通过逐个像素地与图像进行卷积来处理图像]。内核基本上会为图像中的每个像素赋予特定的权重,并将加权的相邻像素相加形成一个像素,使用这种方法我们将能够压缩图像中的像素,从而降低图像的清晰度, 通过这种方法,我们可以轻松地平滑或模糊图像。

注意:通过使用这些内核 [2d 矩阵],我们可以执行许多功能,例如锐化和边缘检测图像。但请记住,每个进程都有不同的内核,即不同的矩阵值。我们将在本文中使用的内核是一个 5 x 5 平均内核,它基本上是一个矩阵,整个矩阵除以 25,看起来像,
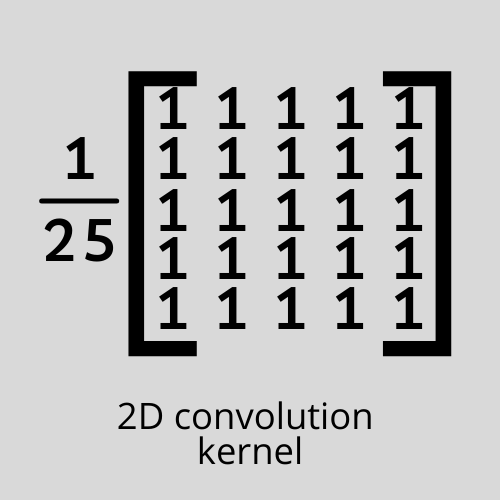
为了使用定制内核平滑图像,我们将使用一个名为 filter2D() 的函数,它基本上可以帮助我们将定制内核与图像进行卷积,以实现不同的图像过滤器,例如锐化和模糊等等。
Syntax: filter2D(sourceImage, ddepth, kernel)
代码:
Python3
# Importing the modules
import cv2
import numpy as np

# Reading the image
image = cv2.imread('image.png')

# Creating the kernel with numpy
kernel2 = np.ones((5, 5), np.float32)/25

# Applying the filter
img = cv2.filter2D(src=image, ddepth=-1, kernel=kernel2)

# showing the image
cv2.imshow('Original', image)
cv2.imshow('Kernel Blur', img)

cv2.waitKey()
cv2.destroyAllWindows()
Python3
# Importing the modules
import cv2
import numpy as np

# Reading the image
image = cv2.imread('image.png')

# Applying the filter
averageBlur = cv2.blur(image, (5, 5))

# Showing the image
cv2.imshow('Original', image)
cv2.imshow('Average blur', averageBlur)

cv2.waitKey()
cv2.destroyAllWindows()
Python3
# Importing the module
import cv2
import numpy as np

# Reading the image
image = cv2.imread('image.png')

# Applying the filter
gaussian = cv2.GaussianBlur(image, (3, 3), 0)

# Showing the image
cv2.imshow('Original', image)
cv2.imshow('Gaussian blur', gaussian)

cv2.waitKey()
cv2.destroyAllWindows()
Python3
# Importing the modules
import cv2
import numpy as np

# Reading the image
image = cv2.imread('image.png')

# Applying the filter
medianBlur = cv2.medianBlur(image, 9)

# Showing the image
cv2.imshow('Original', image)
cv2.imshow('Median blur', medianBlur)

cv2.waitKey()
cv2.destroyAllWindows()
Python3
# Importing the modules
import cv2
import numpy as np

# Reading the image
image = cv2.imread('image.png')

# Applying the filter
bilateral = cv2.bilateralFilter(image, 9, 75, 75)

# Showing the image
cv2.imshow('Original', image)
cv2.imshow('Bilateral blur', bilateral)

cv2.waitKey()
cv2.destroyAllWindows()
输出:

方法2:使用预建功能
OpenCV 带有许多预构建的模糊和平滑功能,让我们简要了解它们,
1.平均:
Syntax: cv2.blur(image, shapeOfTheKernel)
- 图像- 您需要平滑的图像
- shapeOfTheKernel – 类似矩阵的形状 3 x 3 / 5 x 5
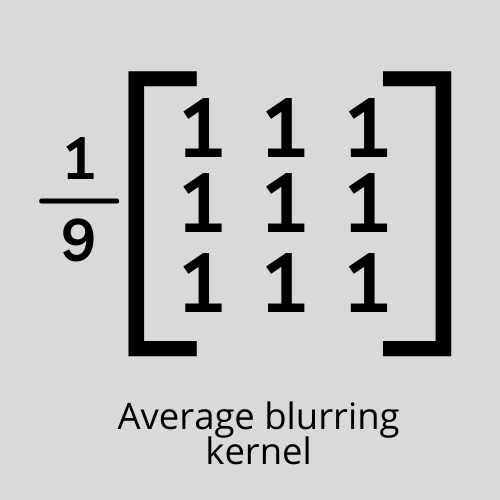
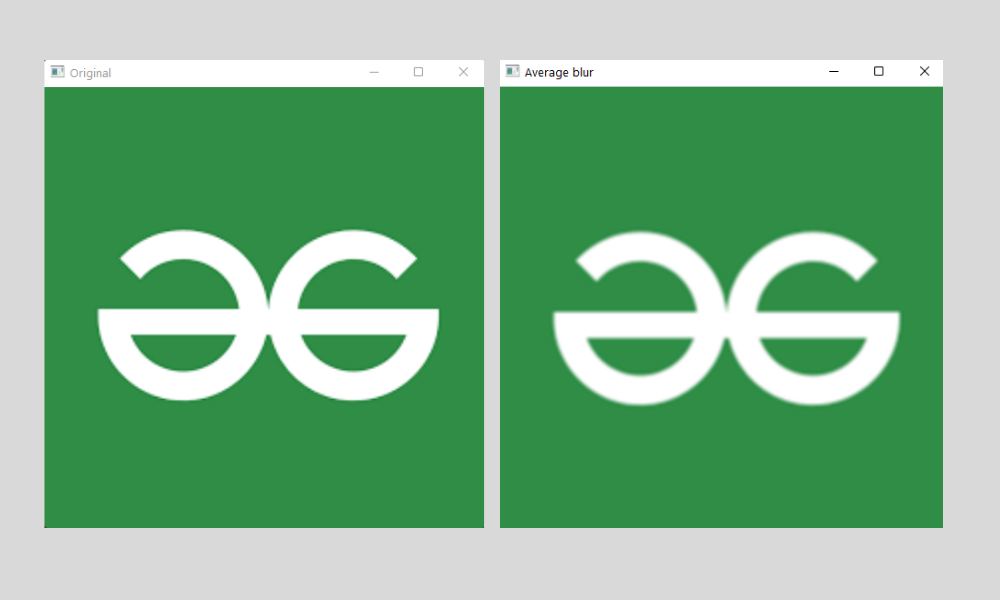
平均方法与 2d 卷积方法非常相似,因为它遵循相同的规则来平滑或模糊图像,并使用相同类型的内核,基本上将中心像素的值设置为内核加权周围像素的平均值。通过这种方式,我们可以通过替换具有基本相似颜色的具有相似值的像素组来降低图像的清晰度,从而大大降低图像的噪声。我们可以大大降低图像的噪声,使图像变得平滑。我们用于此方法的内核是矩阵的所需形状,所有值都为“1”,整个矩阵除以矩阵各自形状中的值的数量[这基本上是内核加权值的平均值在像素范围内]。我们在这个例子中使用的内核是,
代码:
Python3
# Importing the modules
import cv2
import numpy as np

# Reading the image
image = cv2.imread('image.png')

# Applying the filter
averageBlur = cv2.blur(image, (5, 5))

# Showing the image
cv2.imshow('Original', image)
cv2.imshow('Average blur', averageBlur)

cv2.waitKey()
cv2.destroyAllWindows()
输出:
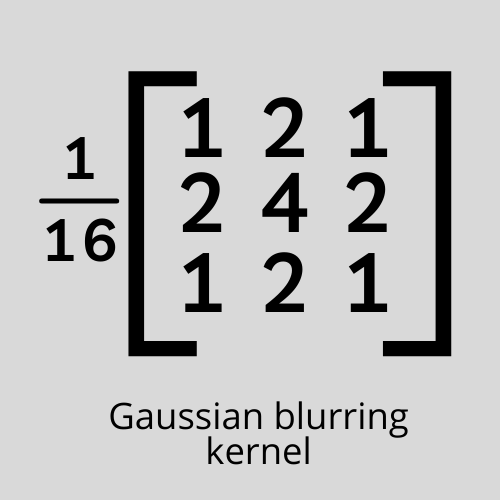
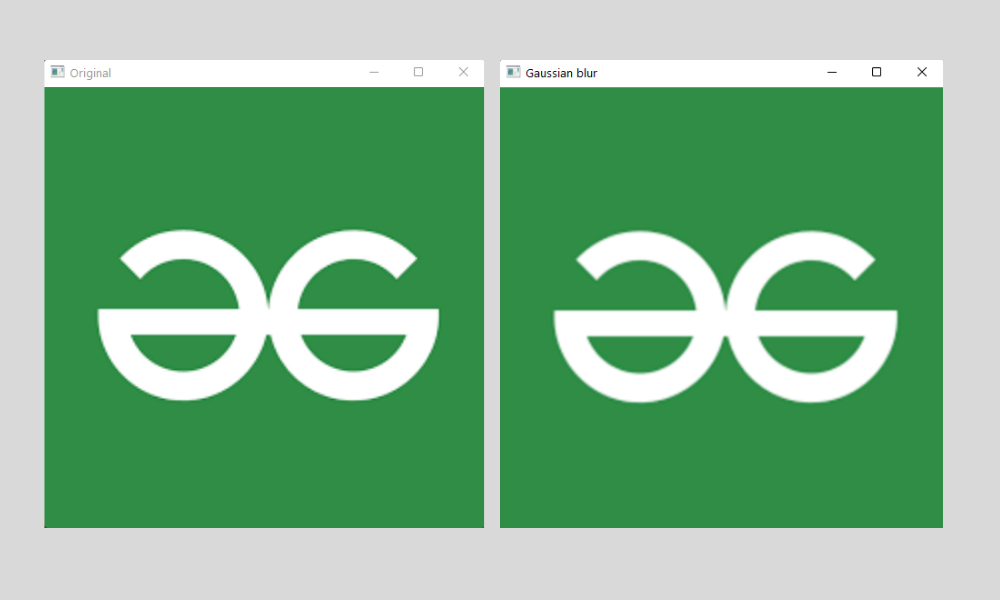
2. 高斯模糊:
Syntax: cv2. GaussianBlur(image, shapeOfTheKernel, sigmaX )
- 图像- 您需要模糊的图像
- shapeOfTheKernel – 类似矩阵的形状 3 x 3 / 5 x 5
- sigmaX – 高斯核标准差,默认设置为 0
在高斯模糊中,我们将使用加权均值,而不是使用由内核内部相似值组成的箱形滤波器,这是一个简单的均值。在这种类型的内核中,靠近中心像素的值将具有更高的权重。使用这种类型的模糊,我们可能会得到一个不那么模糊的图像,但一个自然的模糊图像看起来会更自然,因为它很好地处理了边缘值。这里不是平均像素的加权和,而是将其除以一个特定的值,即 16,在 3 x 3 形状的内核的情况下,看起来像这样。
注意:当我们在 filter2D()函数中使用这个完全相同的内核时,我们可以获得相同的结果,但是在这种情况下,我们不需要创建内核,因为这个函数会自动为我们完成。
代码:
Python3
# Importing the module
import cv2
import numpy as np

# Reading the image
image = cv2.imread('image.png')

# Applying the filter
gaussian = cv2.GaussianBlur(image, (3, 3), 0)

# Showing the image
cv2.imshow('Original', image)
cv2.imshow('Gaussian blur', gaussian)

cv2.waitKey()
cv2.destroyAllWindows()
输出:
3. 中值模糊:
Syntax: cv. medianBlur(image, kernel size)
- 图像- 我们需要应用平滑的图像
- KernelSize – 内核的大小,因为它总是采用方阵,值必须是大于 2 的正整数。
注意:此方法没有特定的内核值。
在这种平滑方法中,我们将简单地取内核窗口内所有像素的中值,并将中心值替换为该值。这种方法优于高斯模糊和框模糊的一个优点是在这两种情况下,替换的中心值可能包含一个像素值,该像素值甚至不存在于图像中,这会使图像的颜色不同且看起来很奇怪,但如果中值模糊虽然它采用图像中已经存在的值的中值,但它看起来会更自然。
代码:
Python3
# Importing the modules
import cv2
import numpy as np

# Reading the image
image = cv2.imread('image.png')

# Applying the filter
medianBlur = cv2.medianBlur(image, 9)

# Showing the image
cv2.imshow('Original', image)
cv2.imshow('Median blur', medianBlur)

cv2.waitKey()
cv2.destroyAllWindows()
输出:

4.双边模糊:
Syntax: cv2.bilateralFilter(image, diameter, sigmaColor, sigmaSpace)
- 图像- 我们需要应用平滑的图像
- 直径——类似于内核的大小
- SigmaColor – 给定像素范围内要考虑的颜色数量[较高的值表示给定像素区域内颜色数量的增加]——不应保持很高
- SigmaSpace – 偏置像素和相邻像素较高值之间的空间意味着远离像素的像素将在像素值中进行操作
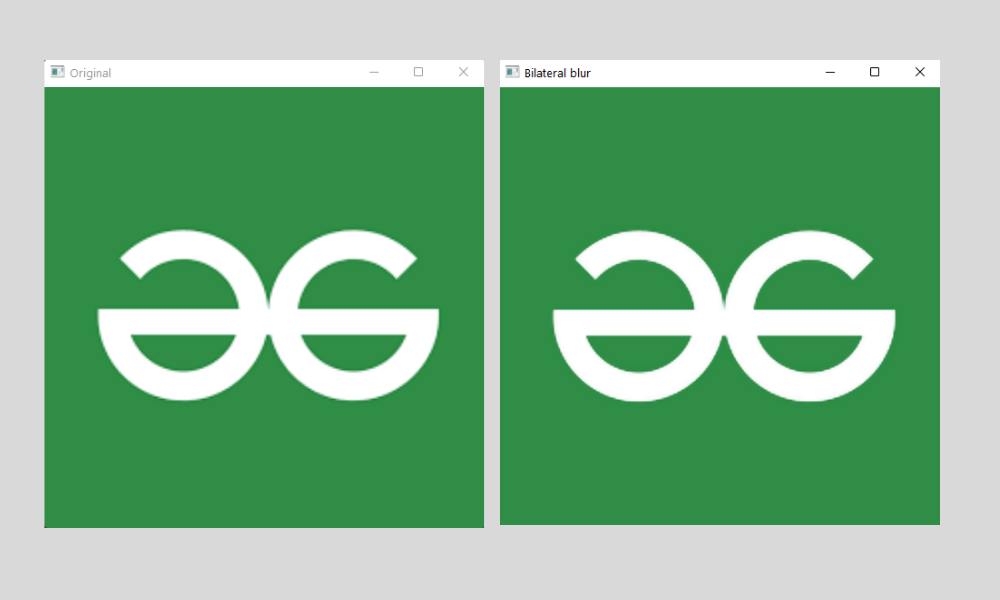
我们之前看到的平滑方法很快,但我们最终可能会丢失不太好的图像边缘。但是通过使用这种方法,该函数更多地关注边缘并通过保留图像来平滑图像。这是通过执行两个高斯分布来实现的。与我们目前讨论的其他方法相比,这可能非常慢。
代码:
Python3
# Importing the modules
import cv2
import numpy as np

# Reading the image
image = cv2.imread('image.png')

# Applying the filter
bilateral = cv2.bilateralFilter(image, 9, 75, 75)

# Showing the image
cv2.imshow('Original', image)
cv2.imshow('Bilateral blur', bilateral)

cv2.waitKey()
cv2.destroyAllWindows()
输出: